Retaining Walls have a weight problem…We have your solution!


Easily build beautiful, plant covered landscape walls!
Varden™ lightweight blocks are the easy solution for DIY home improvements and installers searching for solutions to heavy lifting. Our 3 lbs. blocks provide the structure of concrete, without the weight. 🏋️♀️
Searching for sustainable landscape ideas? Varden™ living retaining walls add green-space, habitat and cooling to any outdoor space.🏡
🌱Our “plantable” alternative to concrete blocks features innovative design, efficient handling, and huge plantable soil volumes held in each block. Making our VARDEN™ Living Retaining Wall Blocks the best performing, plantable retaining walls in the business.
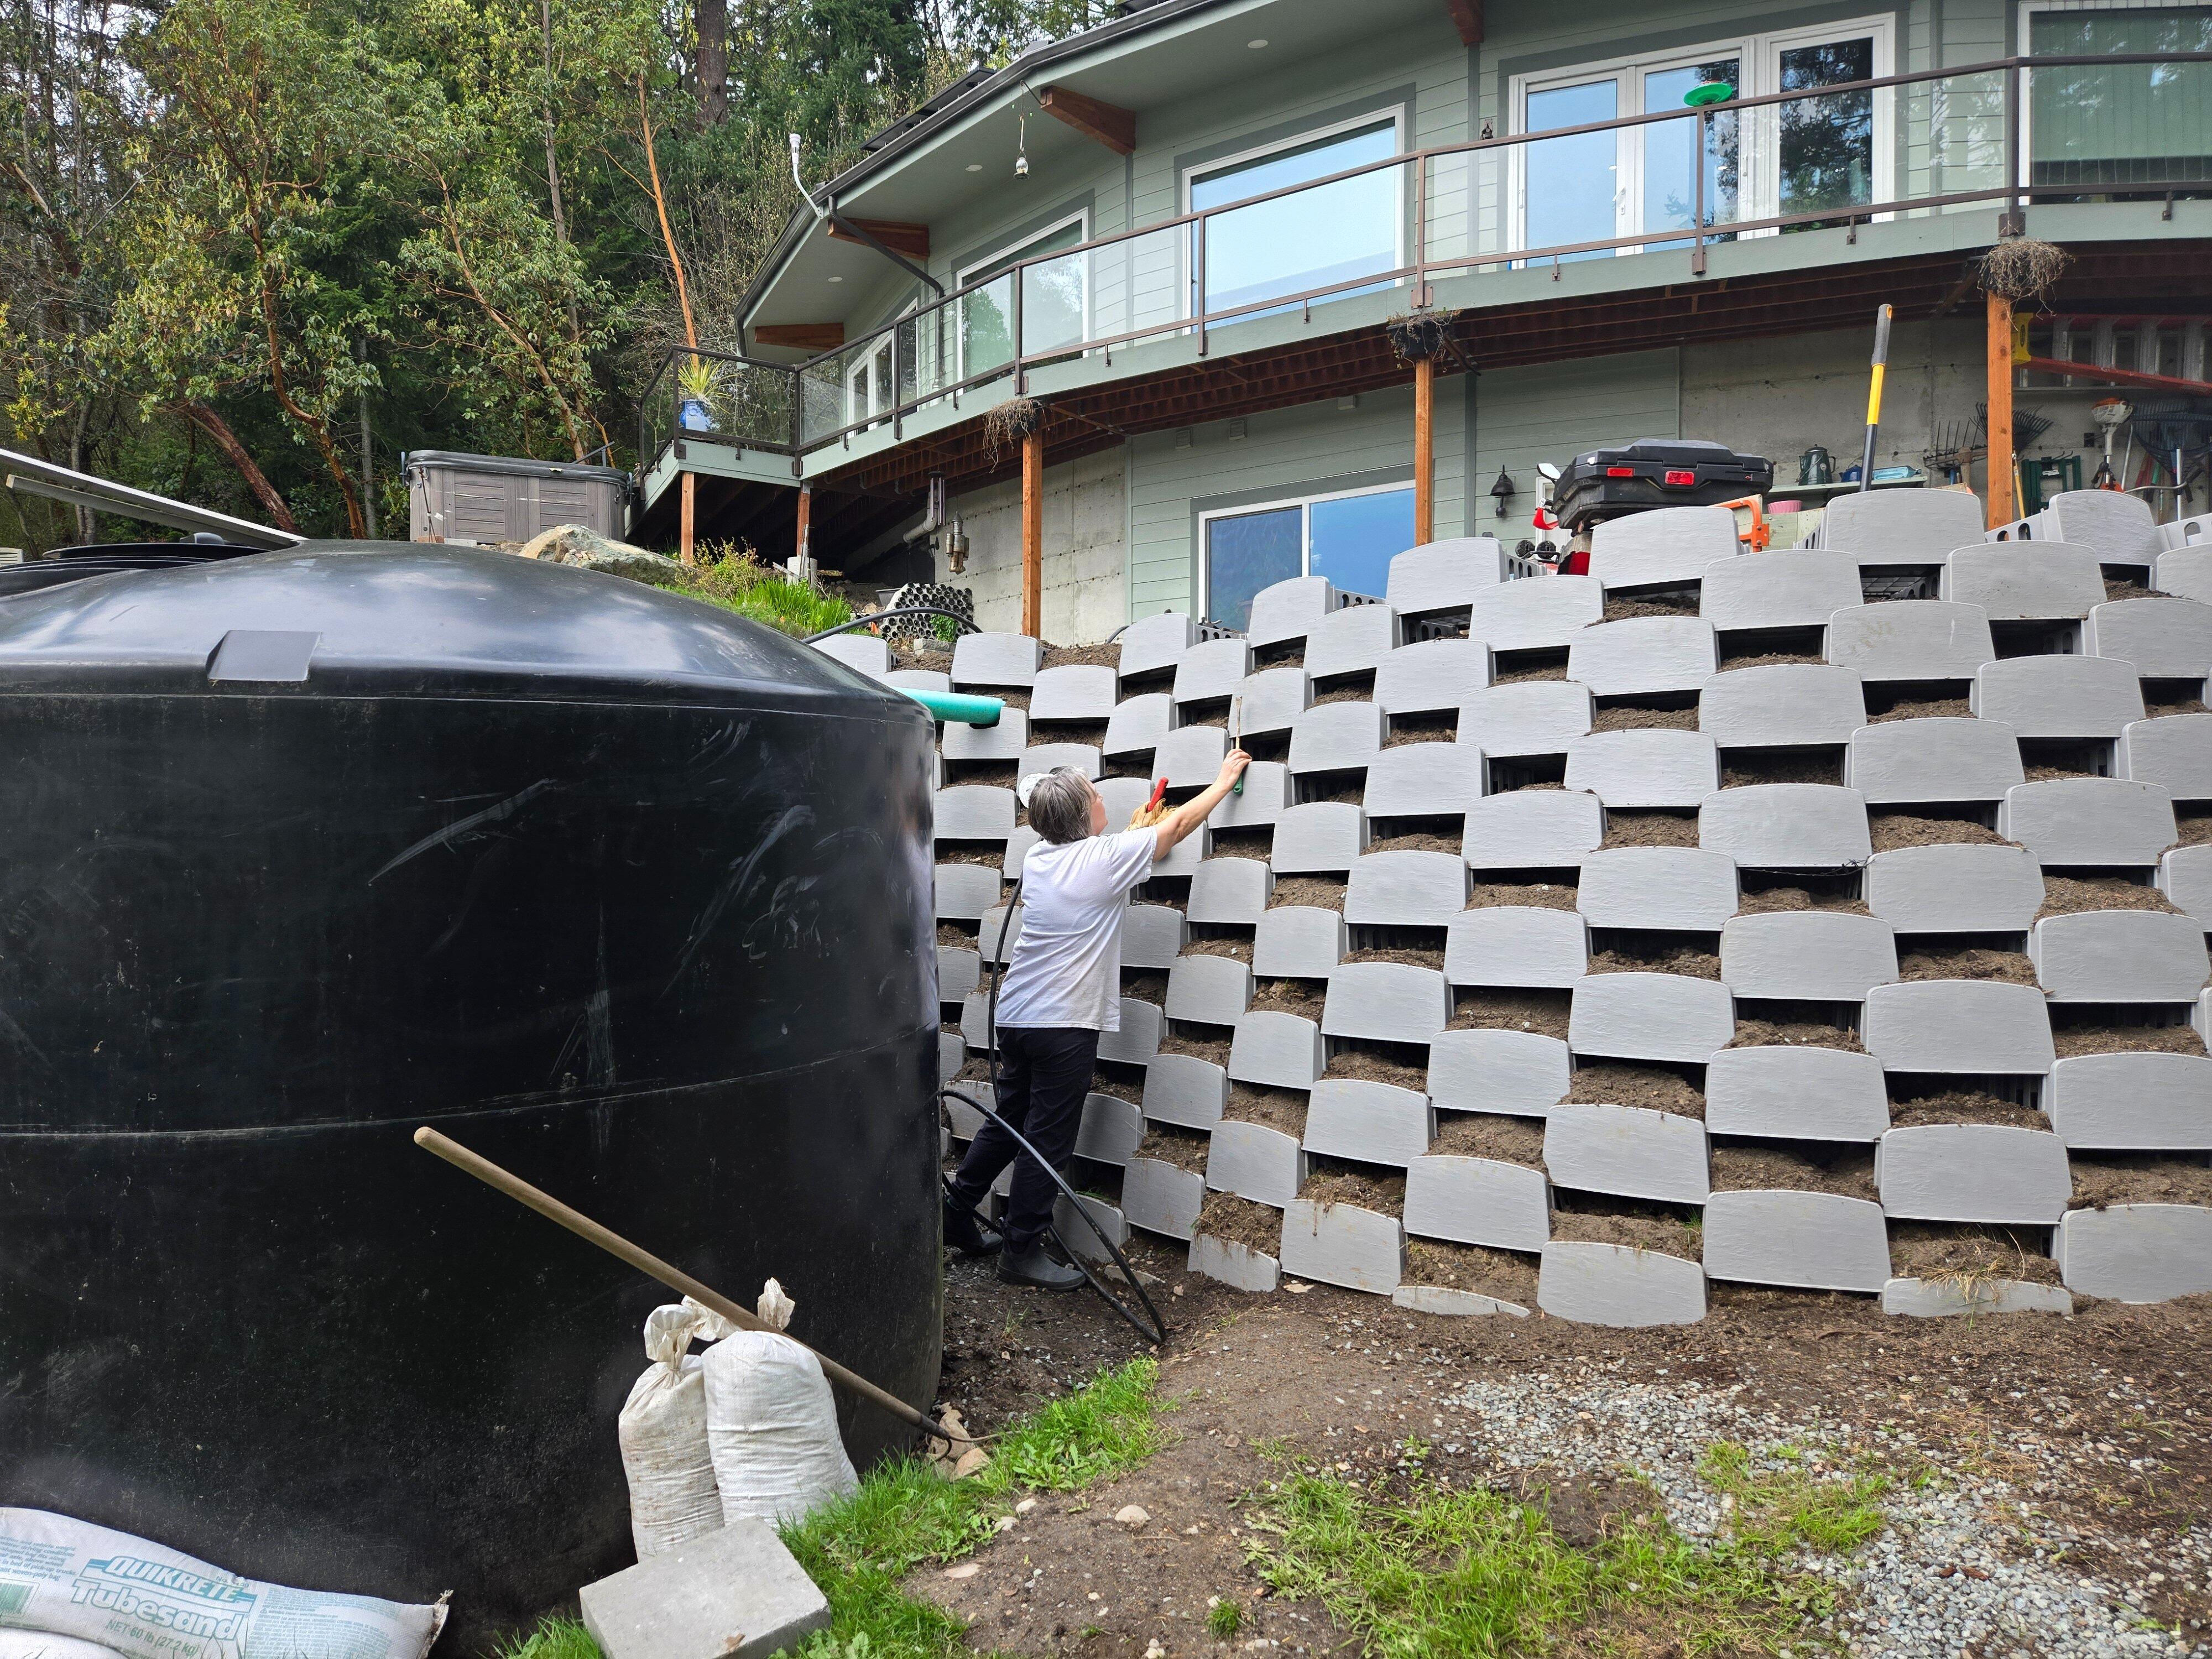
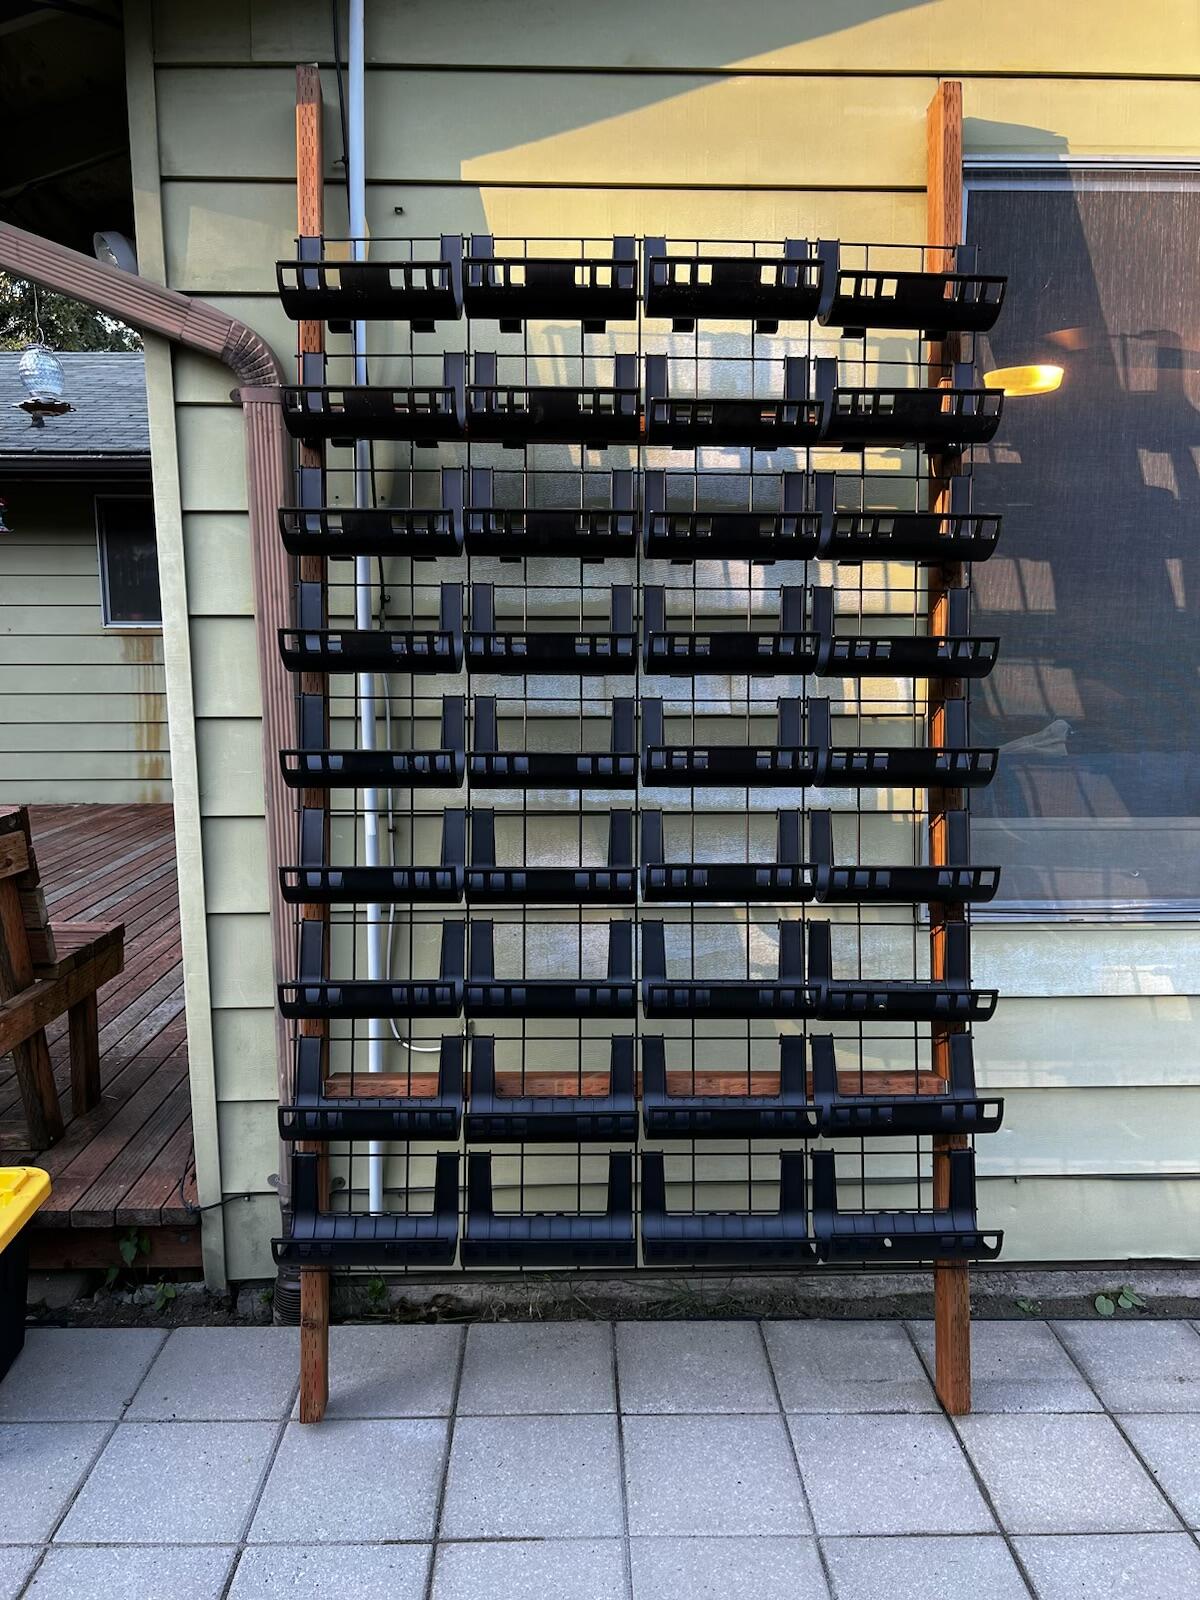
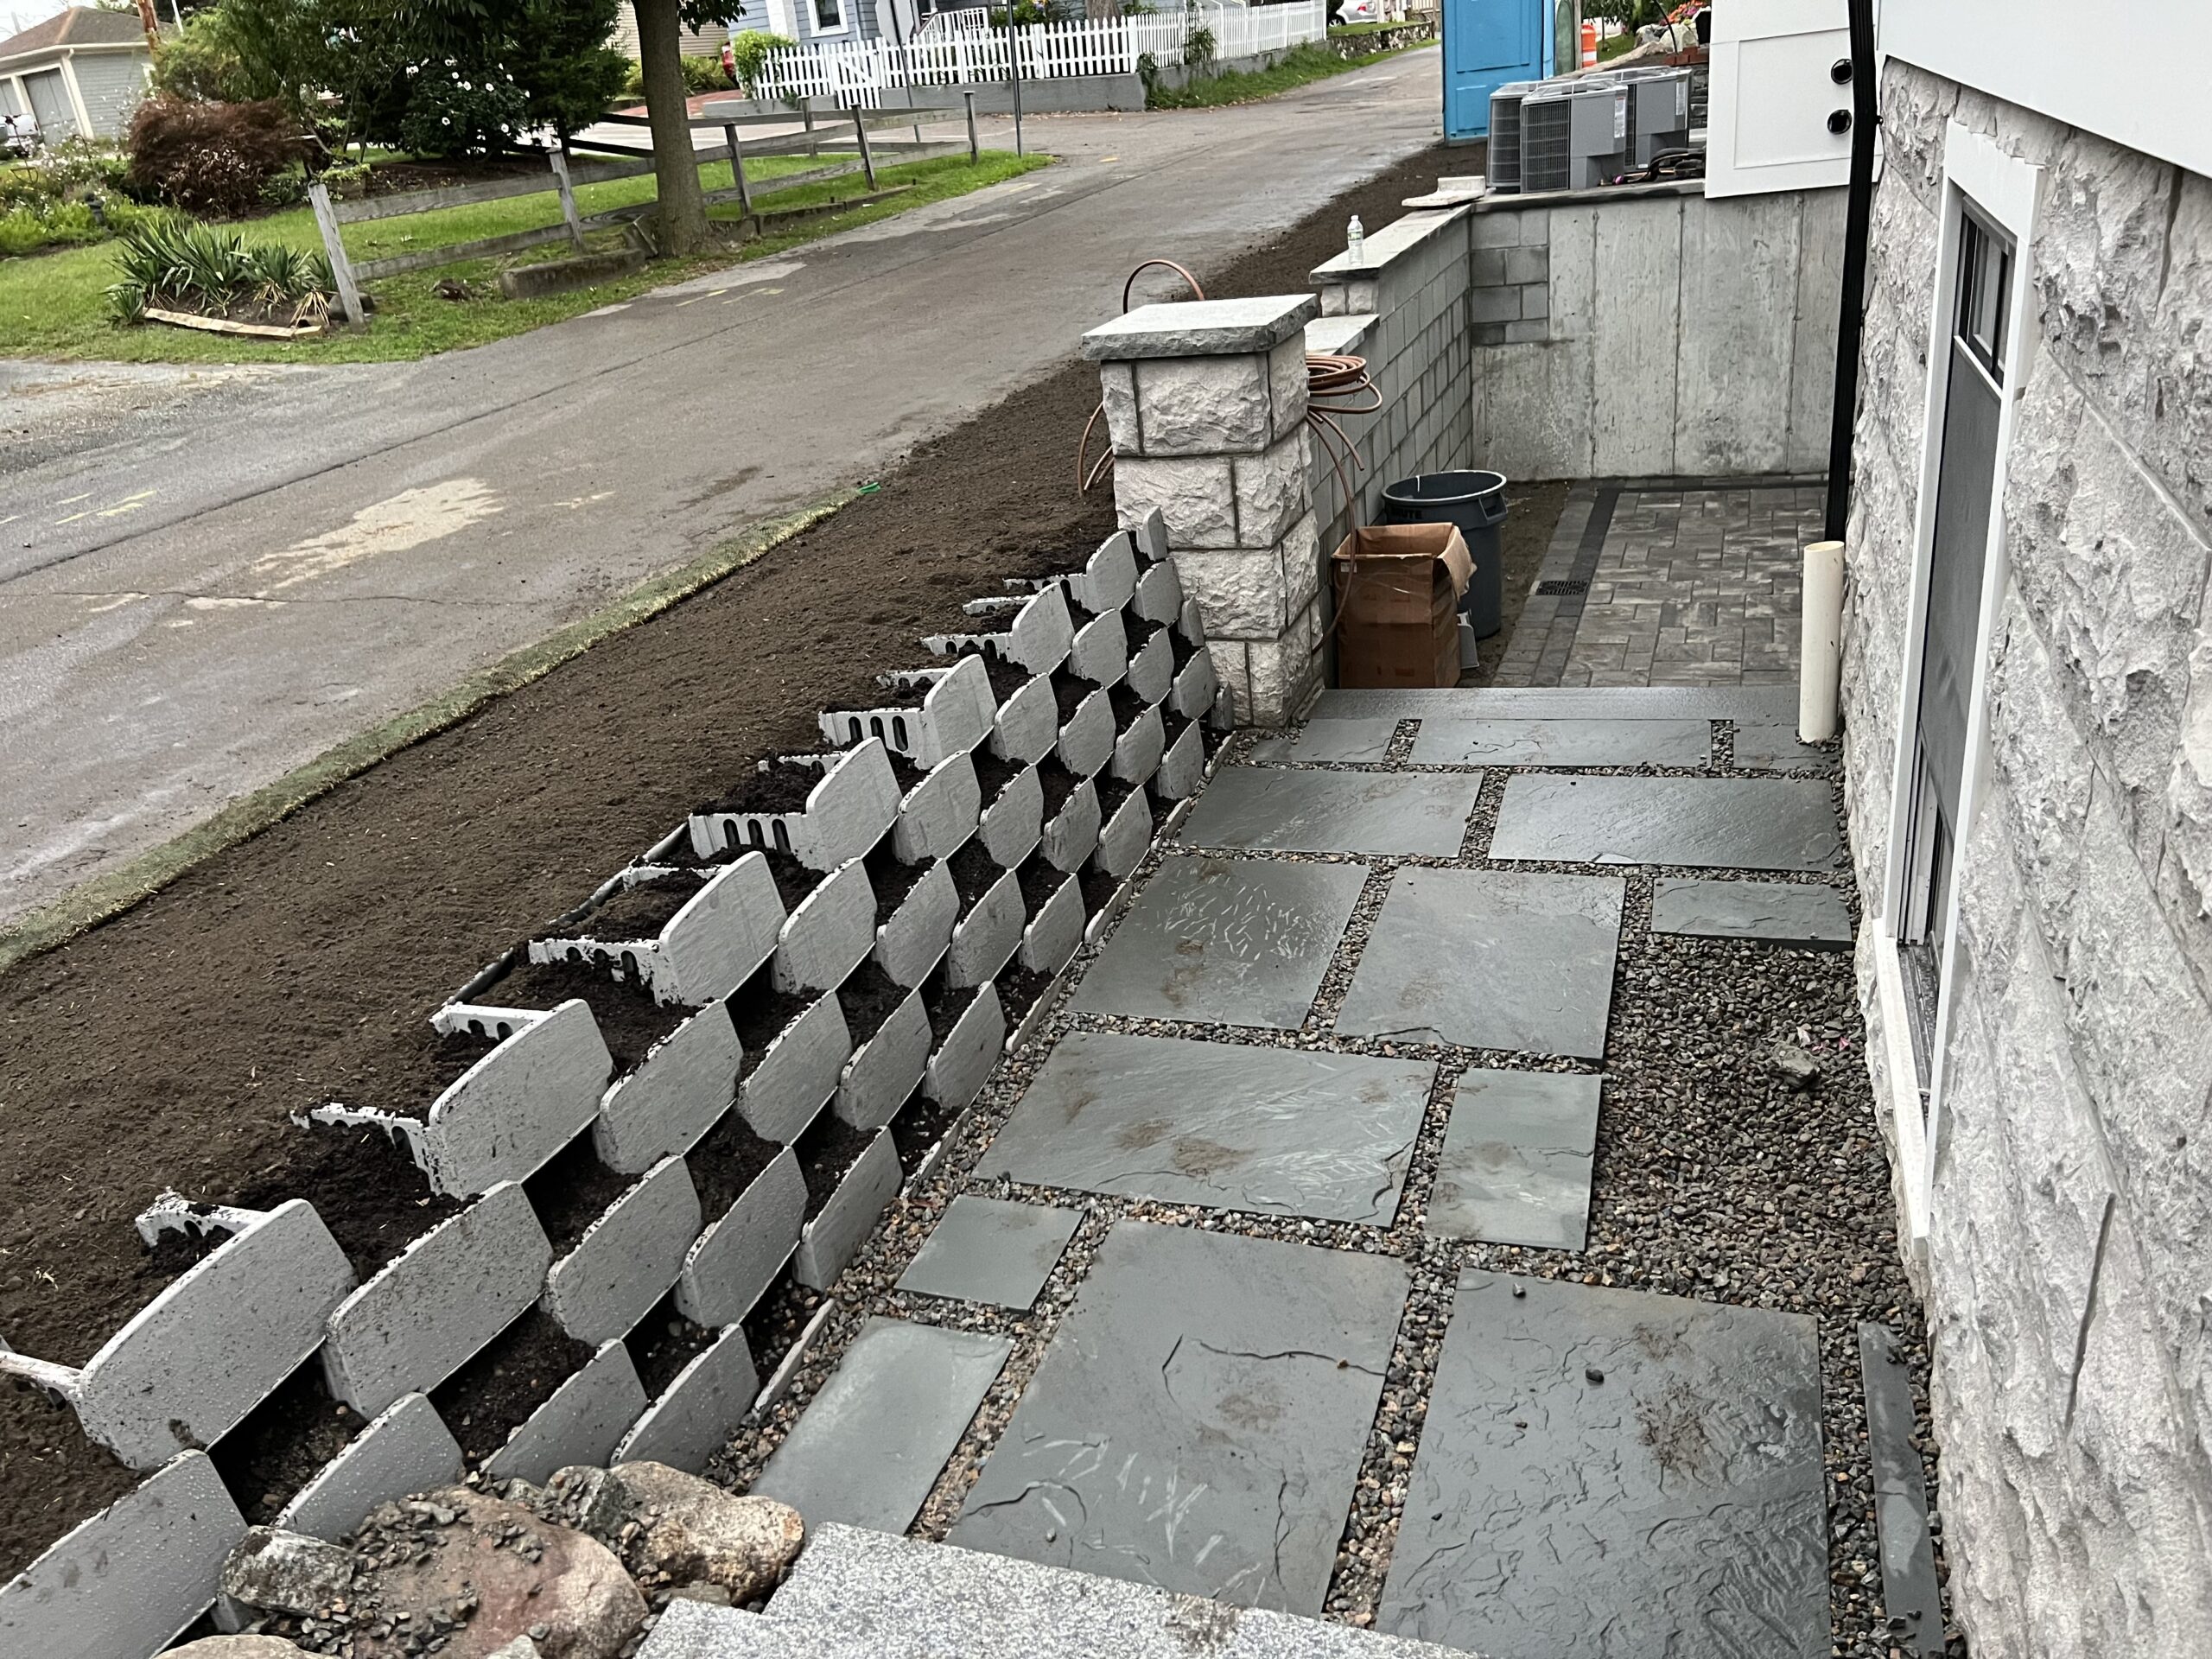
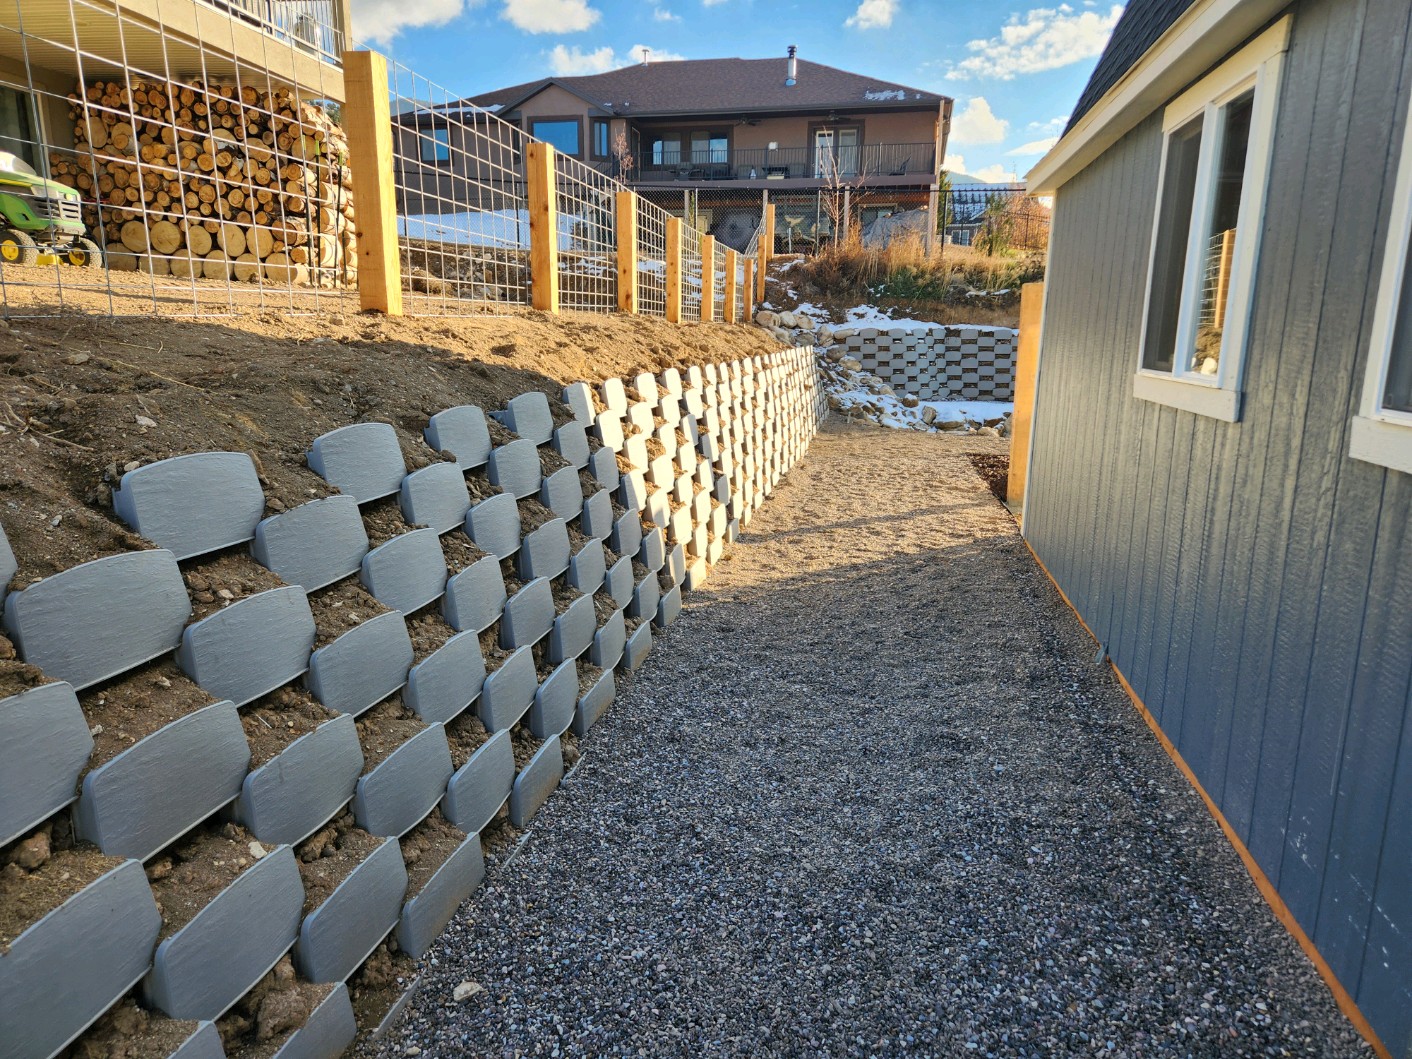
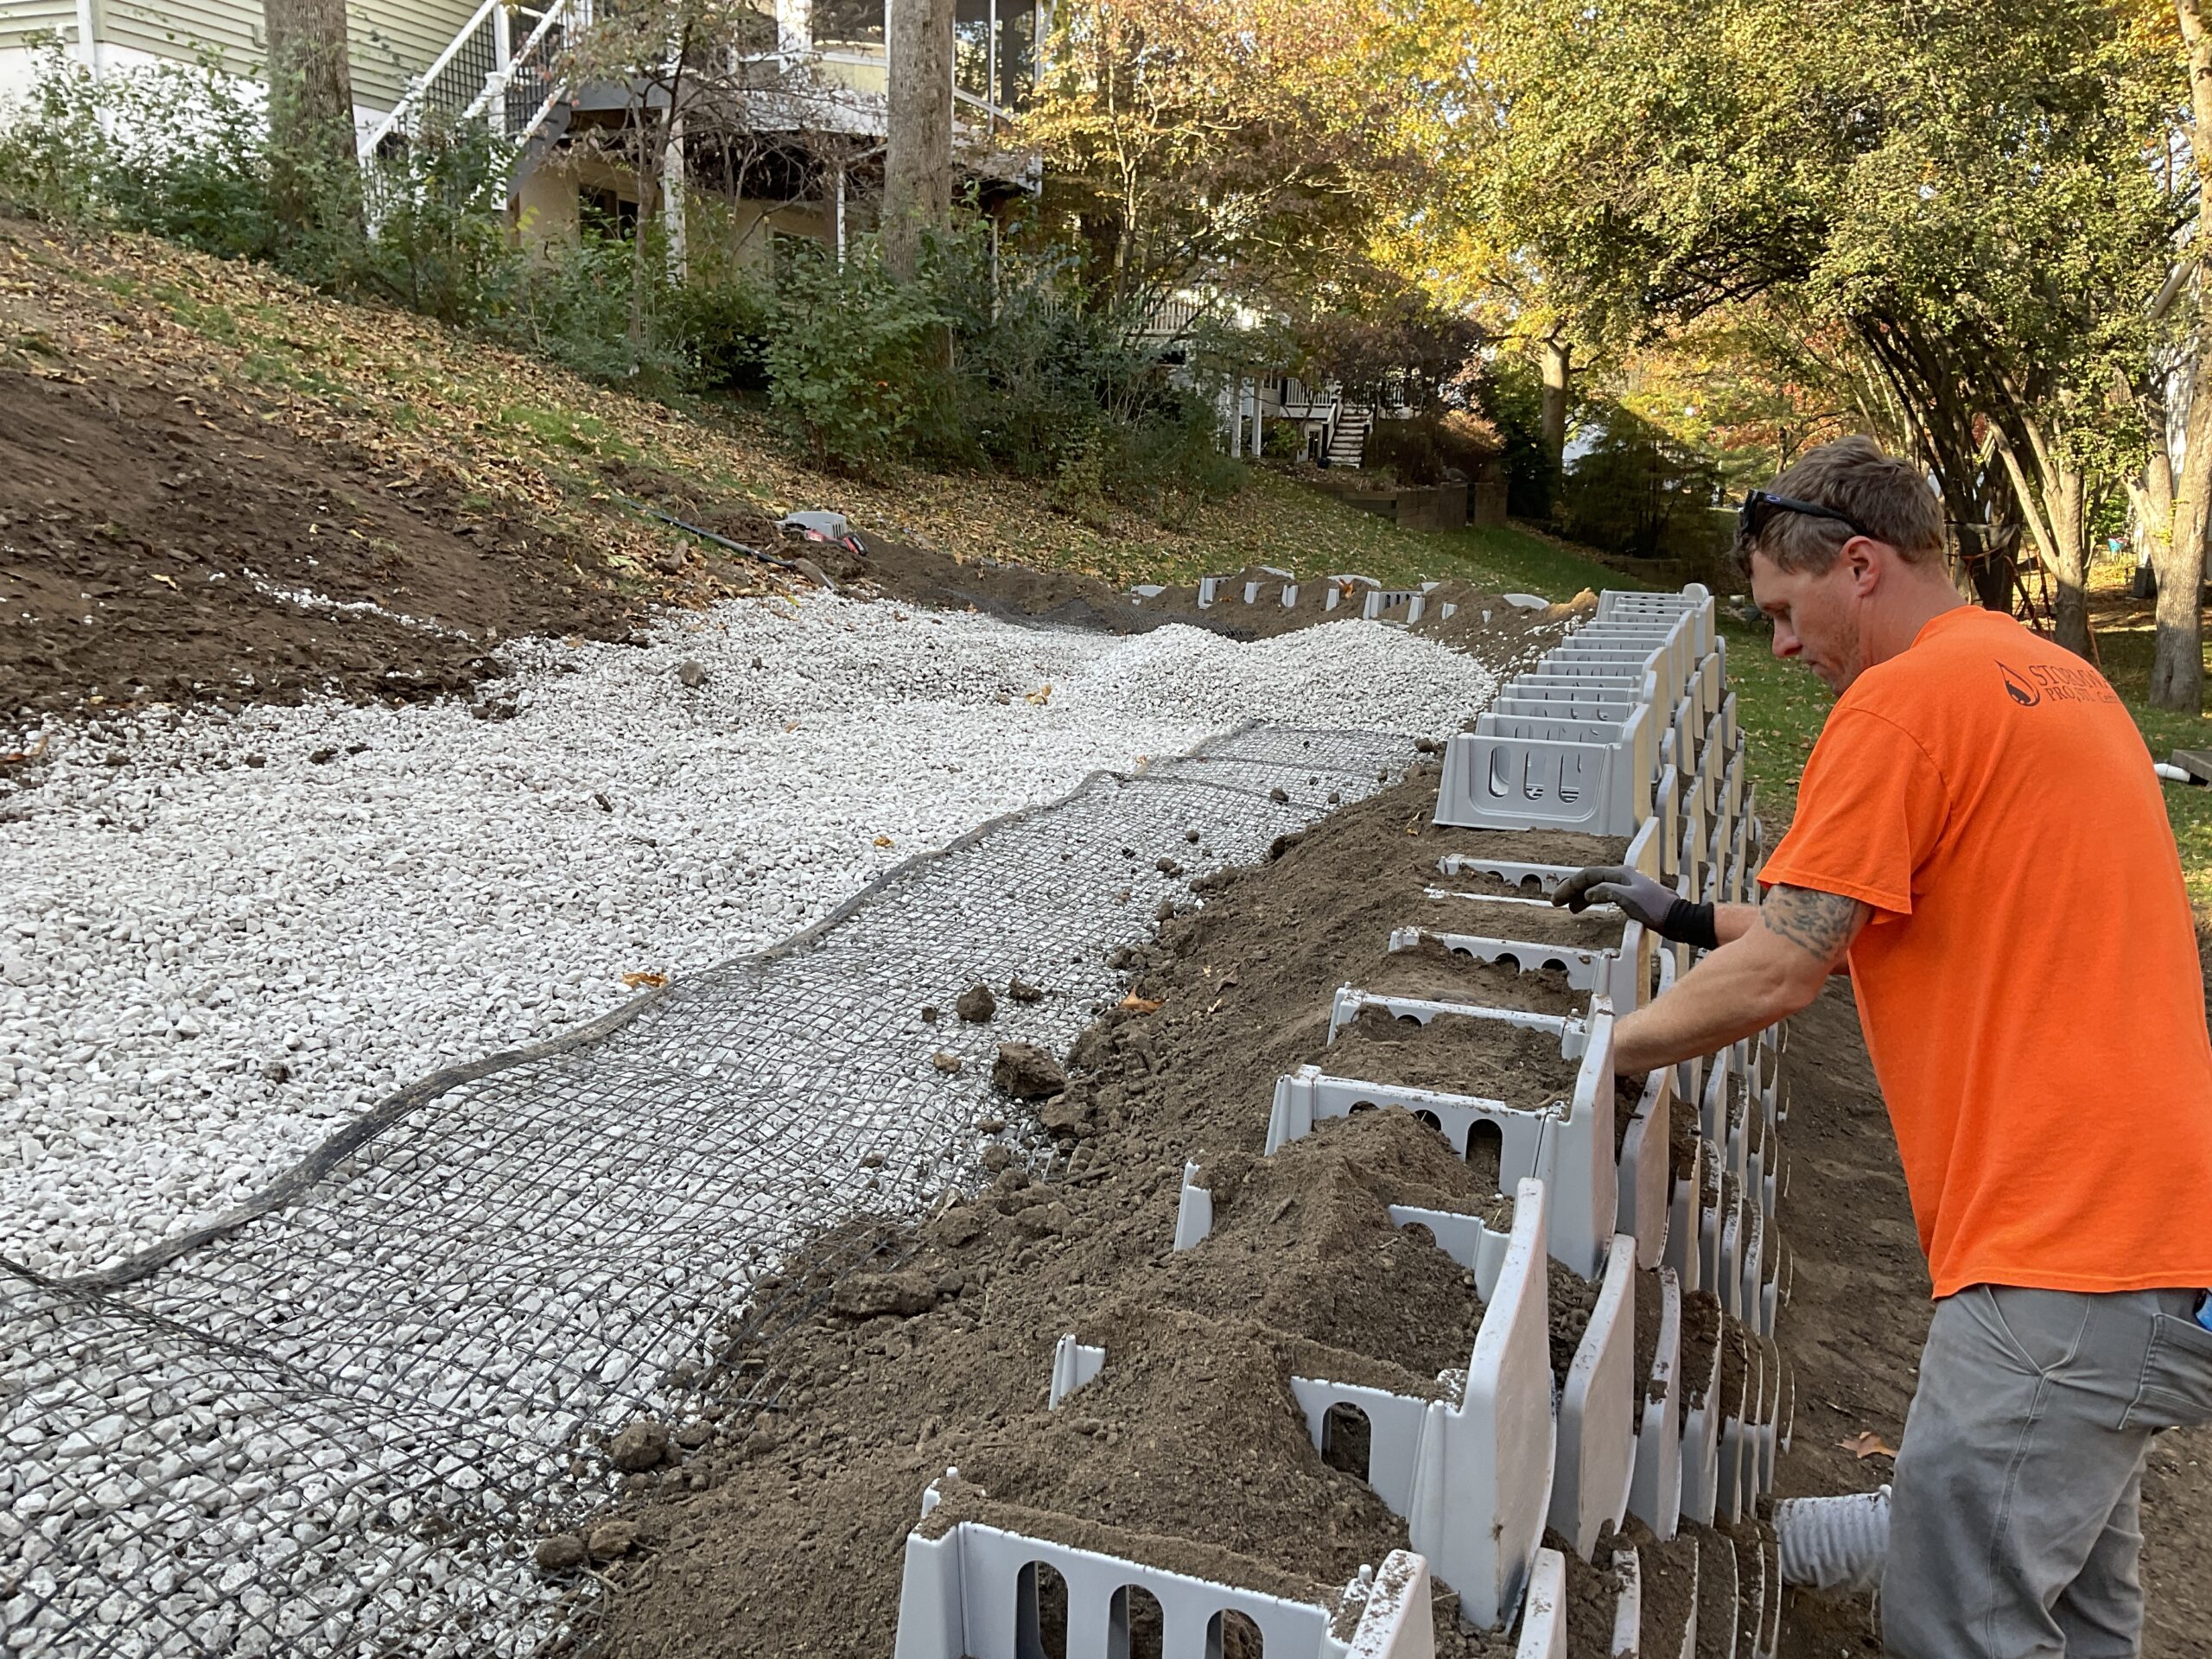
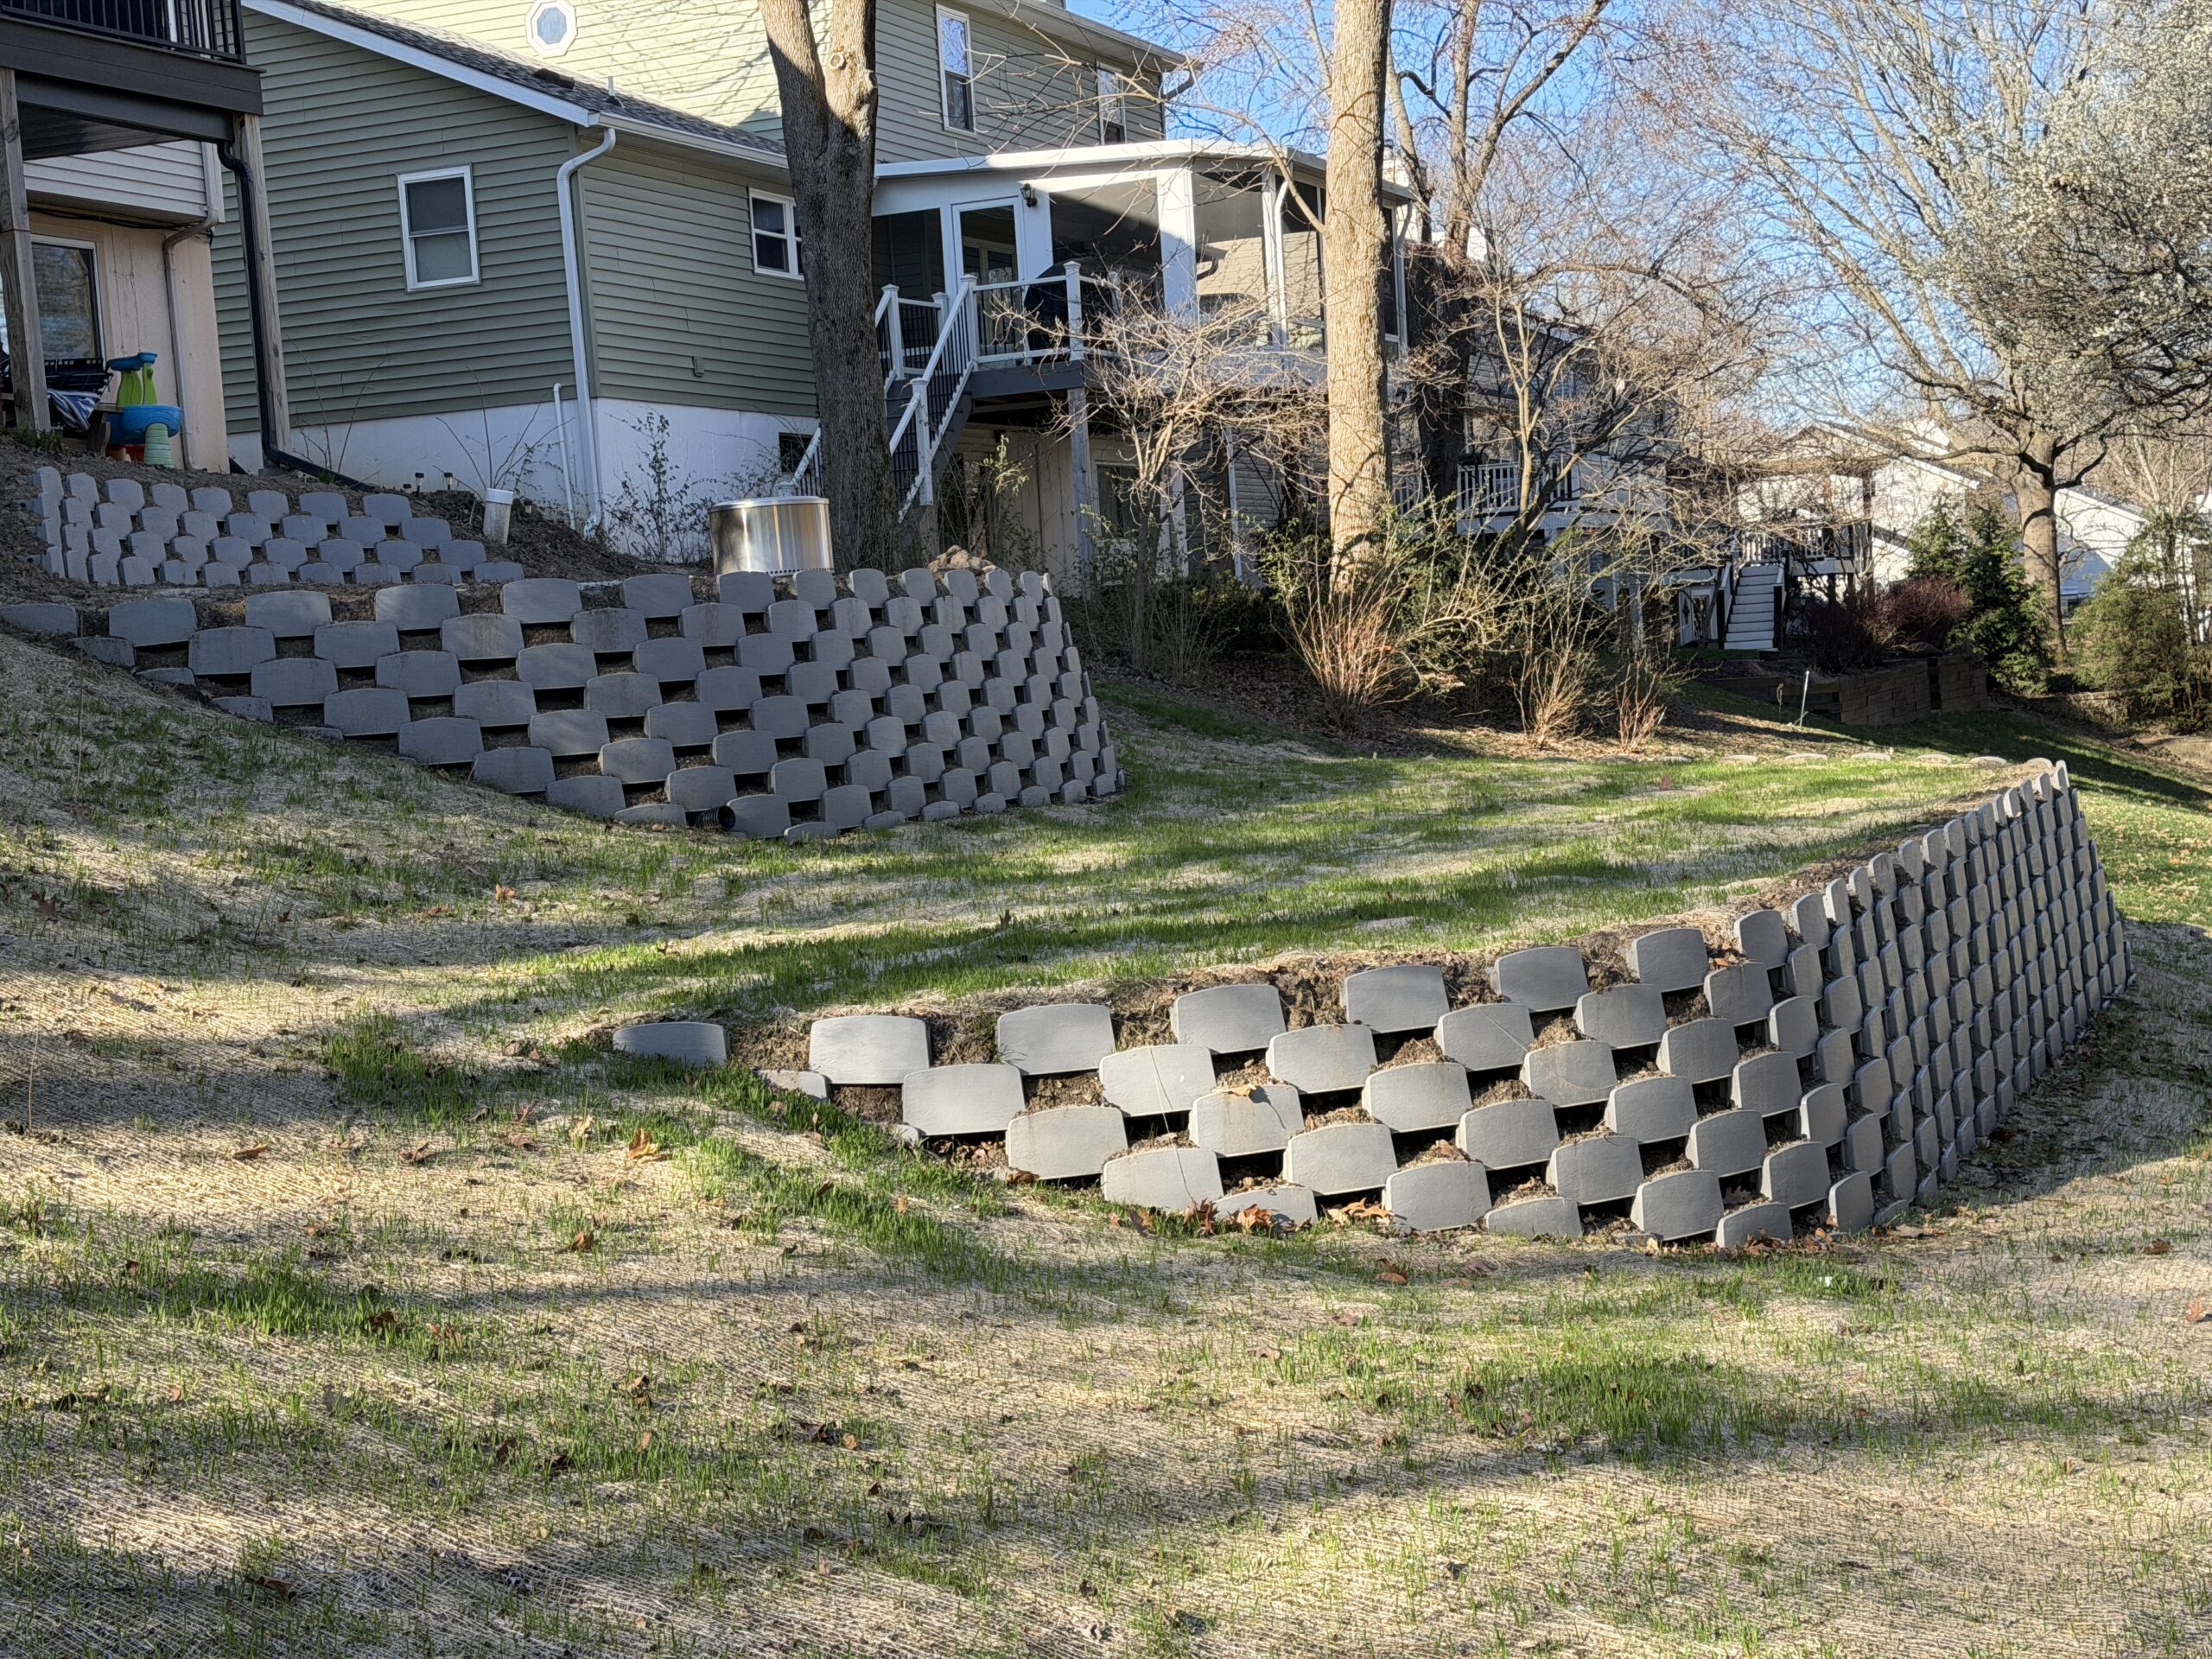
Varden™ lightweight retaining wall blocks build just like concrete retaining wall blocks.
🏋️♀️ Blocks do not have to be heavy to be structural and Varden™ gives you the ability to build retaining walls in hard to reach areas with ease.
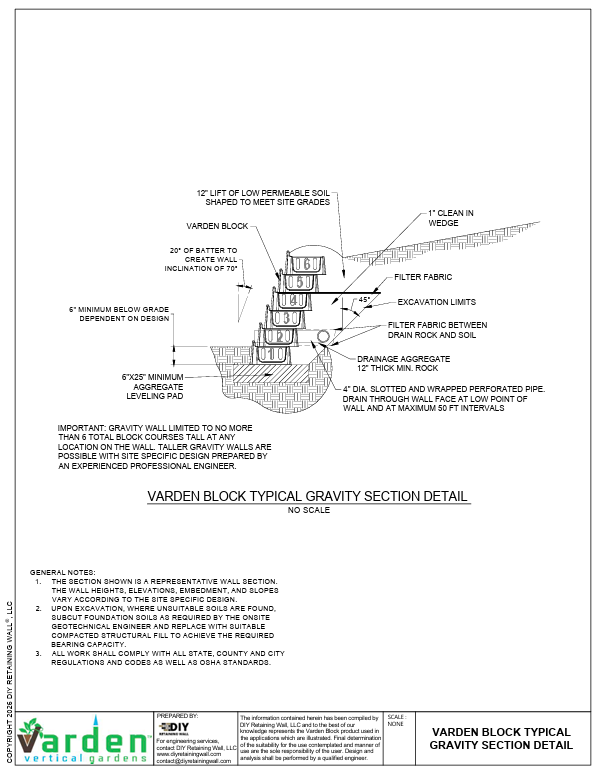
🌱 Varden™ plantable blocks follow the same basic installation sequence and methods as traditional segmental block/modular block retaining walls. Review our Wall Detail Booklet for the info.
😎 Installers reap the benefits by staying fresh all day, avoiding injury, and building in places that are hard to access with heavy blocks and equipment.
🧠 You can review our technical papers on Varden vs. Concrete and Varden Basic Install Instructions by clicking the links. Our Support Docs page is loaded with info to help you make an informed choice.
👇 Solving many problems with one 3 lbs. block.👇


Why Choose Living Retaining Walls?
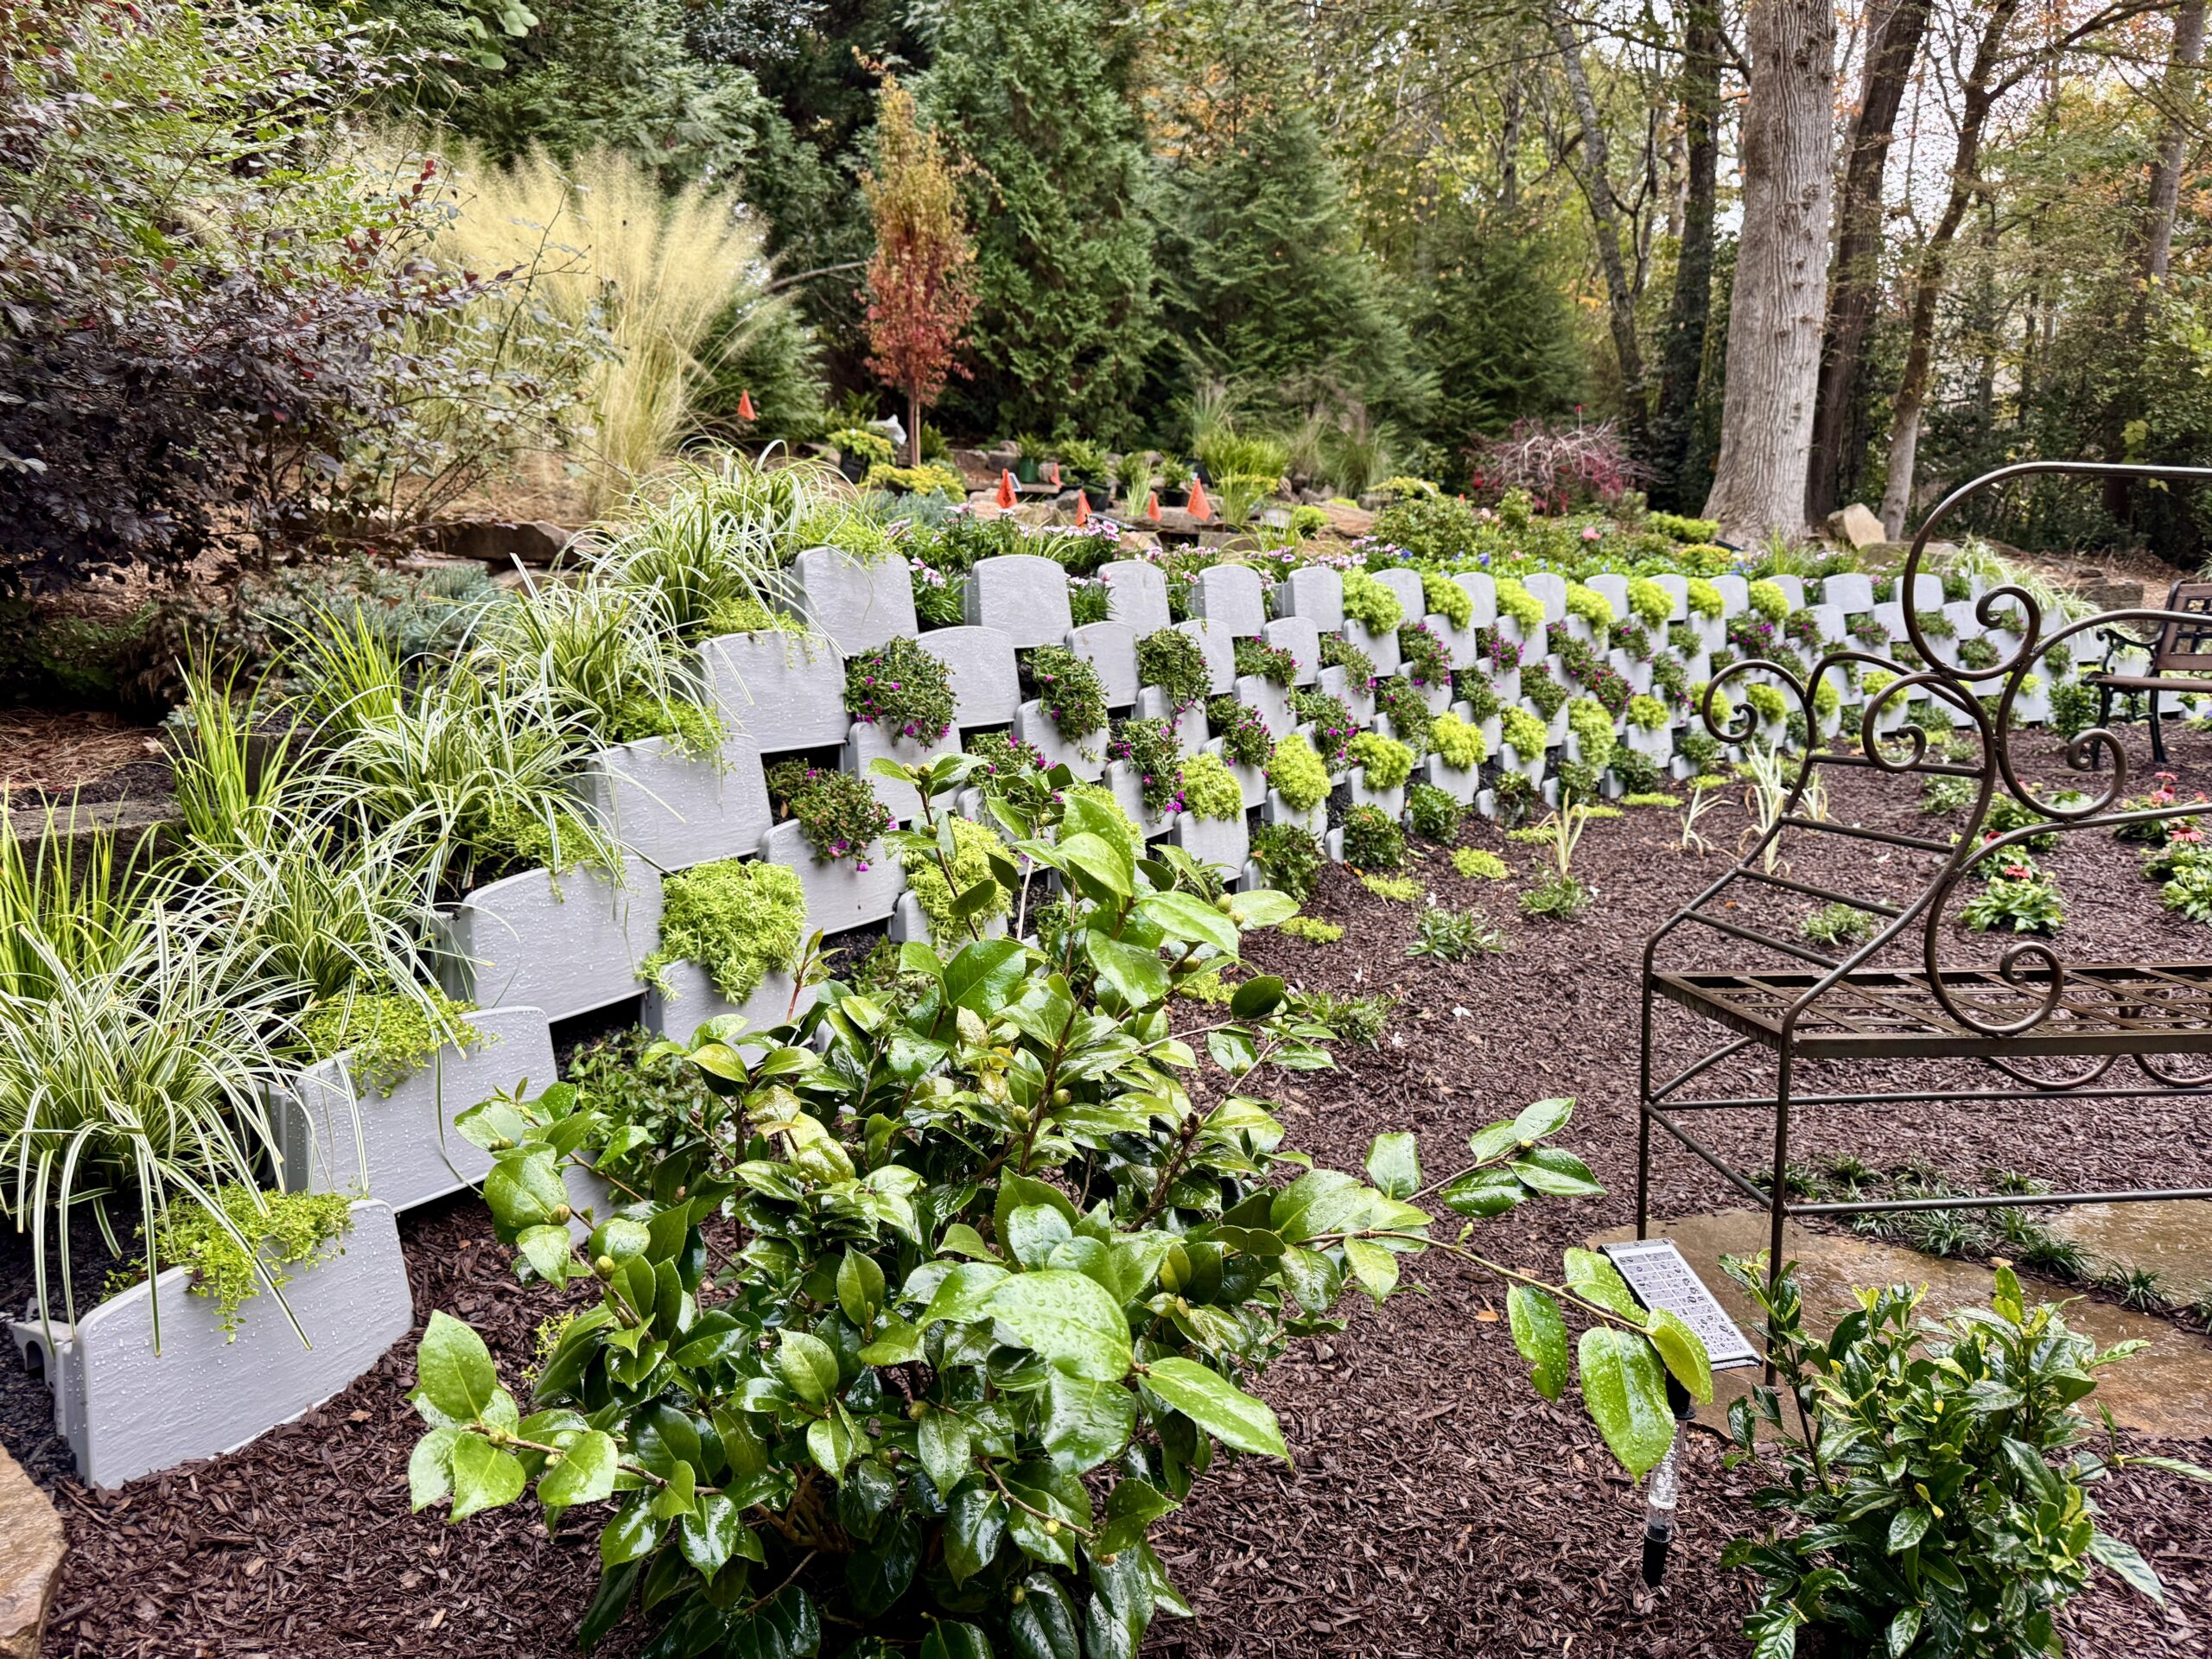
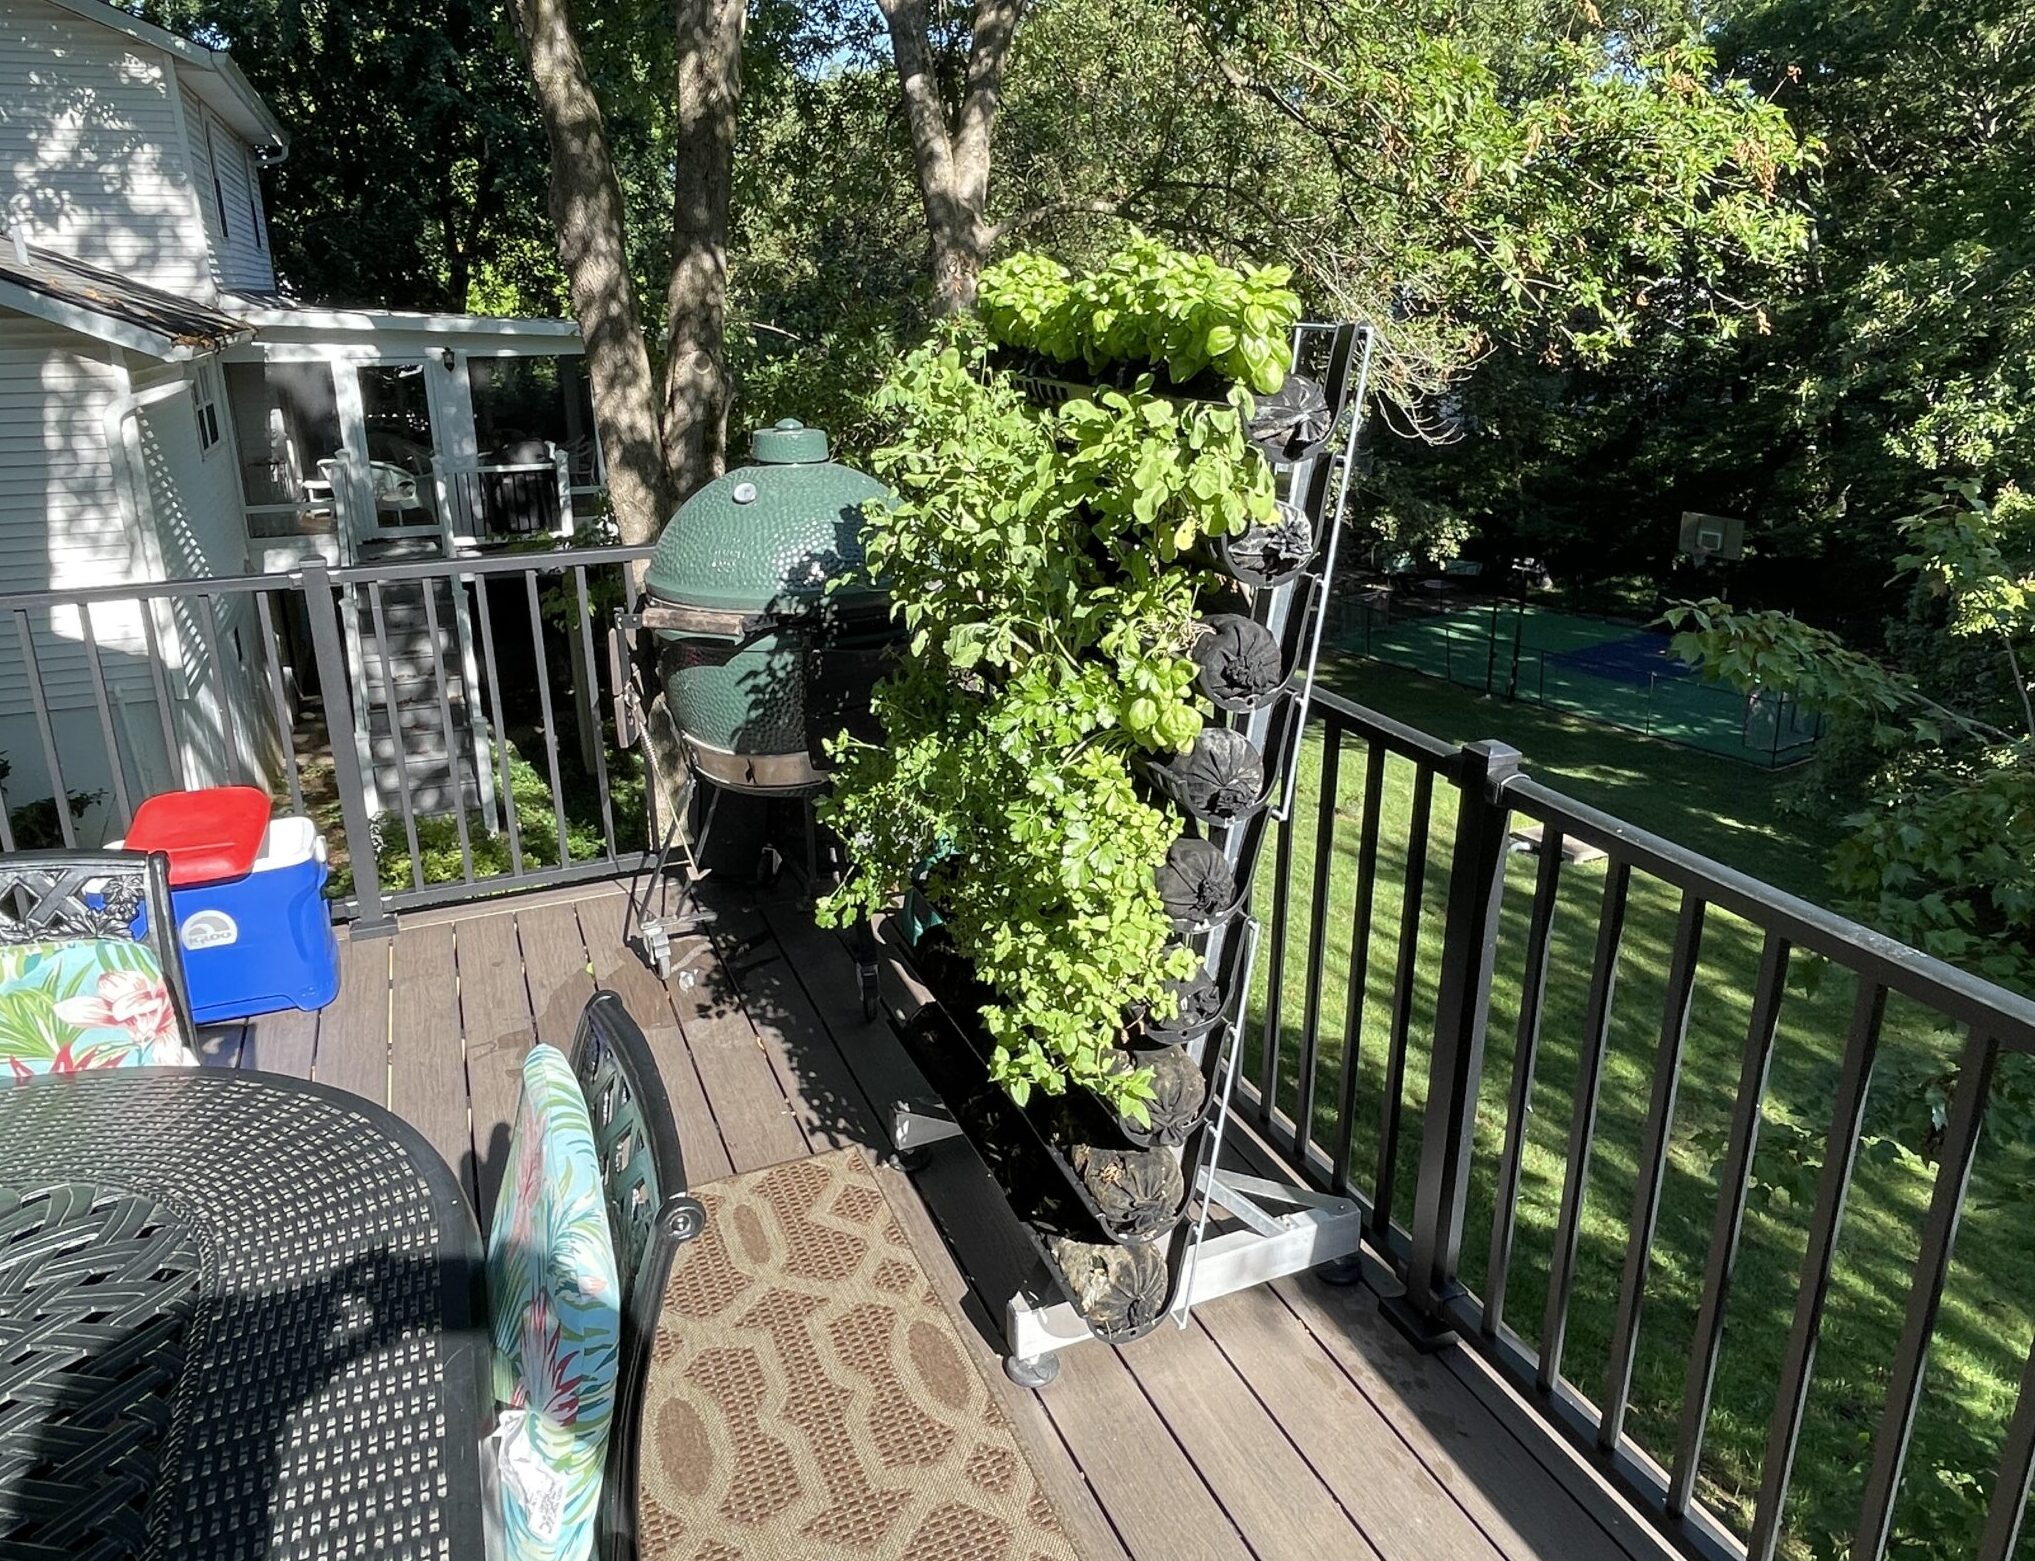
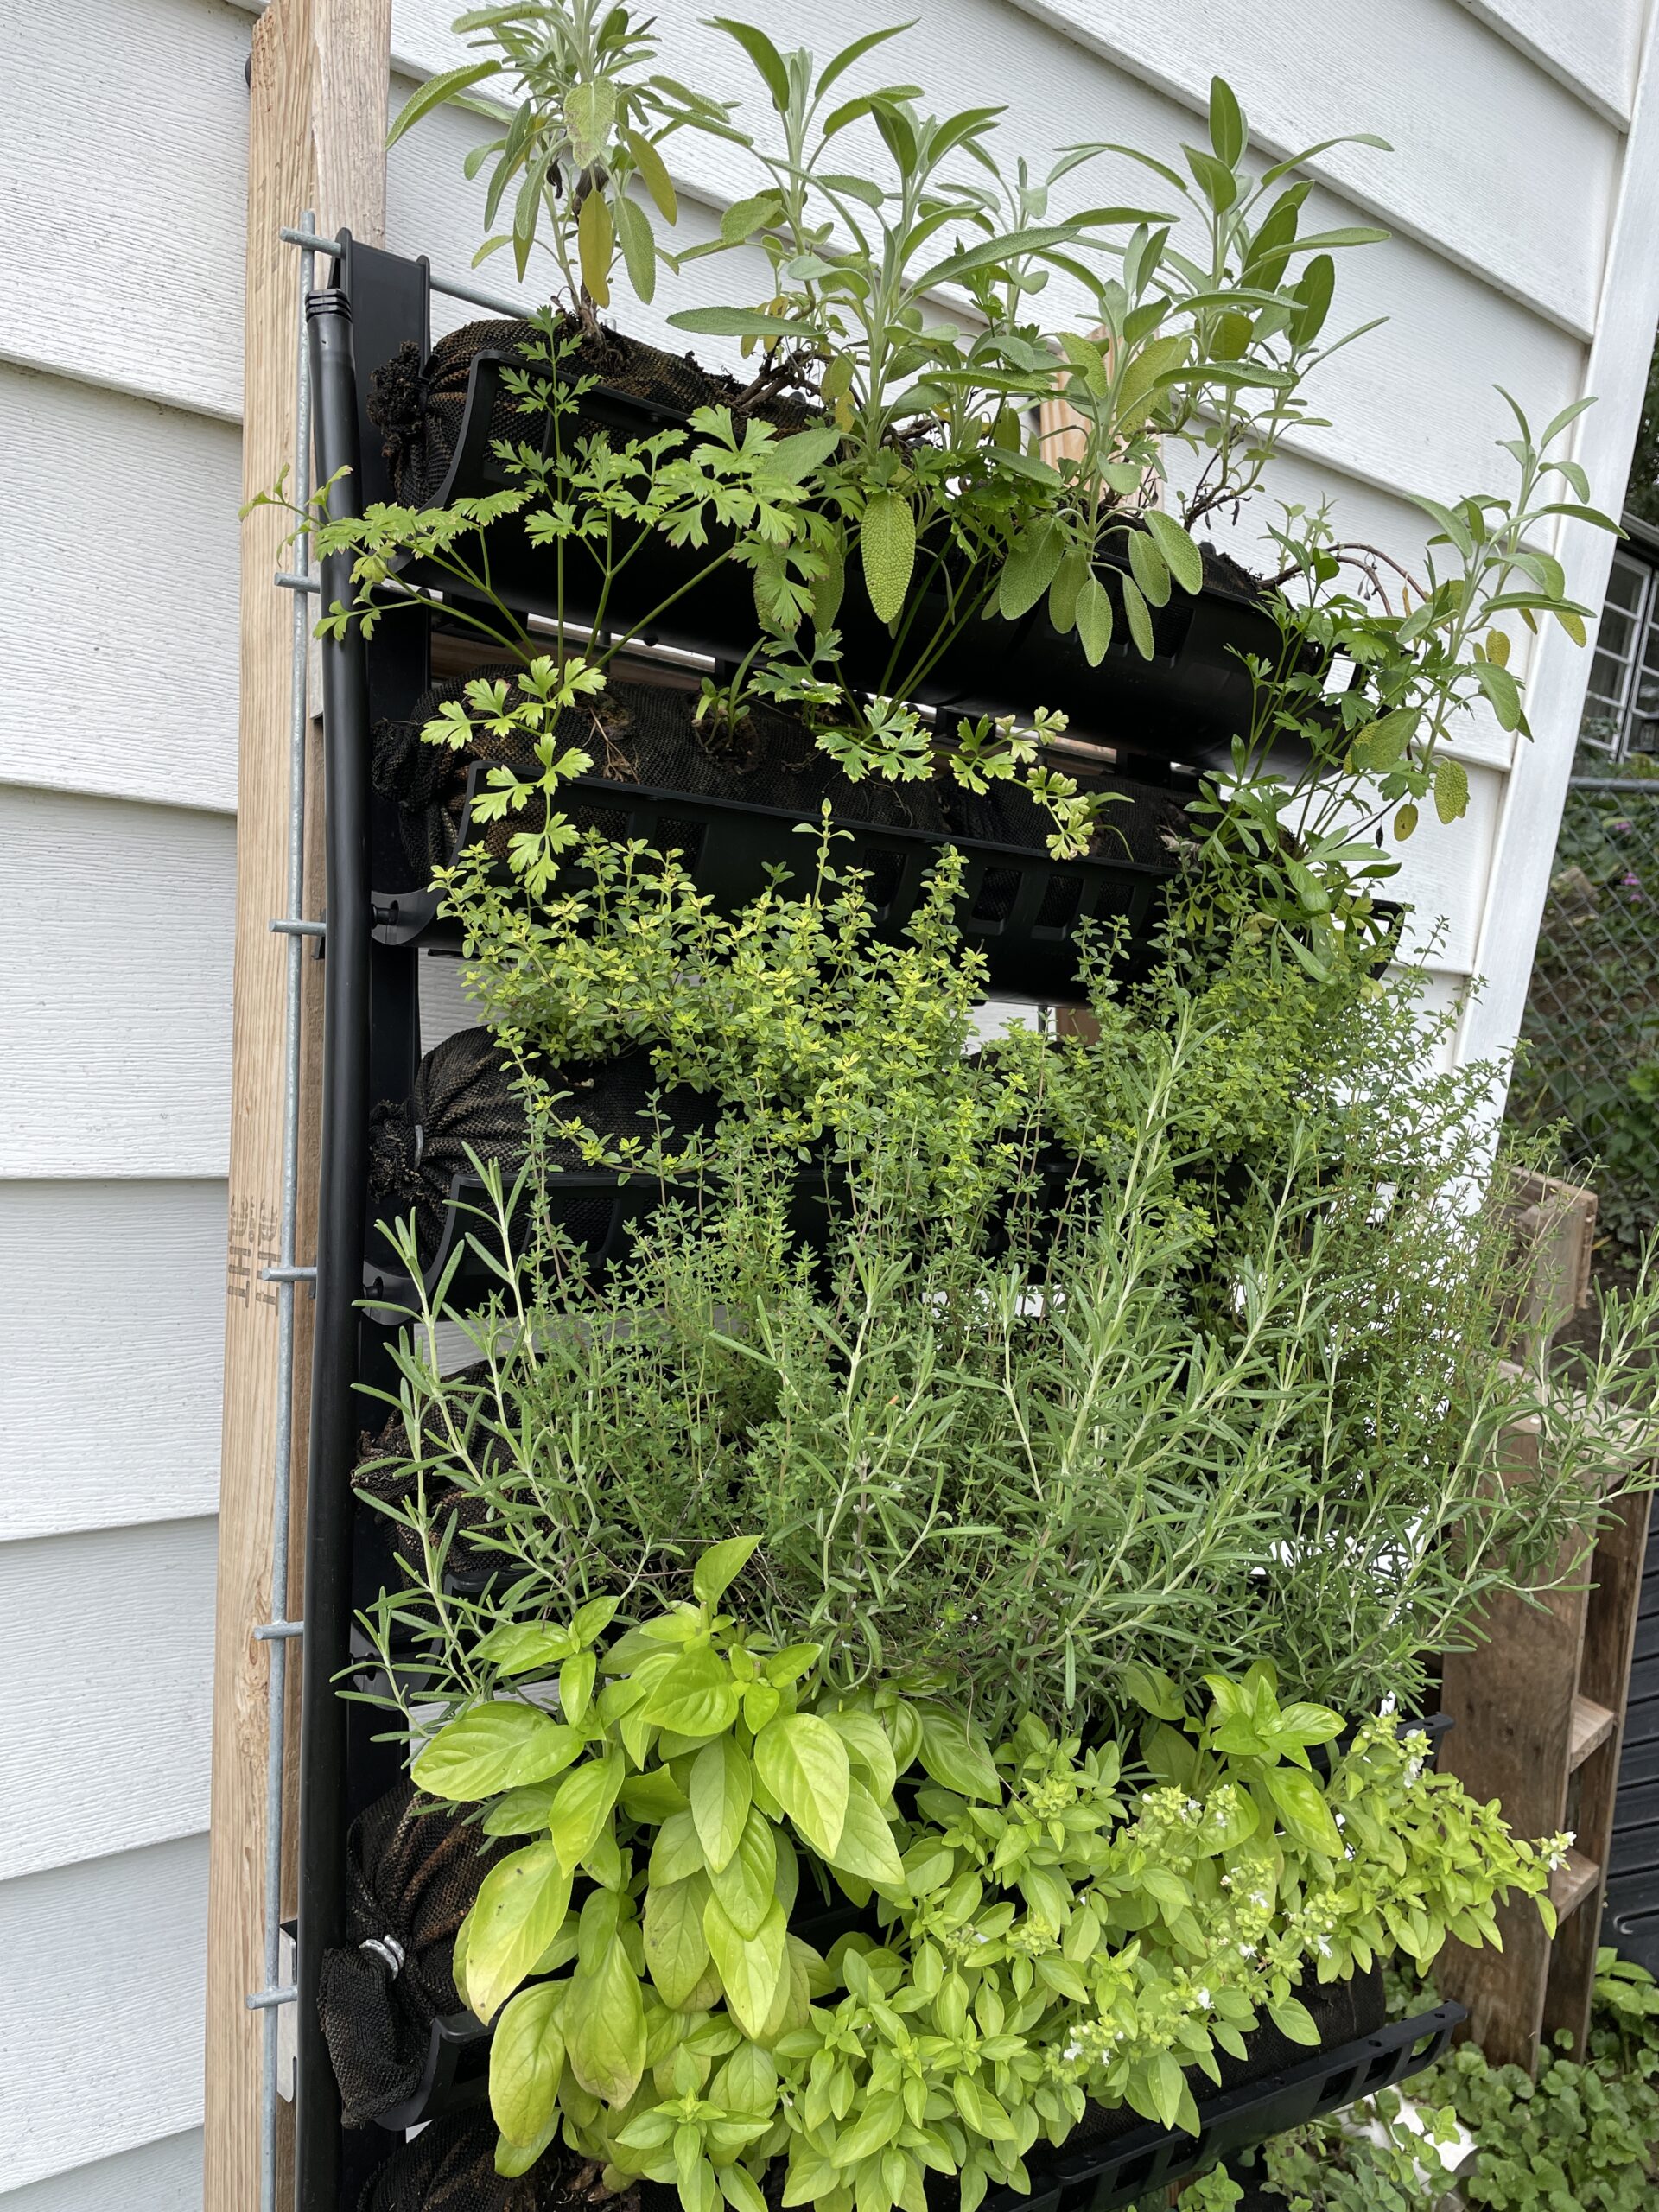
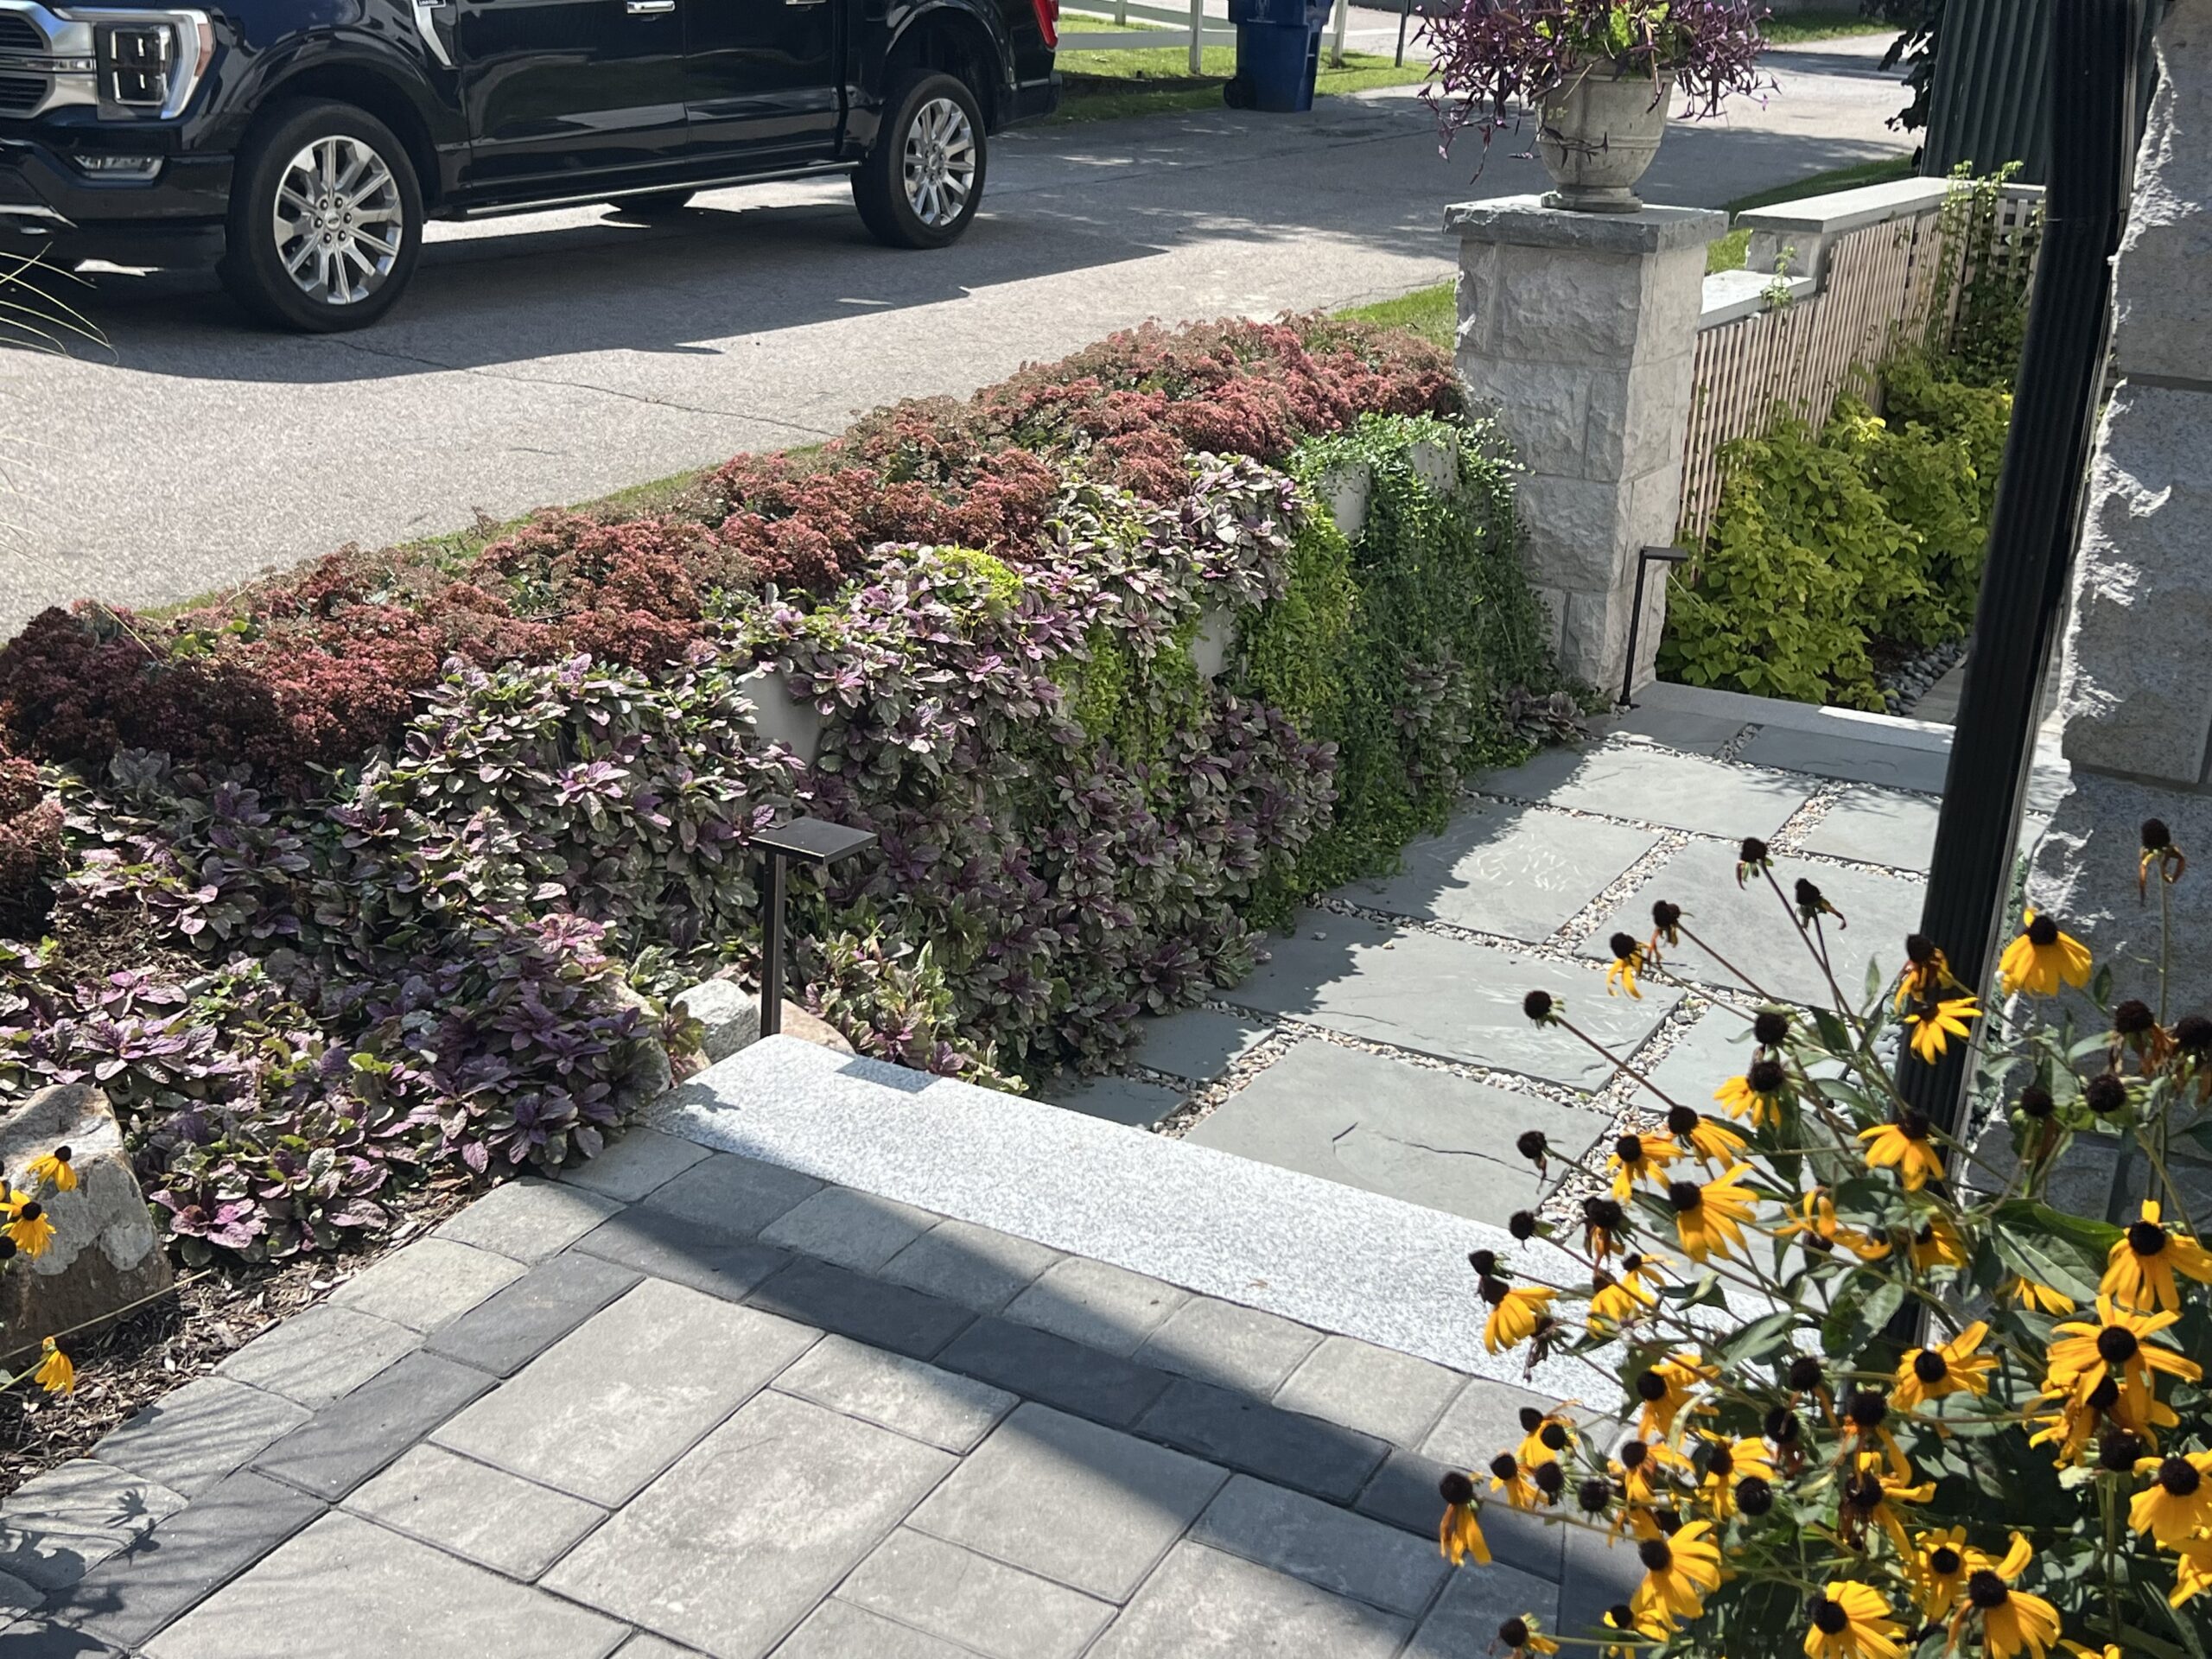
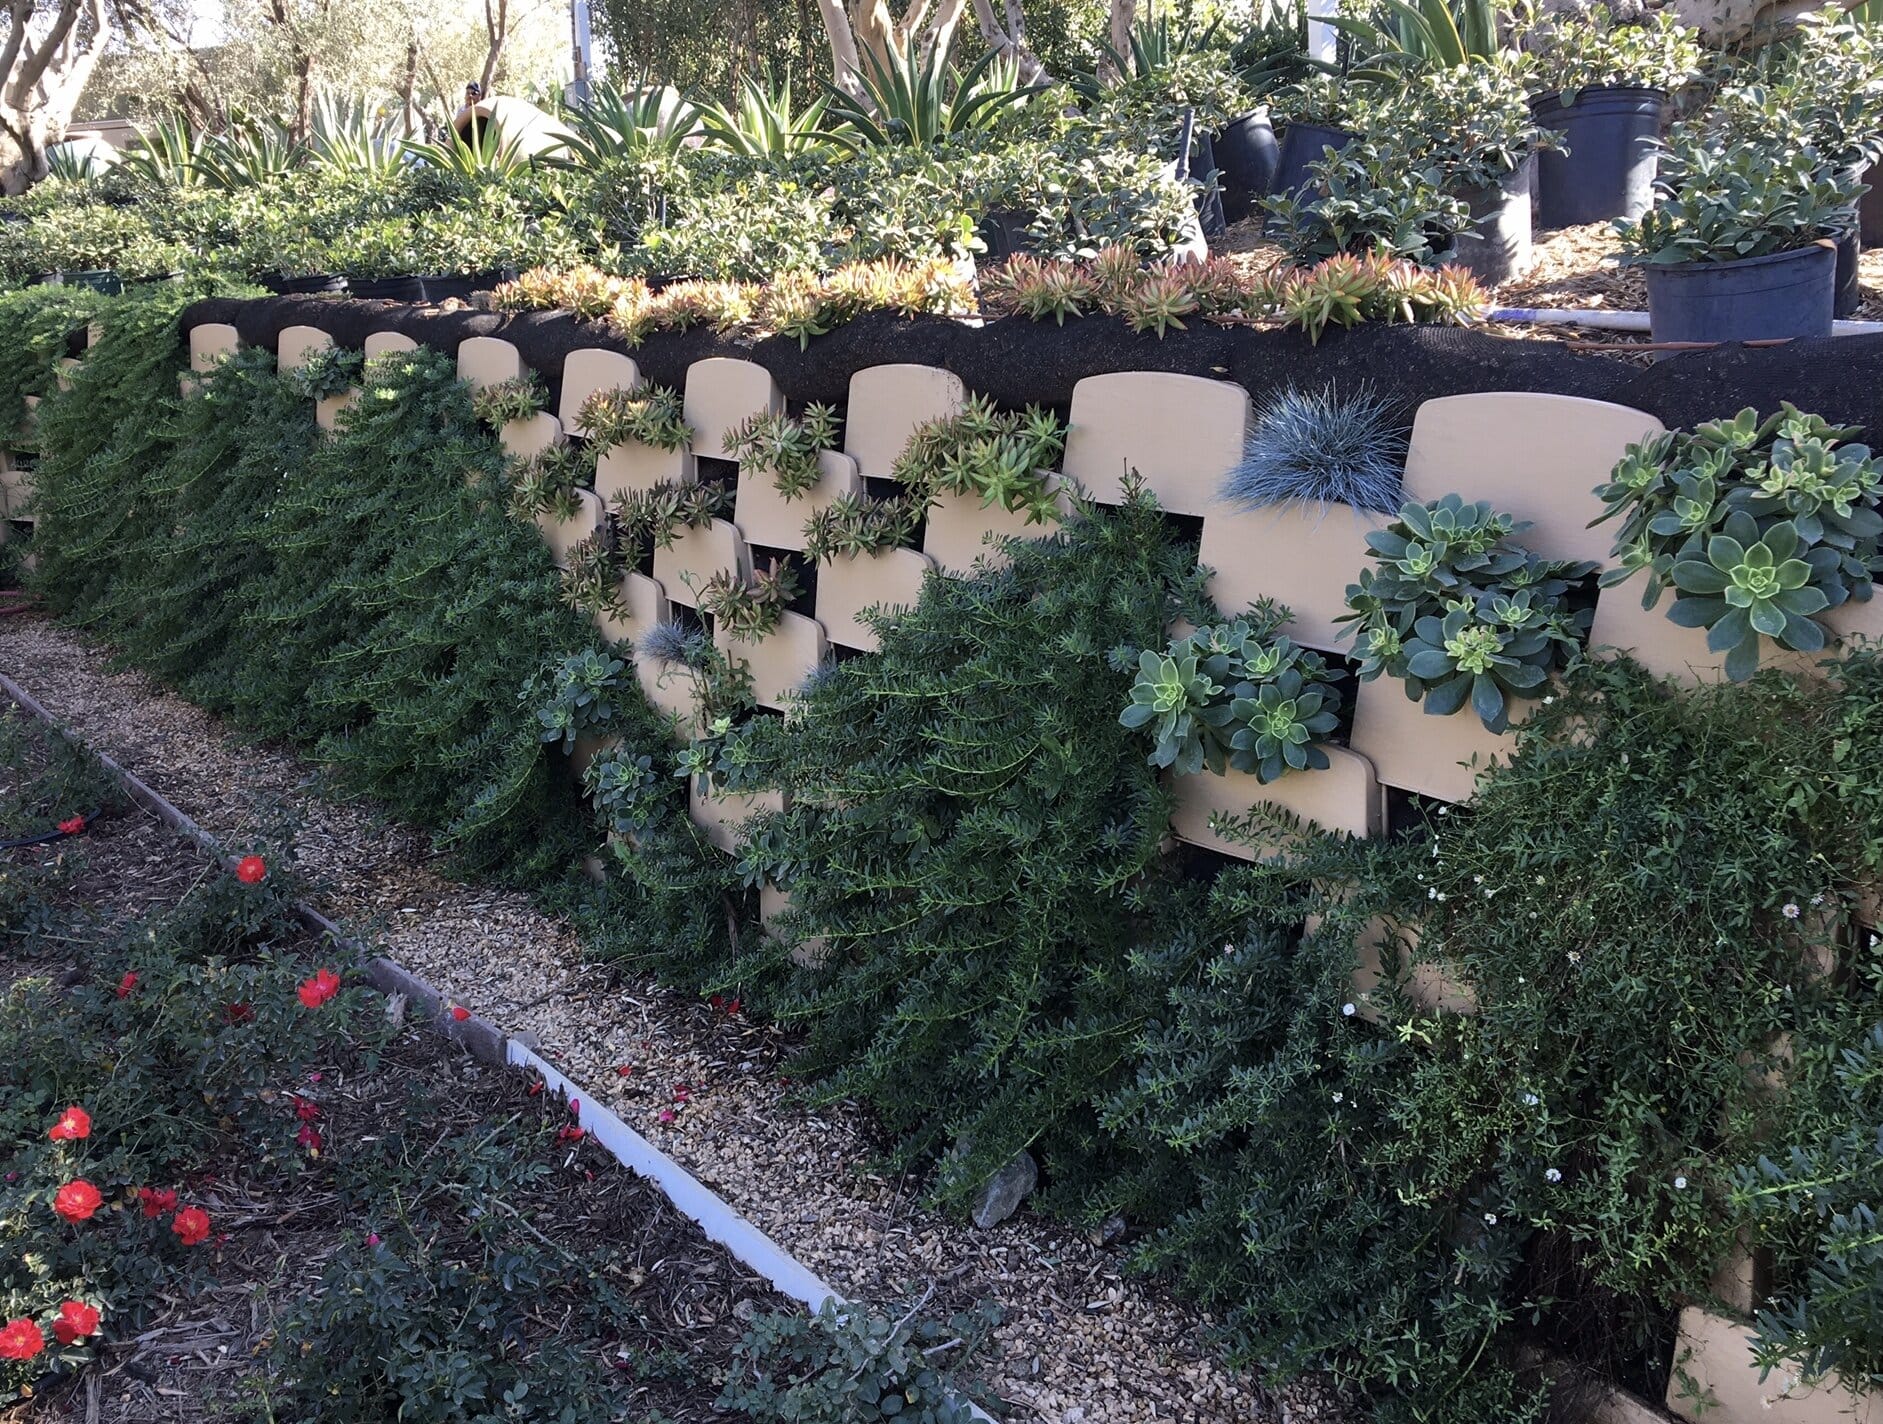
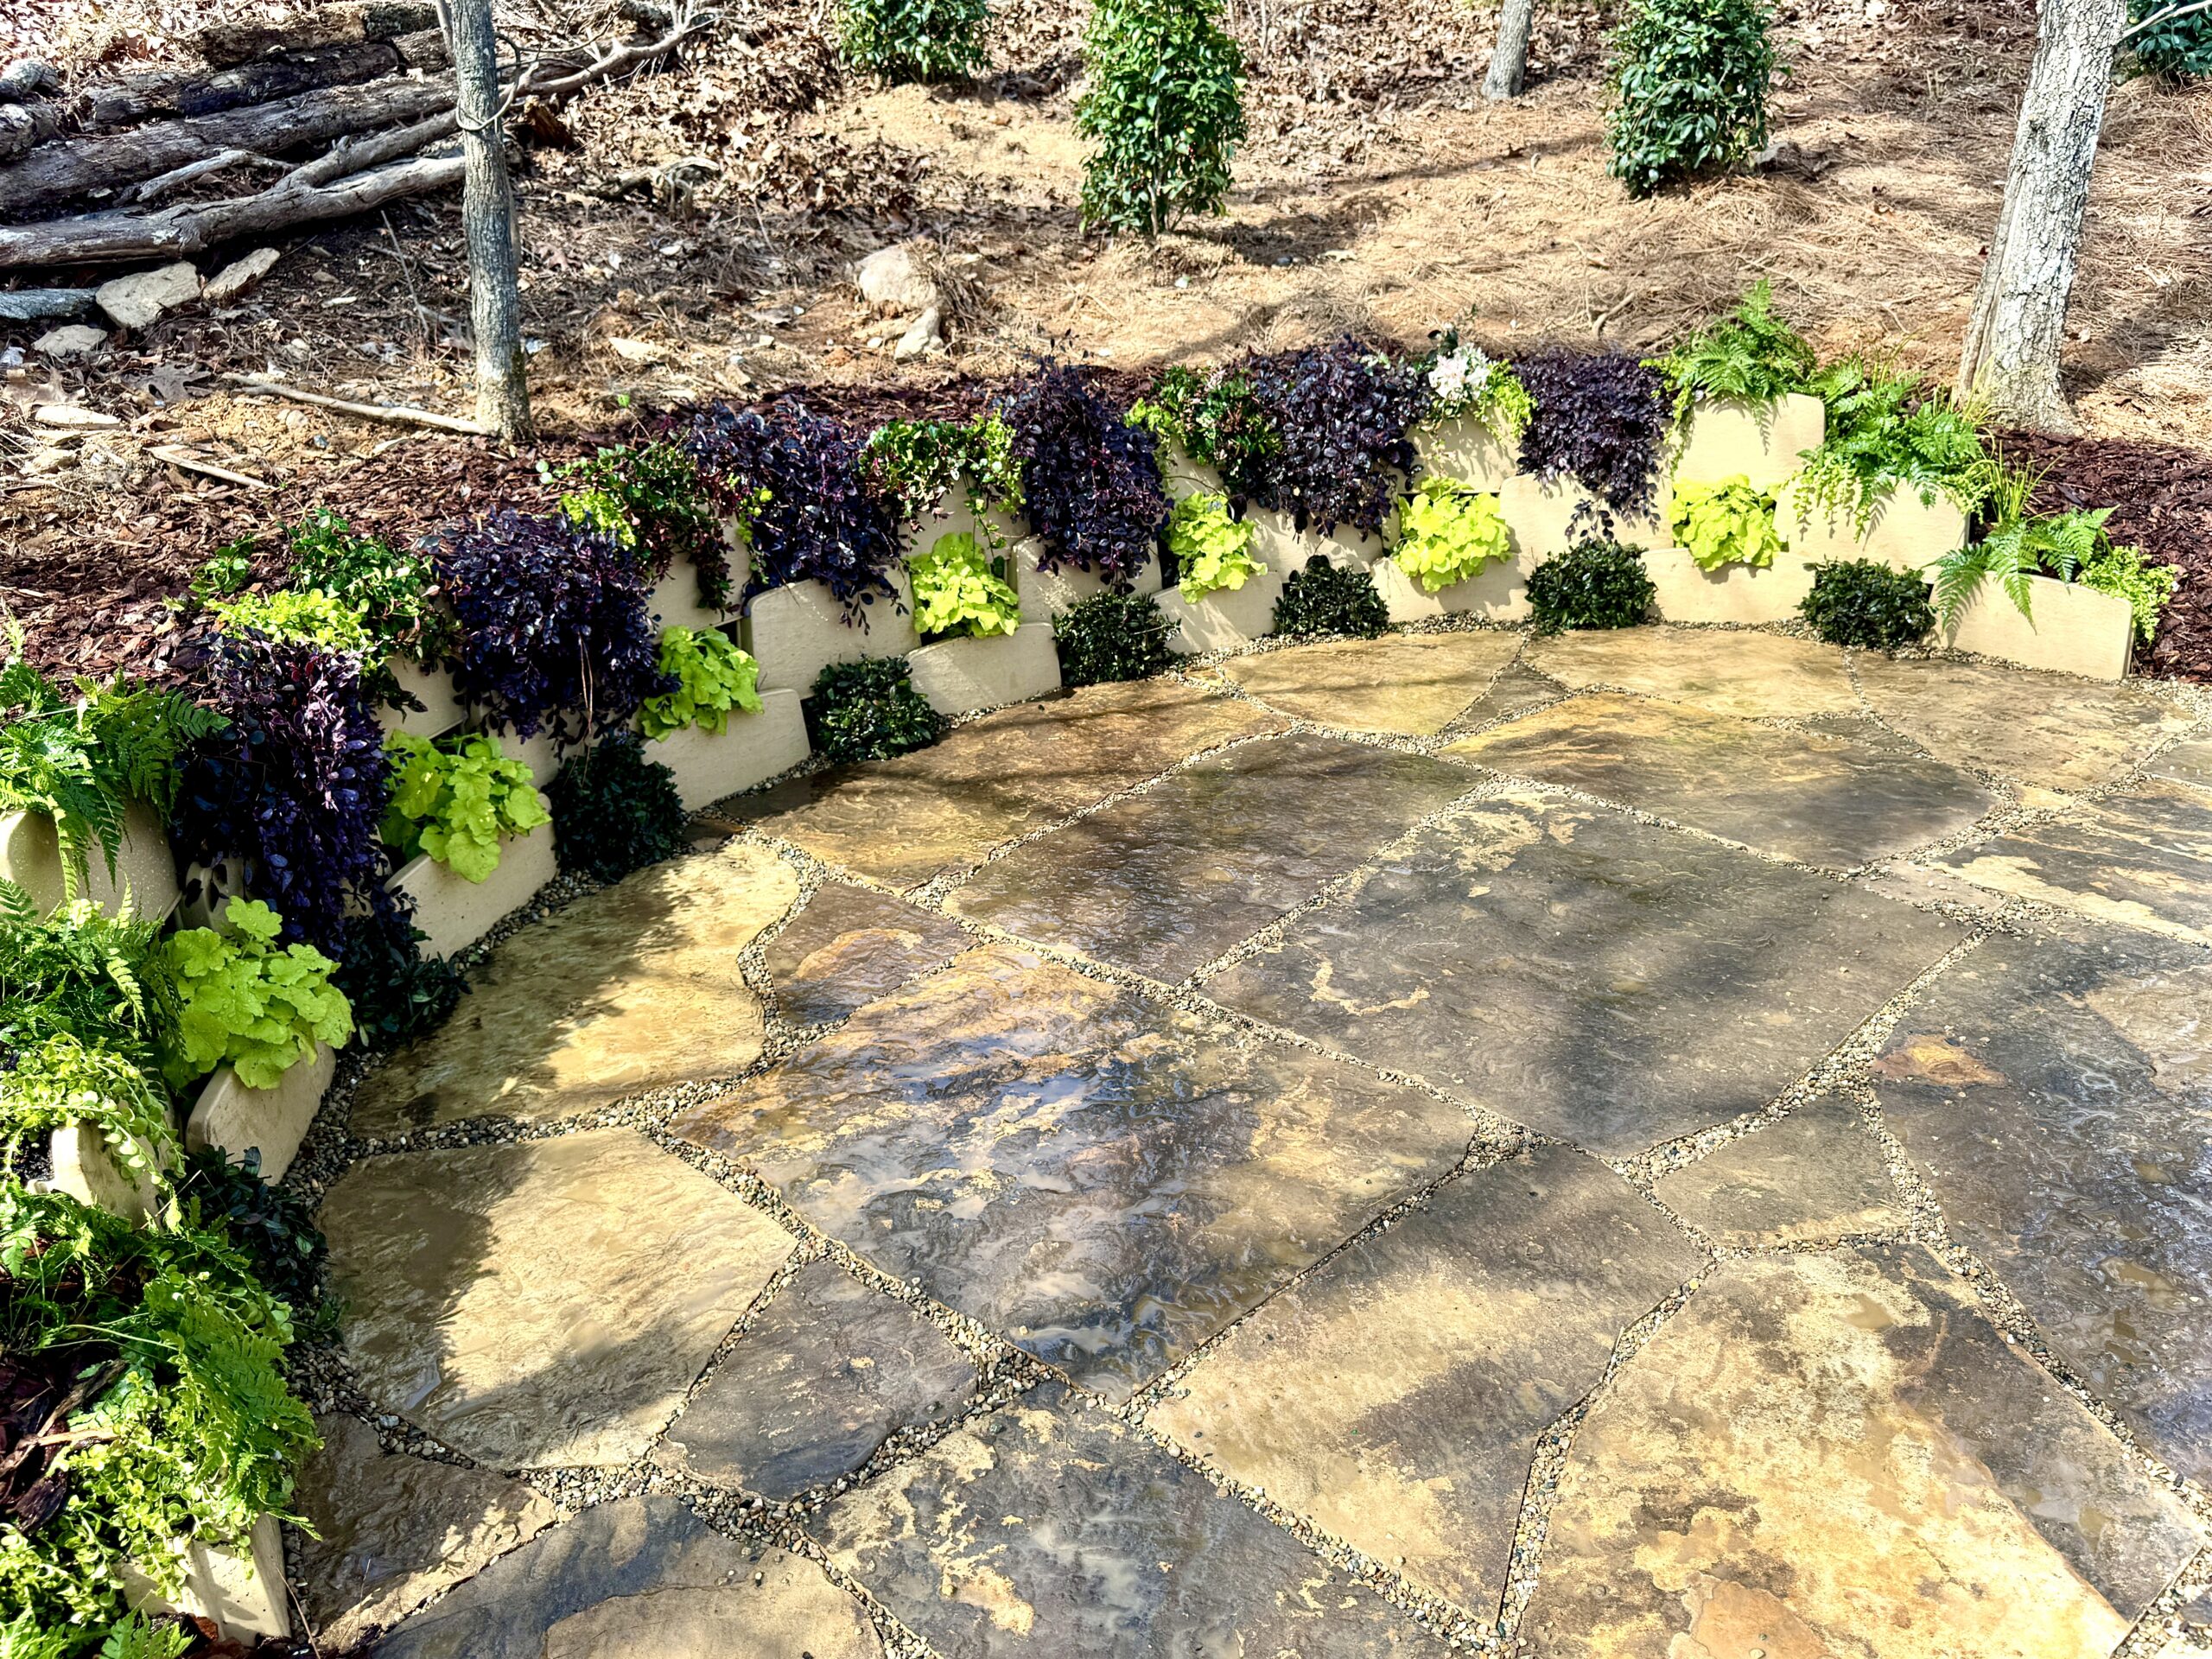
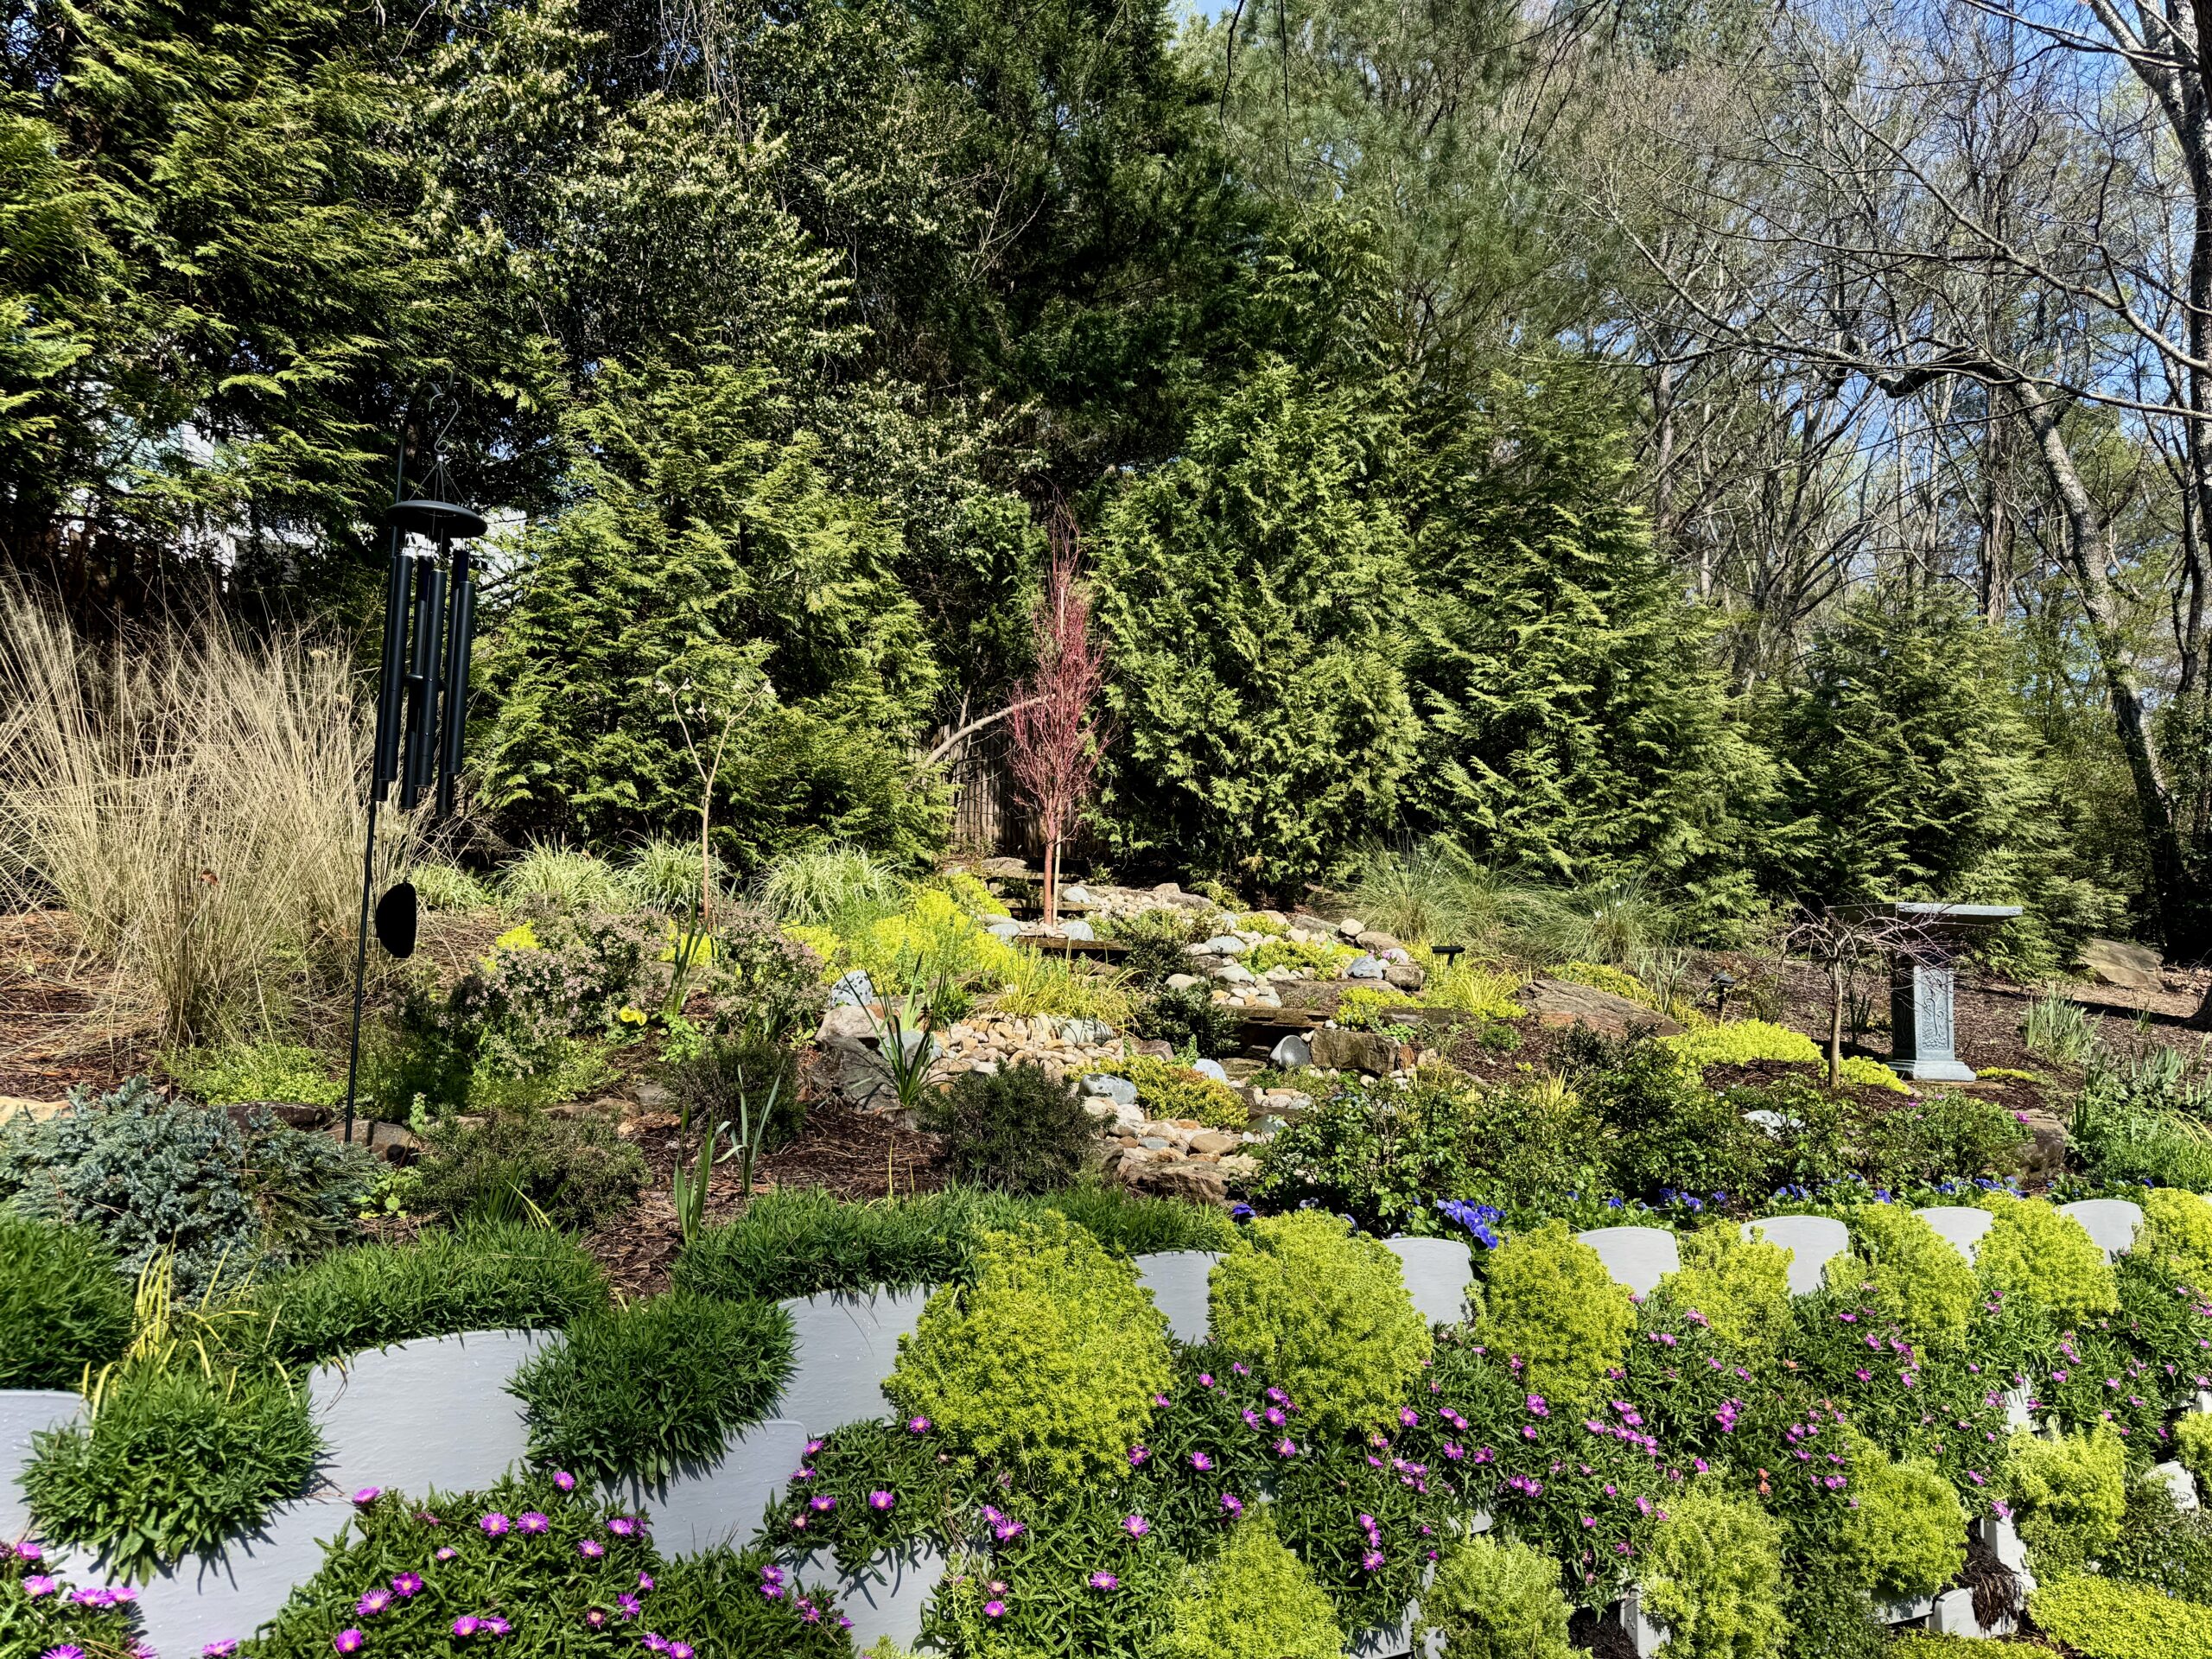
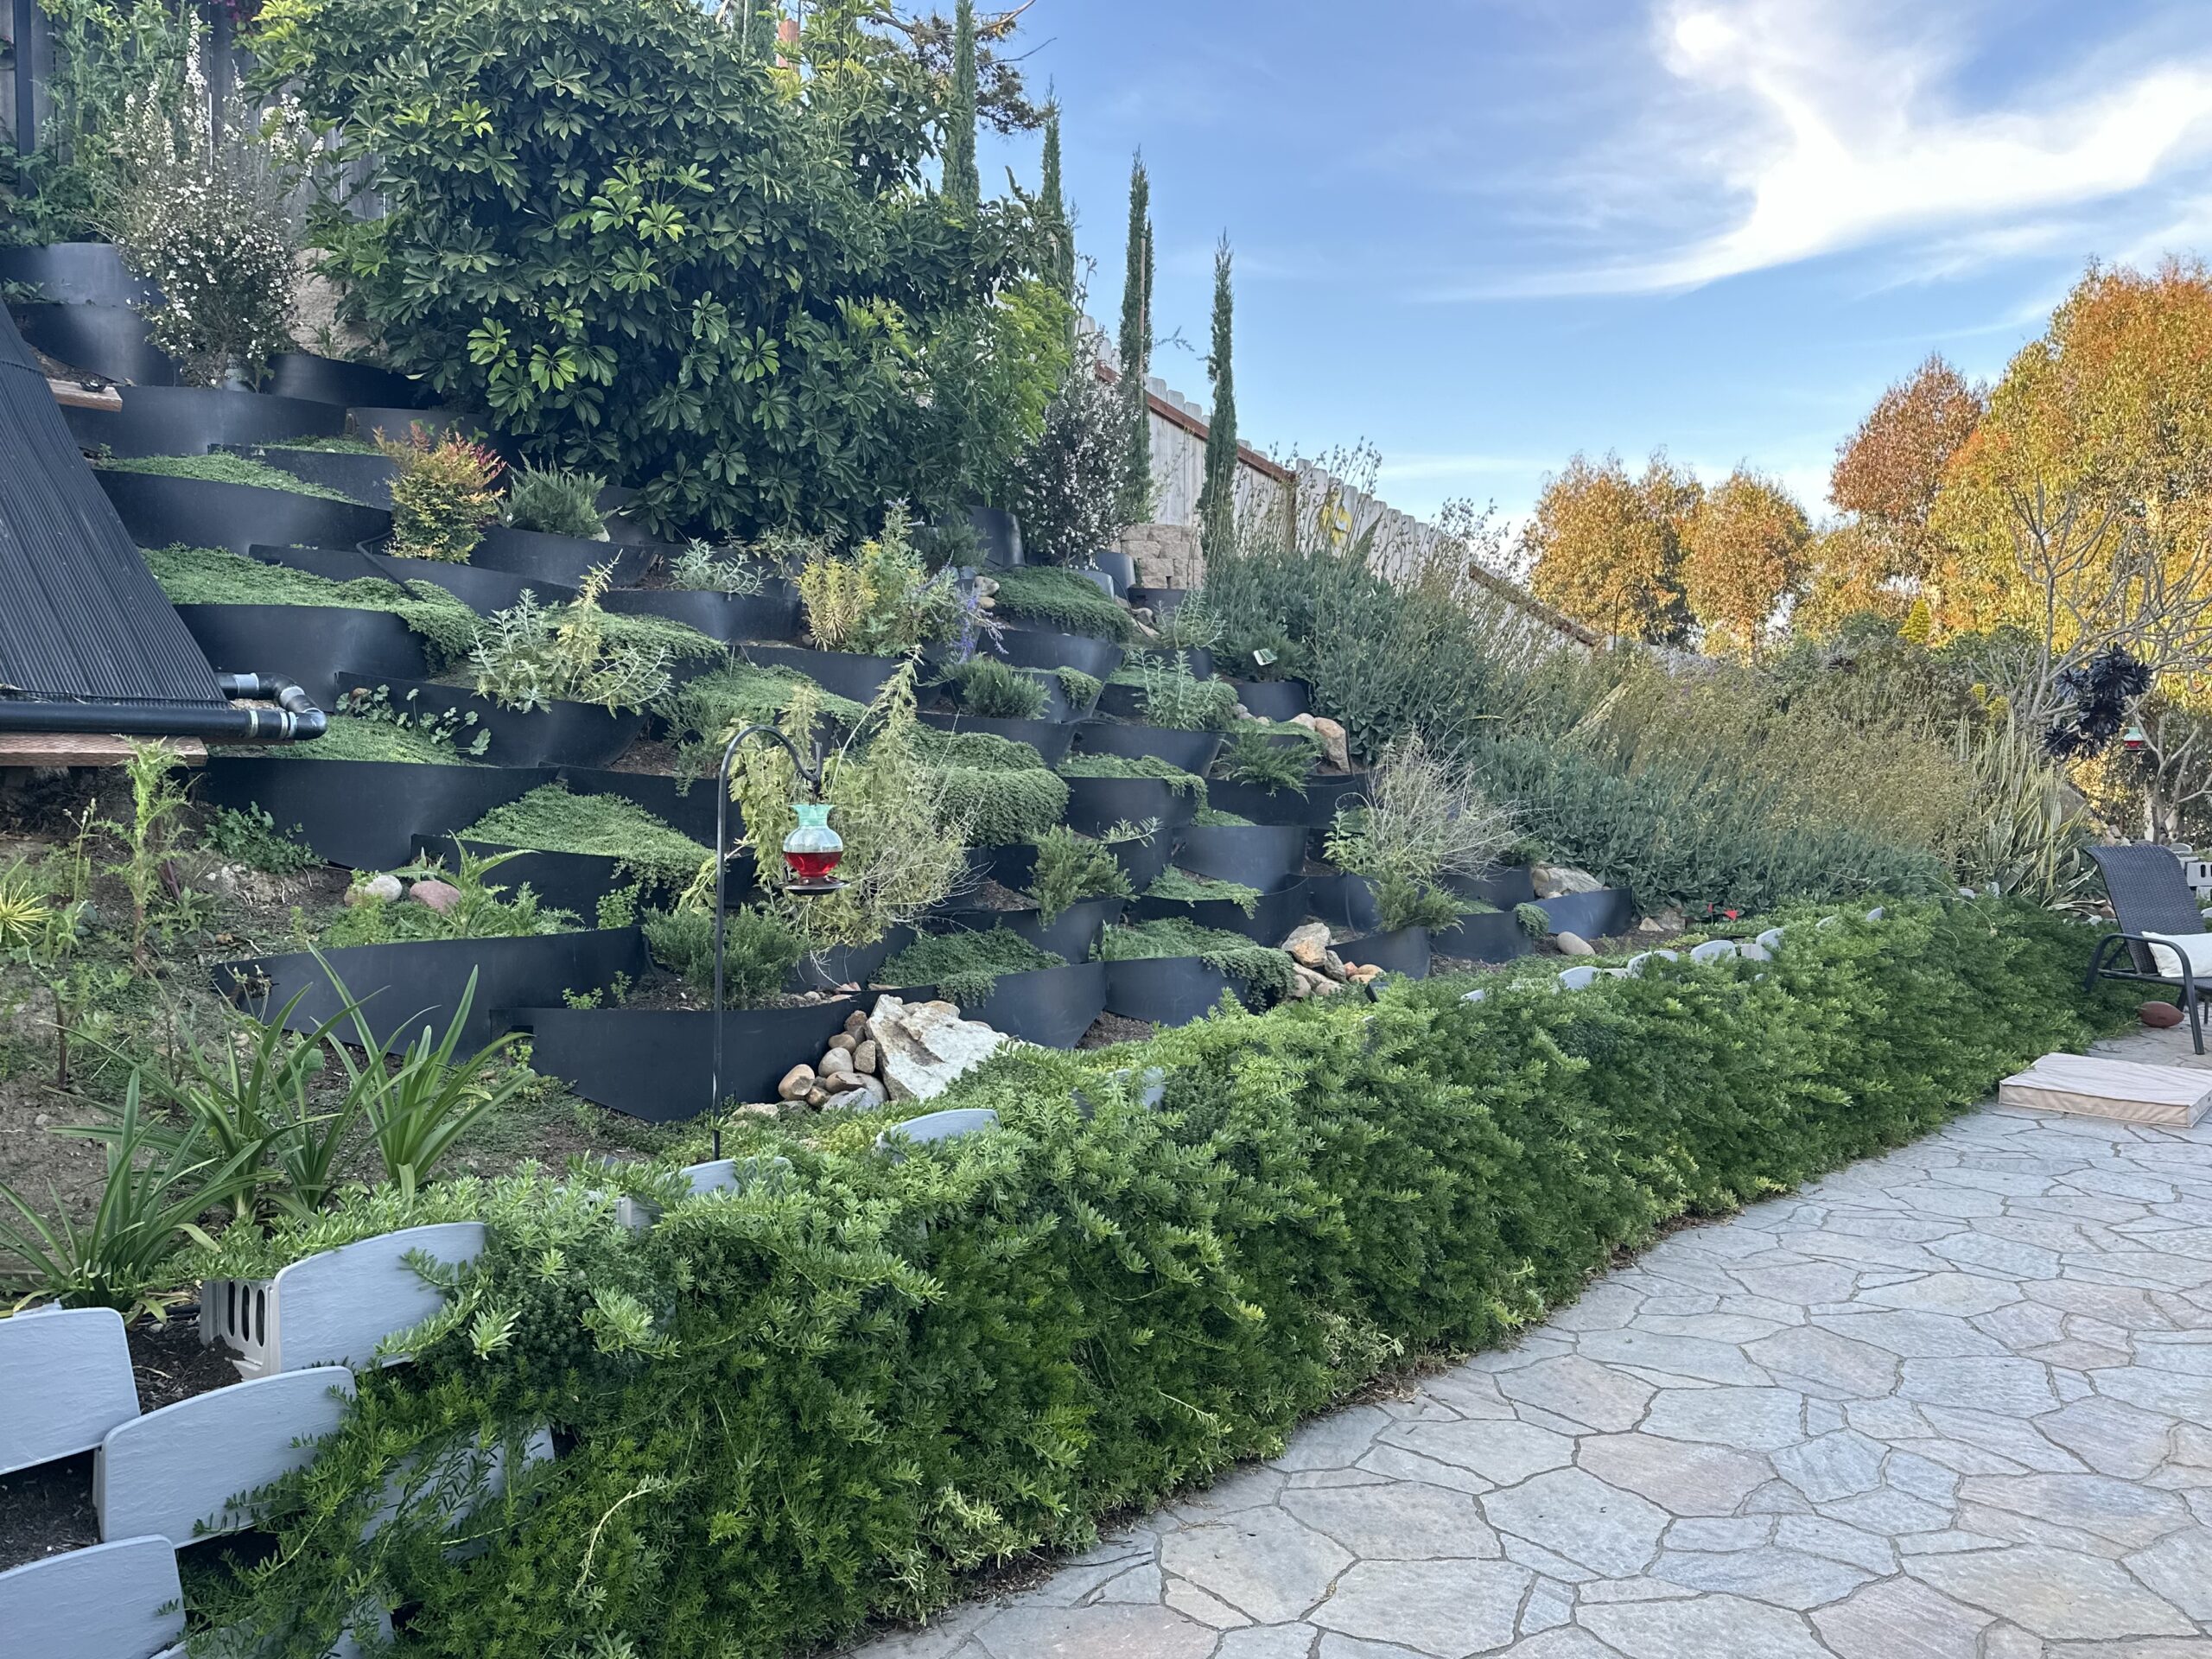
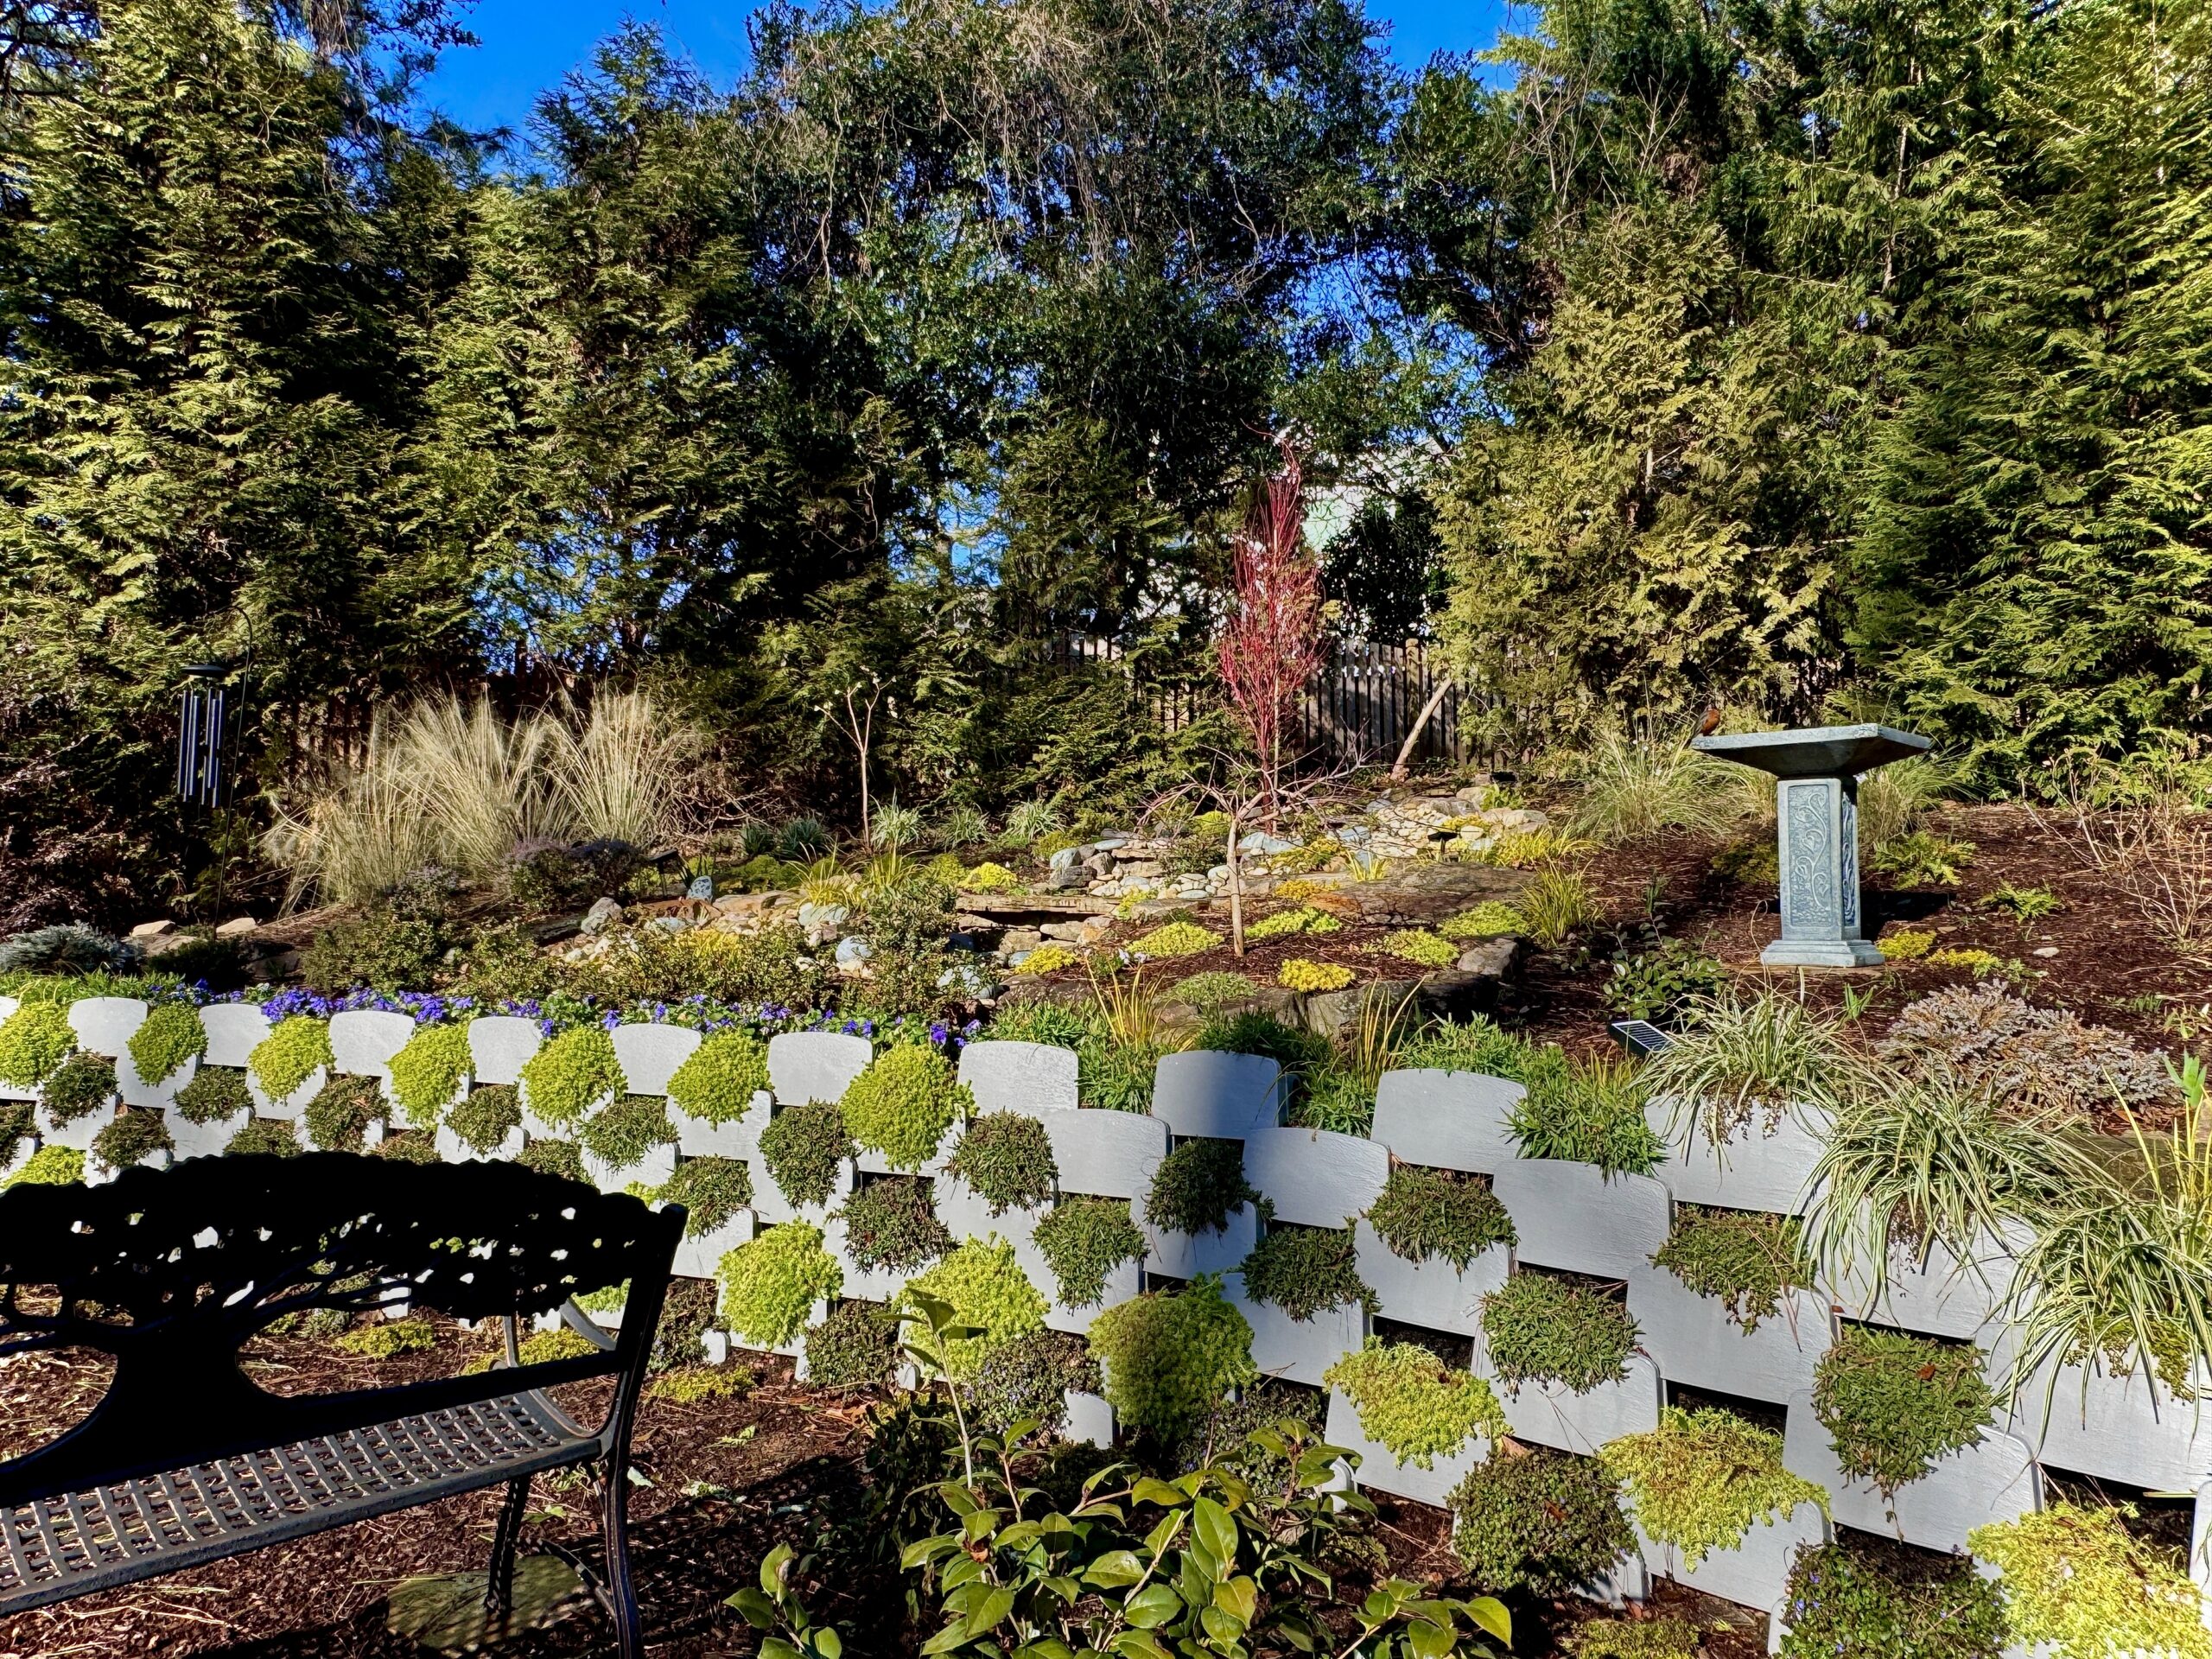
🪴Plant-covered retaining walls are so darn beautiful and each one is totally unique. Plants growing right out of the facing provides a completely different look, that creates beauty beyond that of solid concrete walls. Living Retaining Walls have individual plants living in each block, with root structure that strengthens the wall over time. Varden™ blocks enable habitat for pollinators and enhanced environmental service by absorbing rainwater and cooling the environment around the wall. Perfect additions to the urban and suburban landscape you will enjoy for decades.
🌱Varden™ Plantable “Living” Retaining Walls are evolving landscape walls.
- Based on 30+ years in the plantable retaining wall market, you are buying a lightweight retaining wall block designed for ease of shipping, handling and installation, while providing the structure to build landscape retaining walls up to 8′ tall.
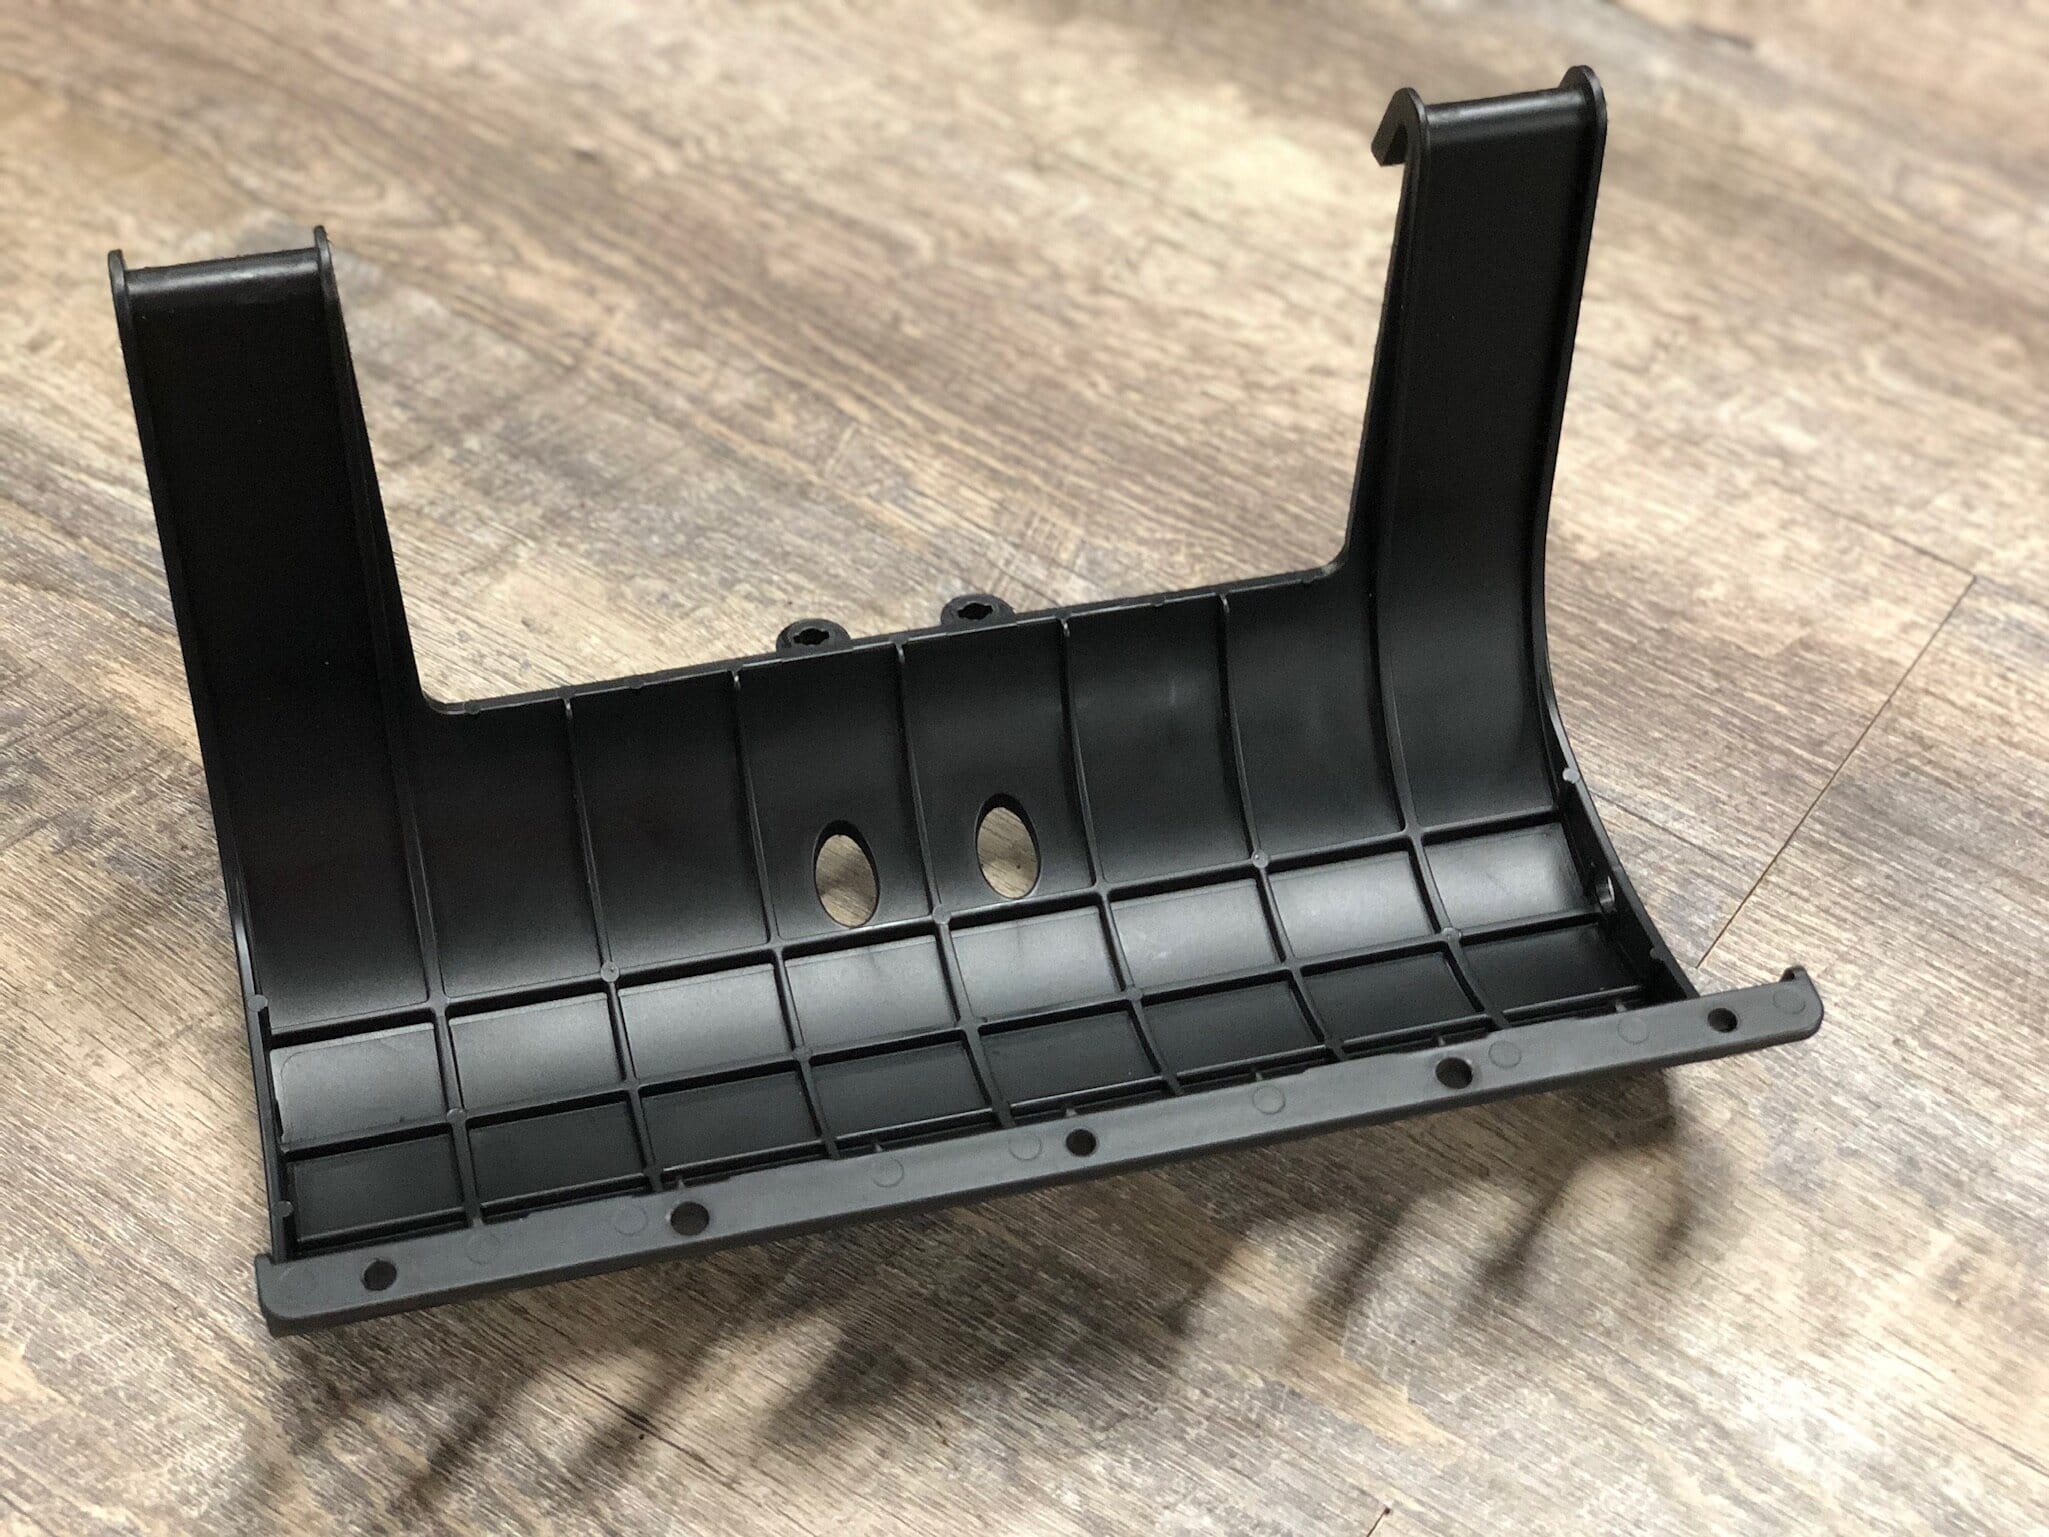
- Each full size module covers 1.0 sf, is made of injection molded plastic, and weights only 3 lbs!
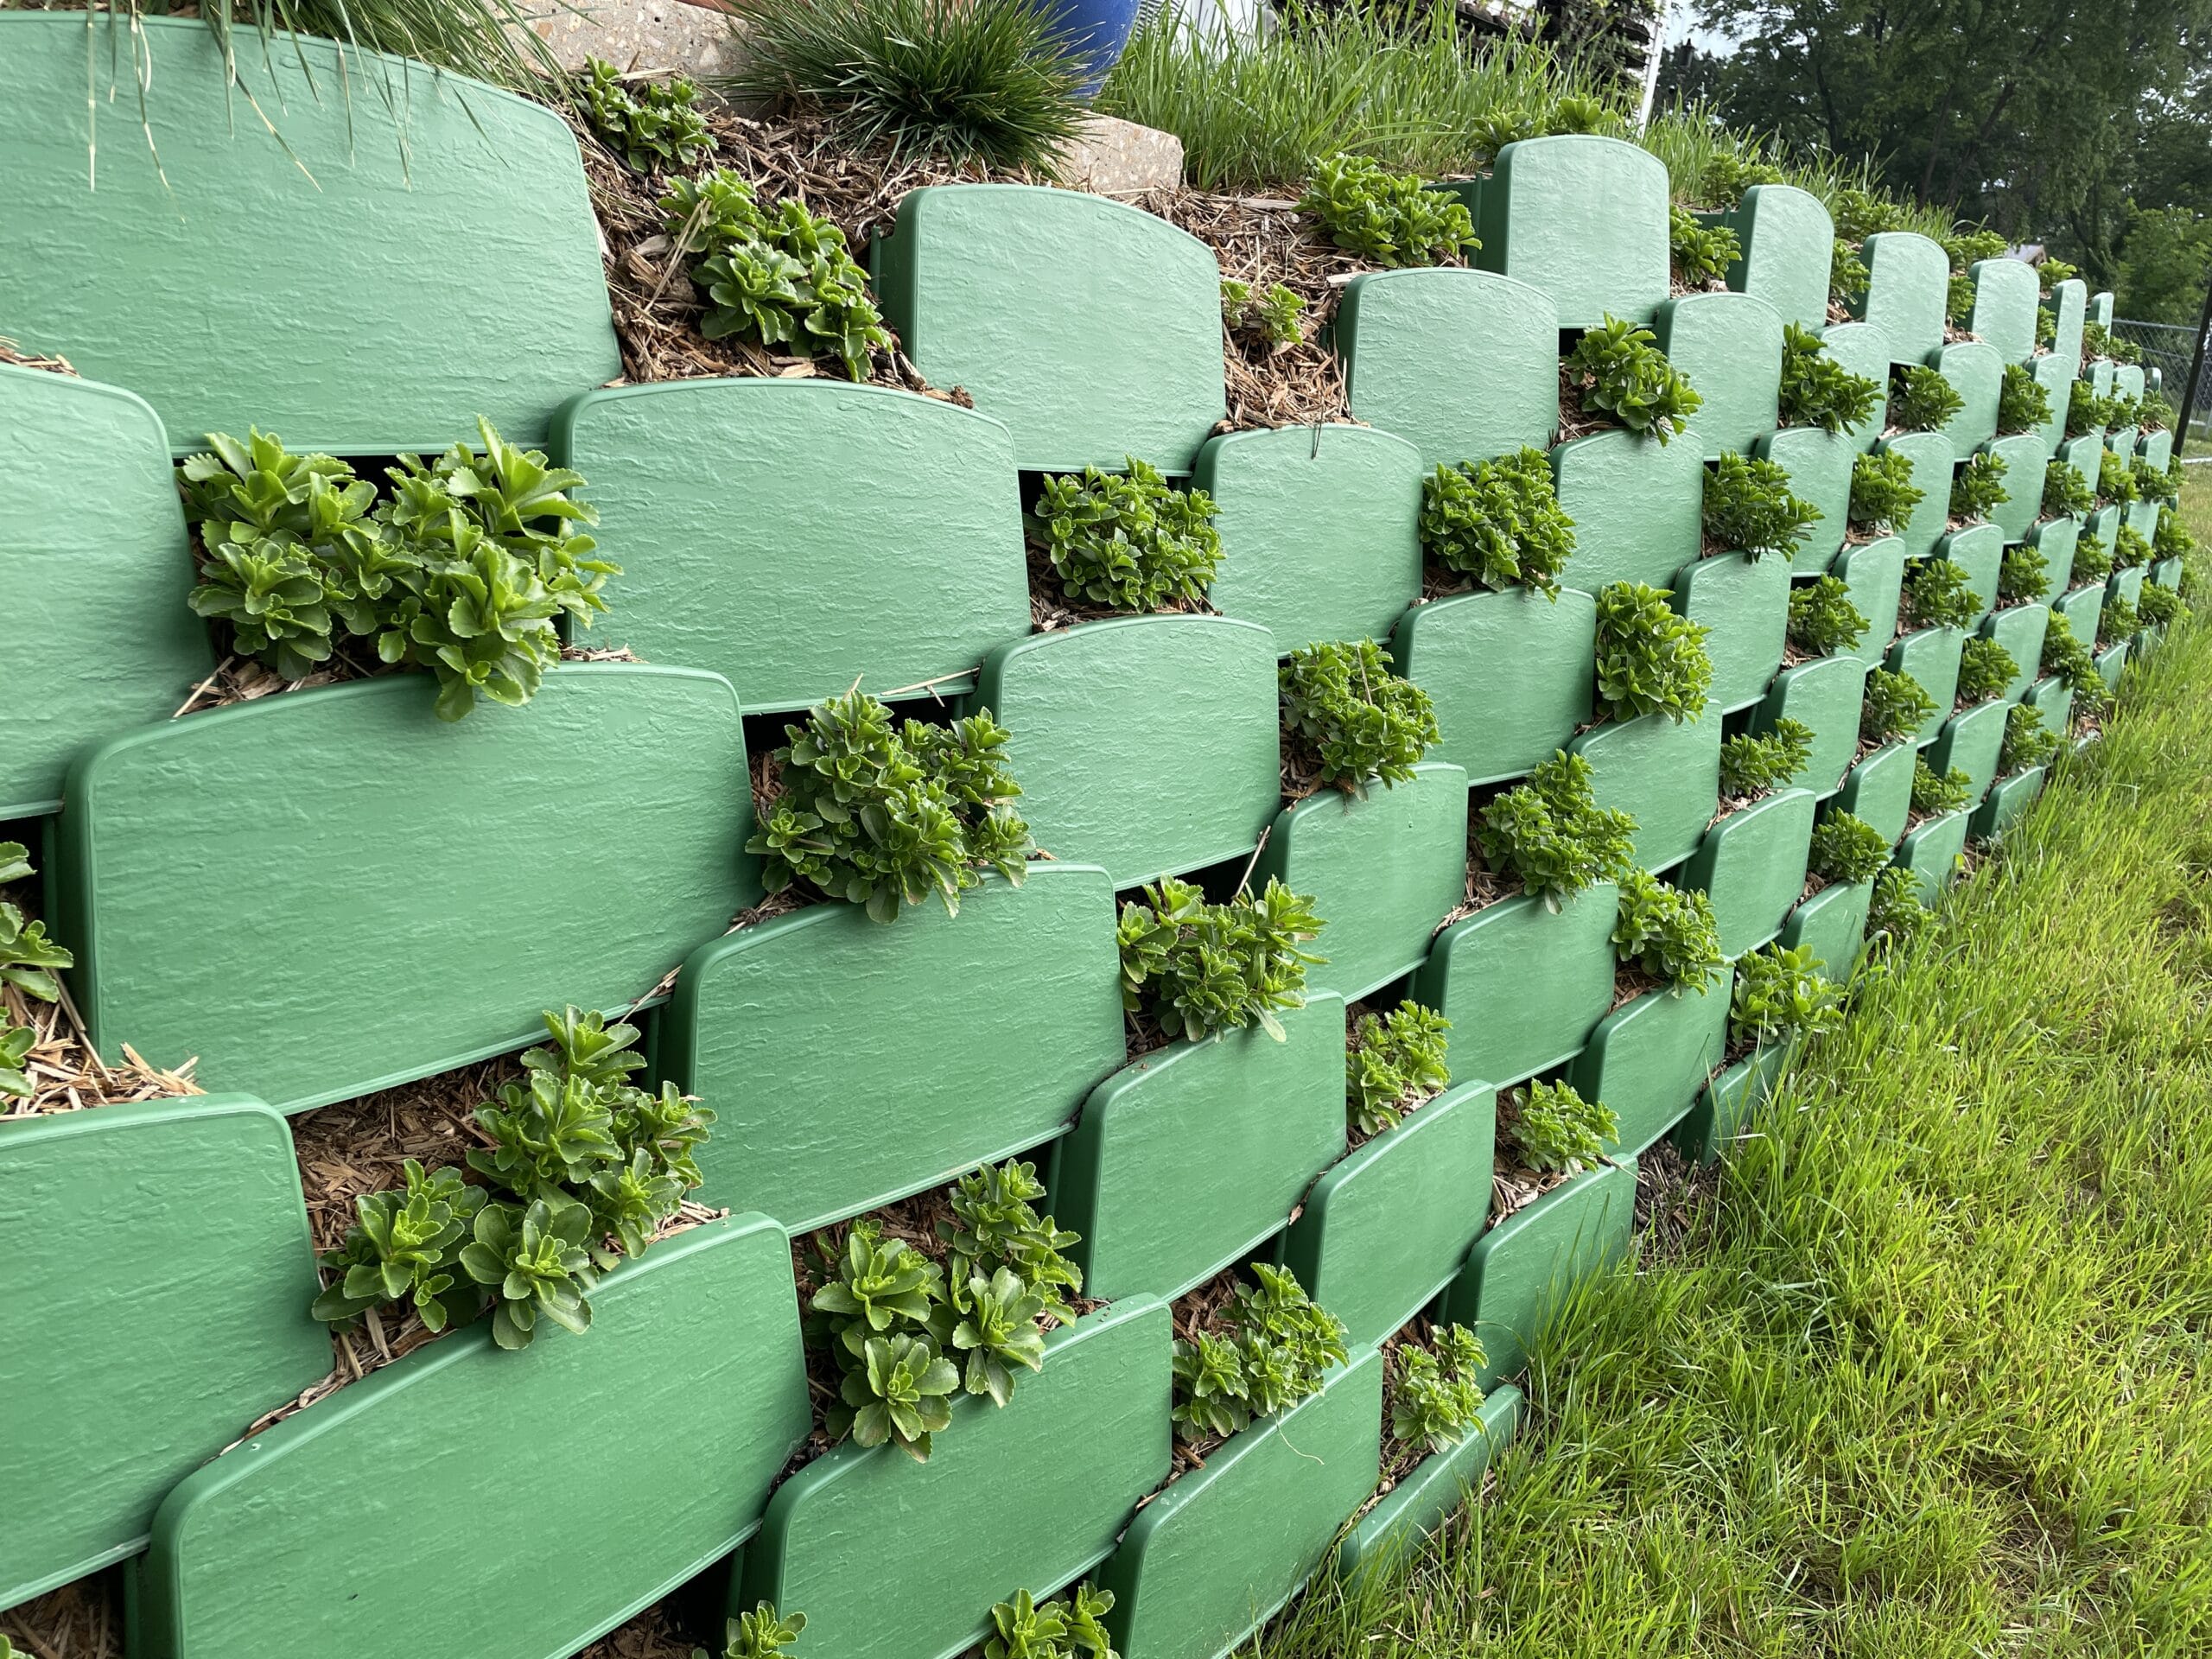
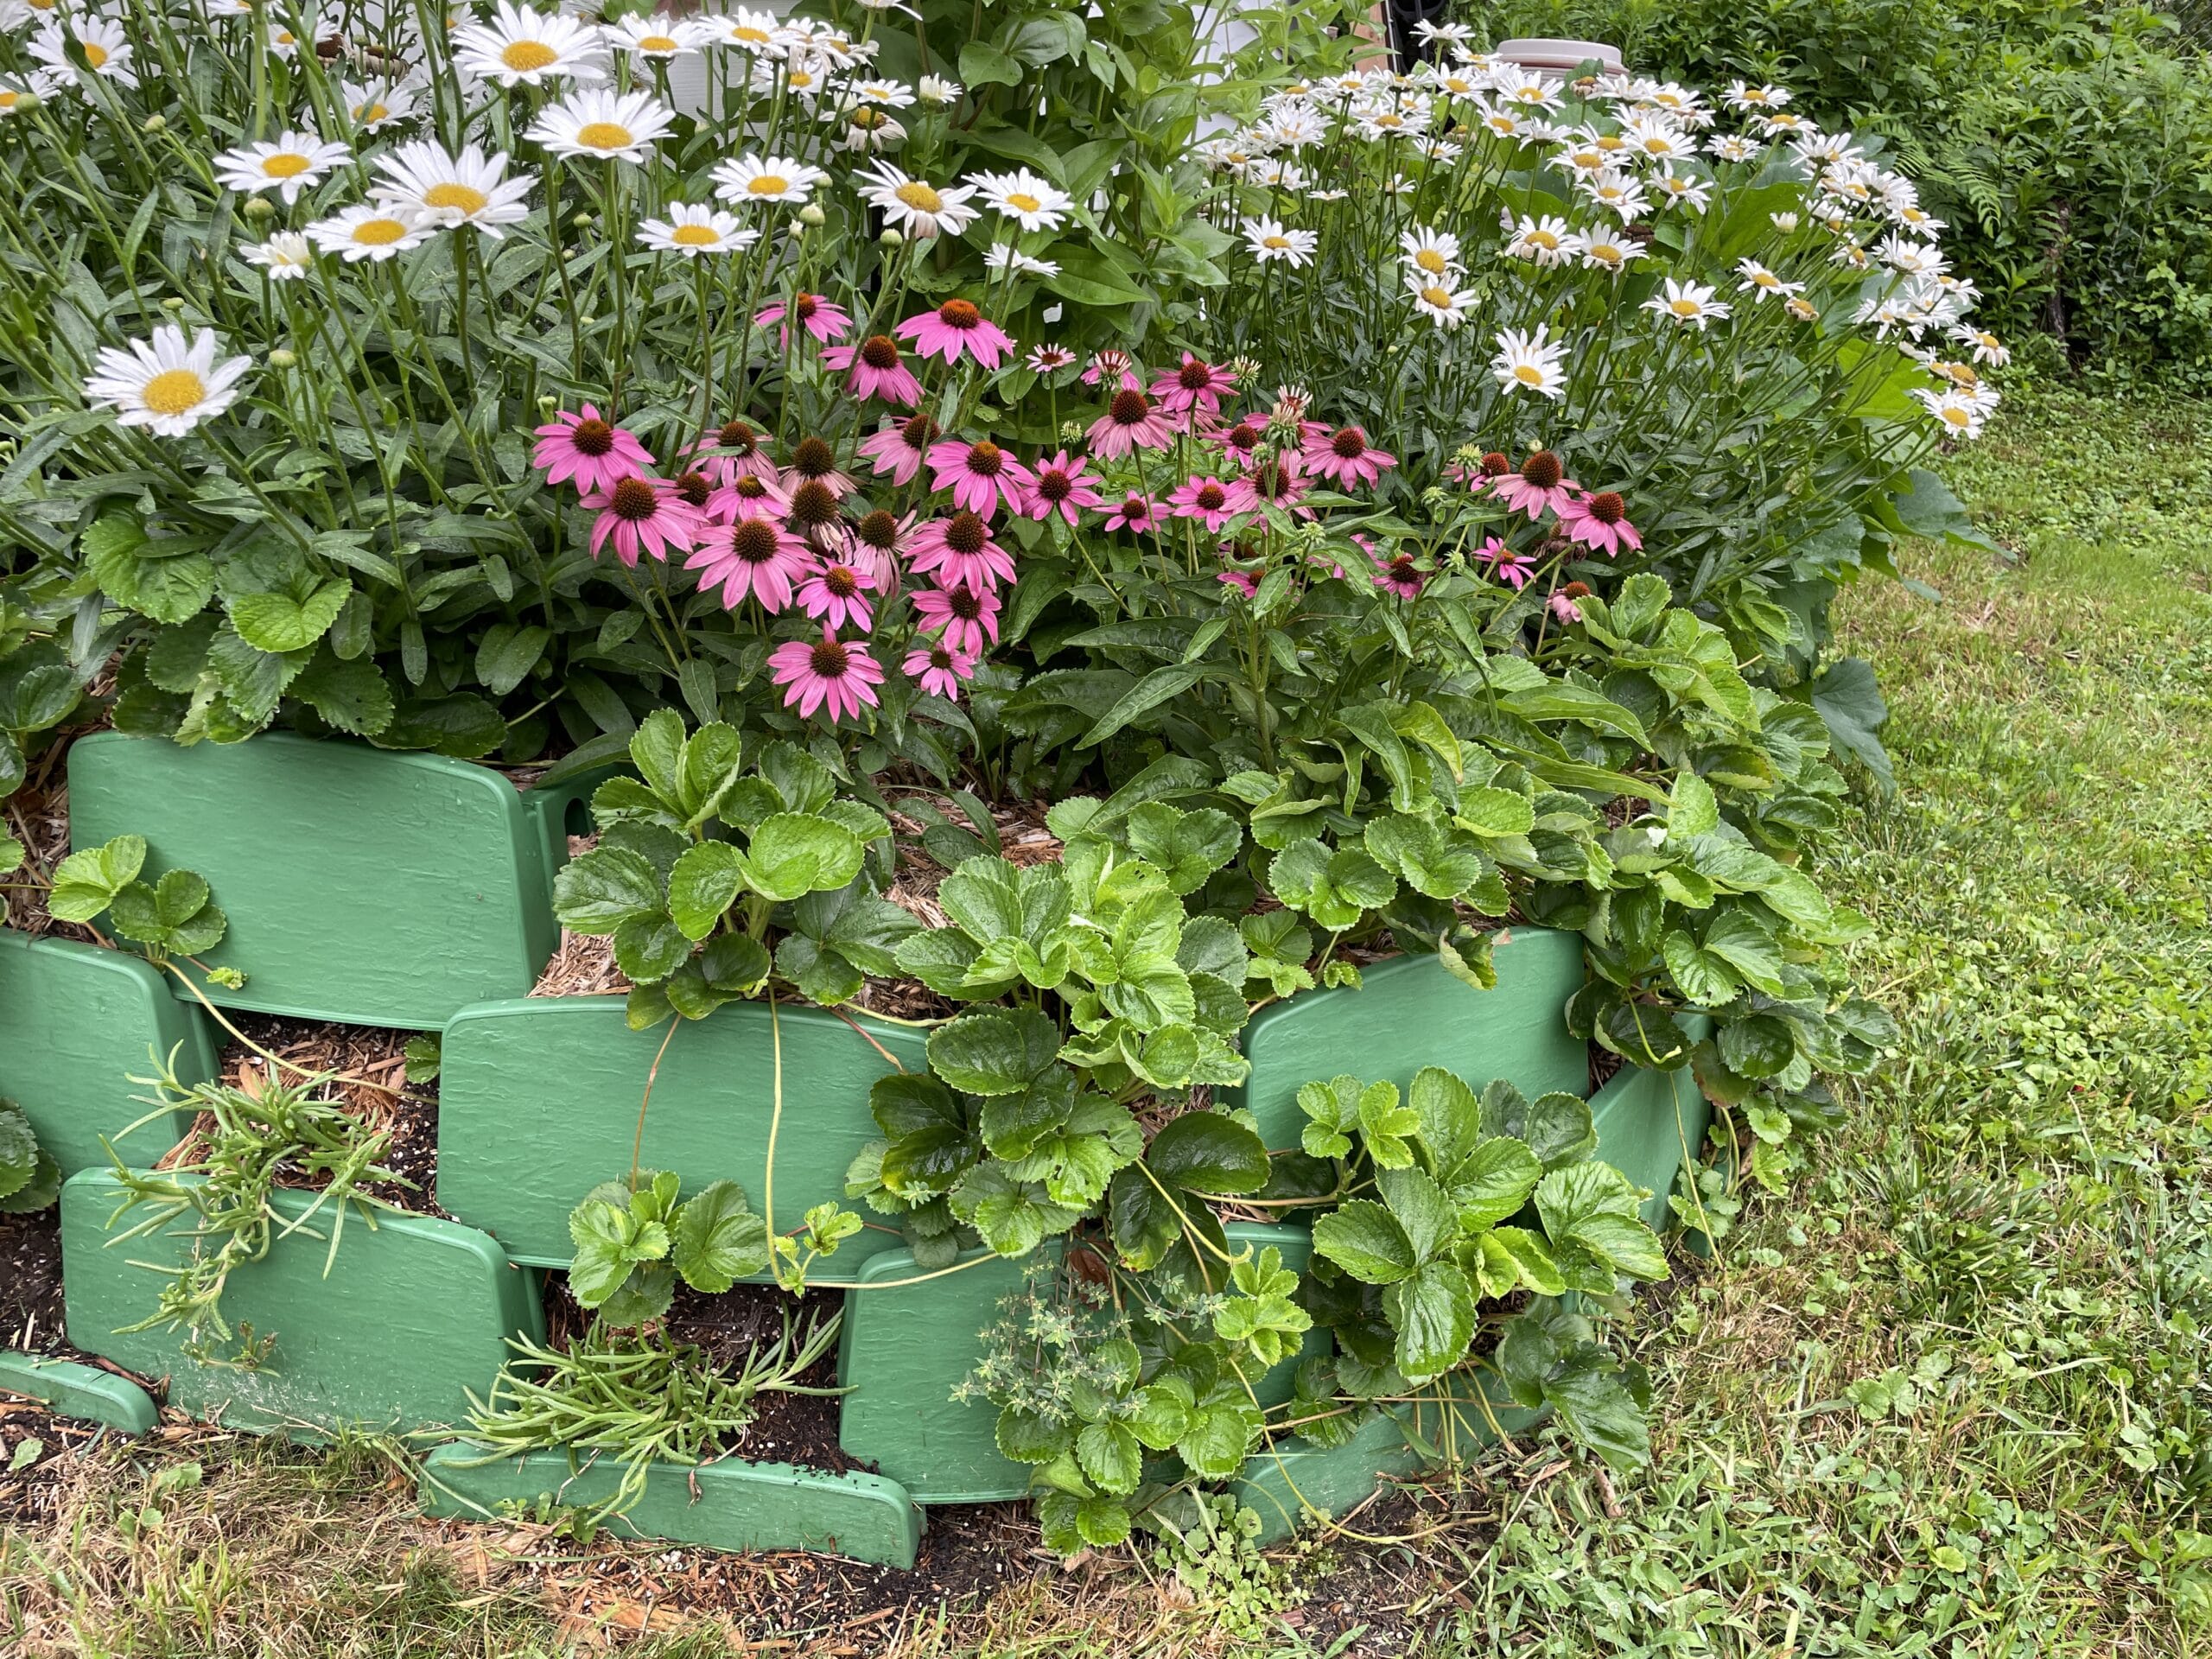
- Varden™ plantable blocks are a revolution in the DIY and landscape retaining wall business, designed to grow over with thriving plants, growing within each block for “living” face coverage. Varden™ walls cool the environment while creating green-space and habitat.
- Each vegetated retaining wall is a living masterpiece that does not just separate your landscape, it is your landscape!
Visit our YouTube Channel to see more about Varden Living Retaining Wall Blocks.
Visual Block Info, Install Tips & Guides
How to Build a Varden™ Plantable Retaining Wall
Building a DIY retaining wall is simpler than many first-time gardeners and landscapers assume. Even if you don’t consider yourself a DIY-er, you can still create a gorgeous DIY garden wall in your outdoor space by following these easy step-by-step instructions for a living retaining wall.
Do Your Research
- Check with your homeowner’s association and local building codes. The first course of action is to do your research on local codes. There may be some restrictions or guidelines you’ll have to follow in order to legally build your wall.
- Call ahead of time to discover any potential underground utilities where you may begin digging.
- Review our Basic Install Guide and review our Varden Wall Detail Booklet. Visit our FAQ page and Support Docs page for more.

Plan, Plan, Plan
- Determine wall height. Most retaining walls are at least 2 to 4 feet tall. Our Varden blocks create stable walls up to 8-10 feet tall.
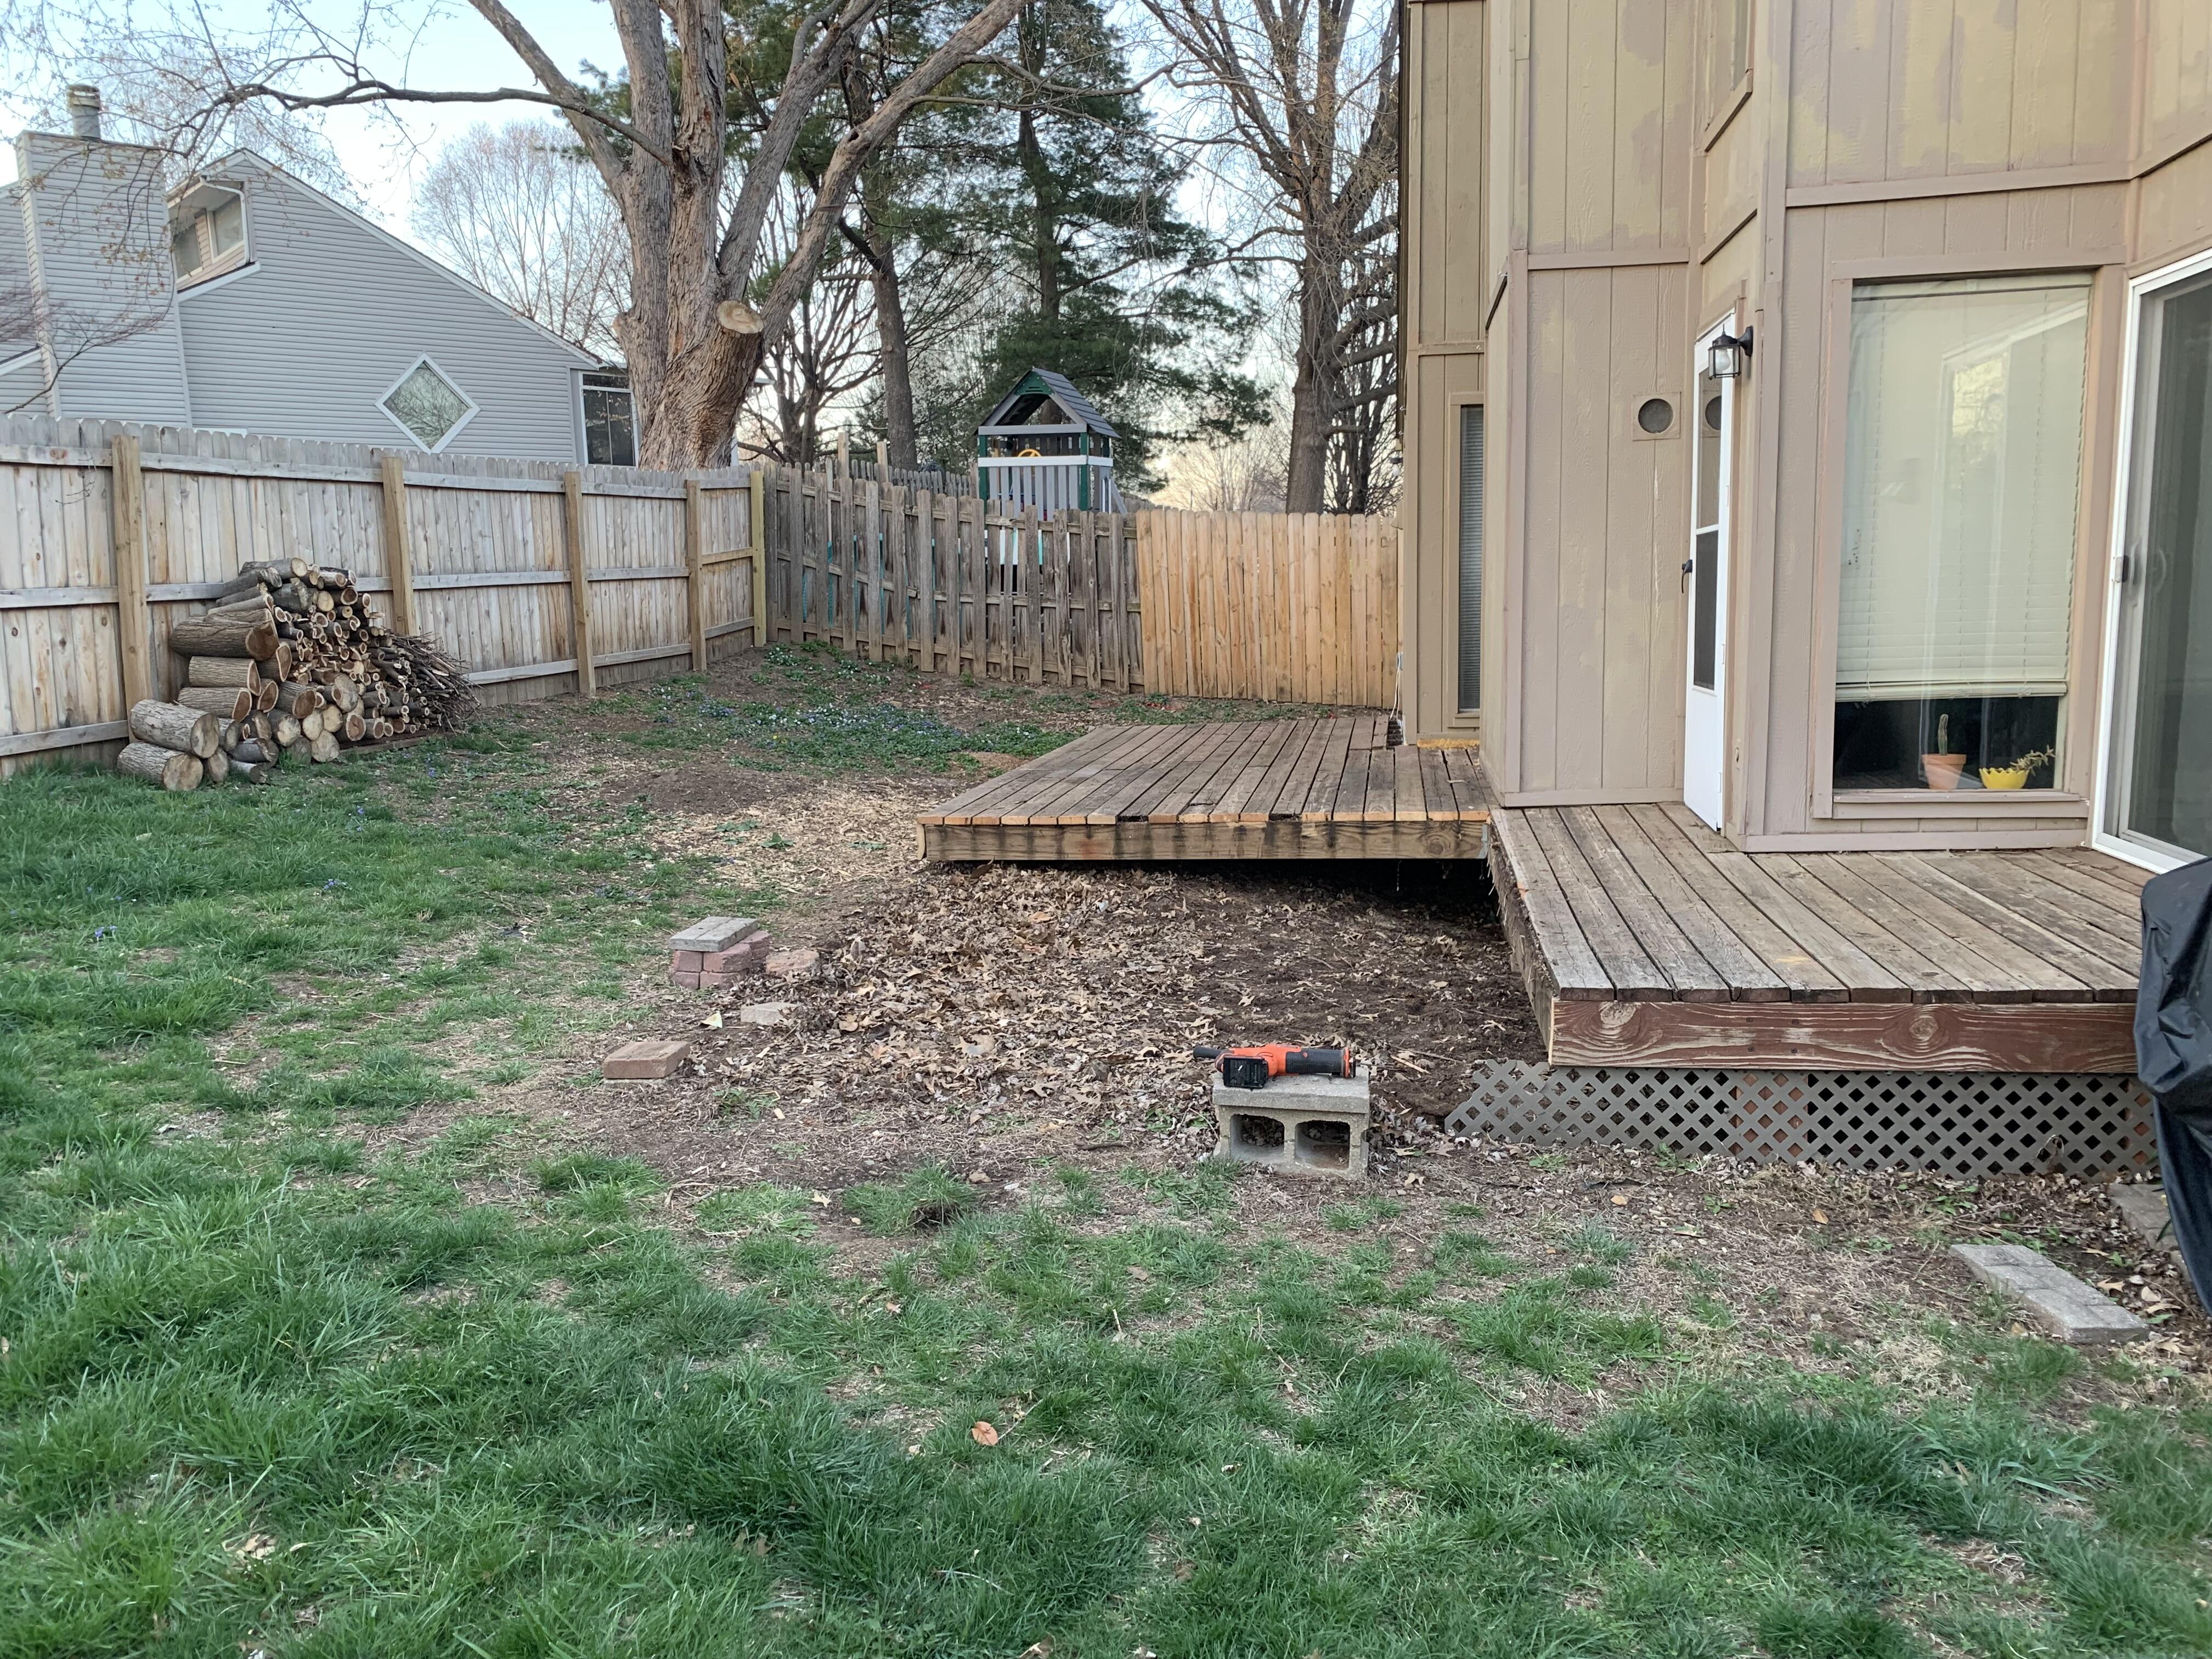
- Determine the right location. Ask yourself where the best location of this wall is, and how that location will affect the building process. For example, building a wall right next to a building with siding means you might have to adjust wall height, as you want any dirt or mulch to be well below the siding.
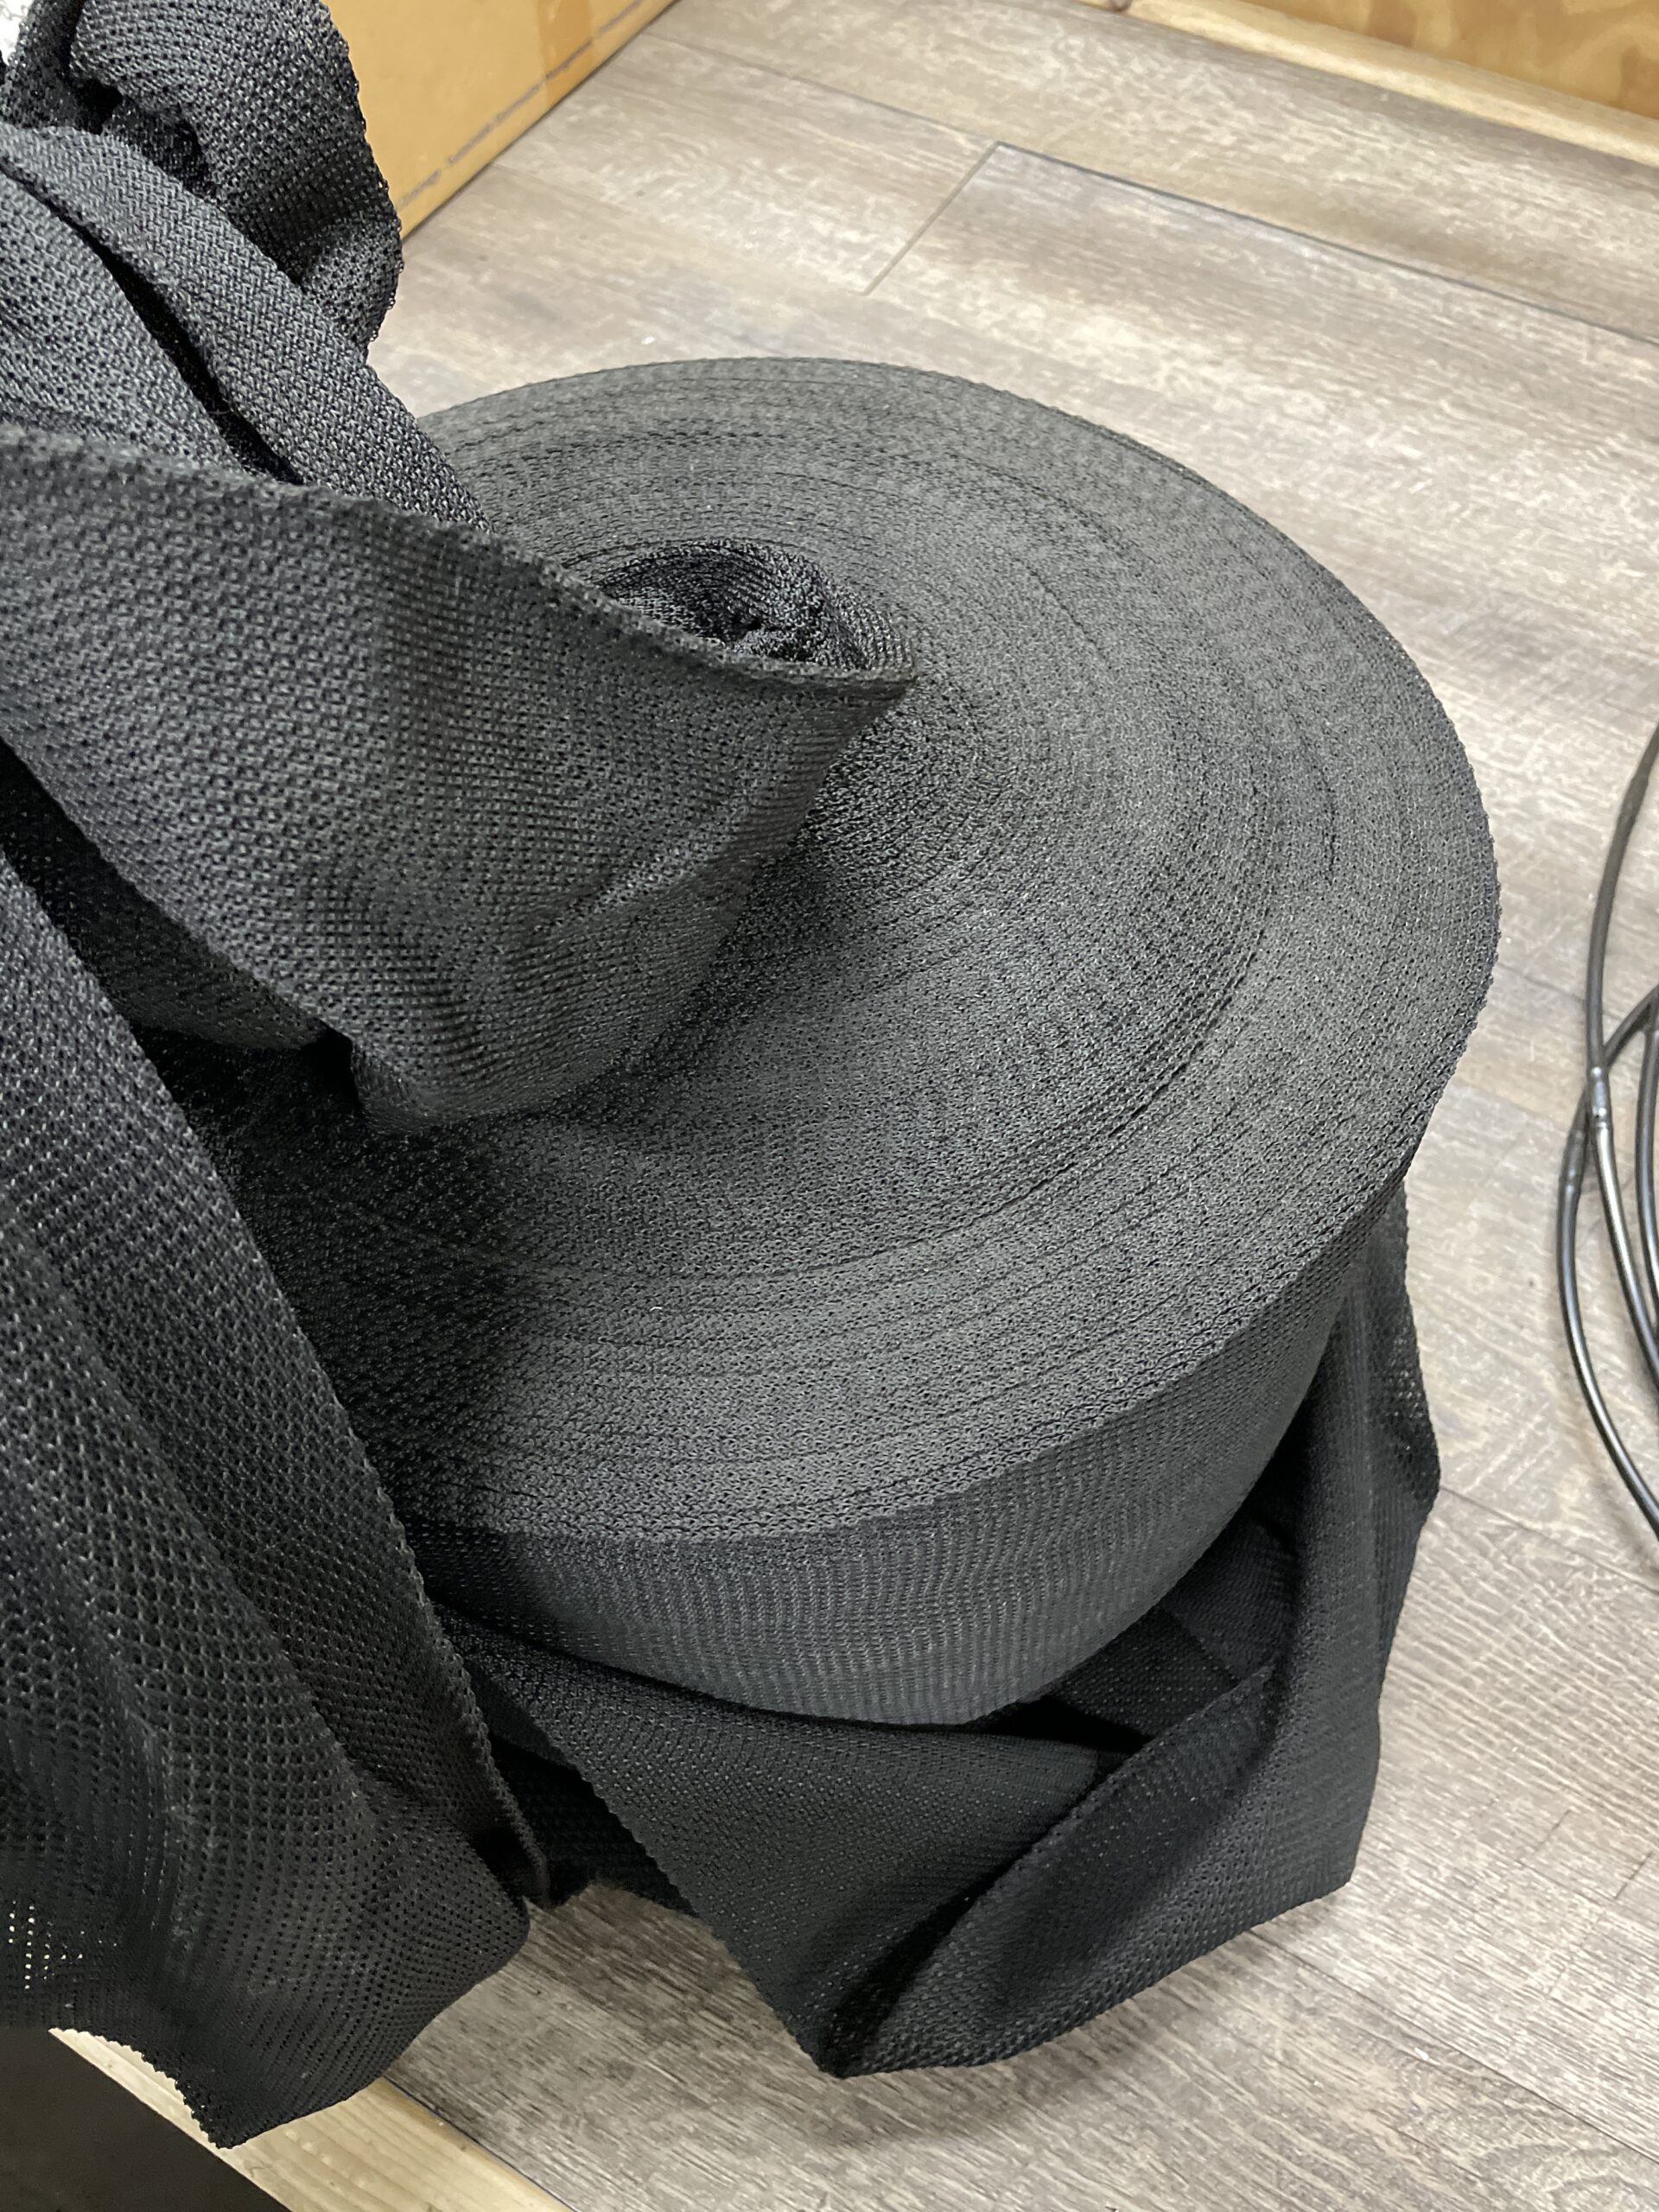
- Choose the right building materials. You will need filter fabric for drain layer separation, geogrid for reinforcement on walls 3′ tall and higher, rock or soil for wall fill behind the wall facing, and good soil for the block pockets for our Varden plastic retaining wall blocks.
- Find the right soil. Certain plants thrive better in certain types of soil, so keep this fact in mind when buying soil for your block pocket fill. We prefer locally made compost and topsoil blends with compost for filling the Varden retaining wall blocks. Additionally, you’ll want to purchase some mulch to help the soil retain moisture and create a finished look prior to full wall coverage with plant growth.
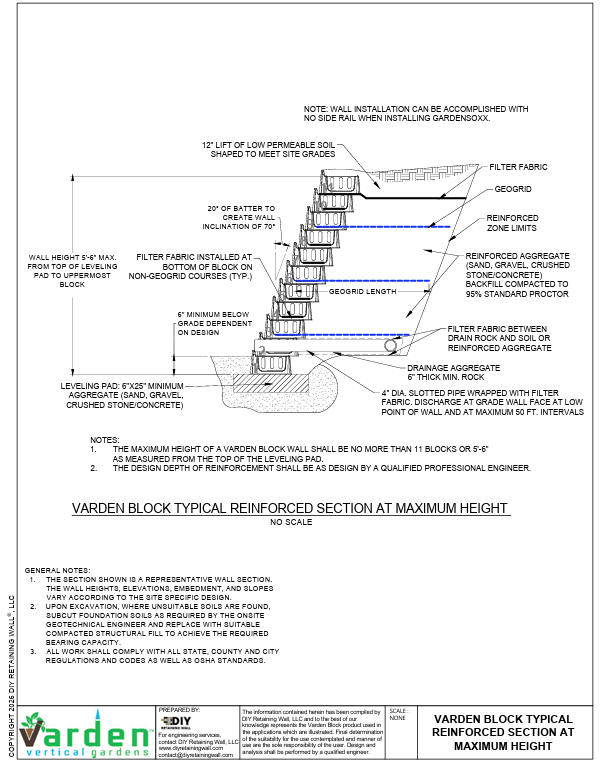
- Factor in drainage. Wet soil is heavier soil and places greater pressure against your wall. That is why you need to design your wall to have drainage features, such as a drainage pipe, and then backfill it with clean rock as drainage aggregate. Review the Varden Retaining Wall Detail Booklet.
Determine What You’ll Need
- Determine how much of your wall-building materials you need. You can use our Varden Wall Materials Calculator to determine the materials needed for your particular retaining wall size. Its works best for individual walls that are approximately the same height over their entire length. For walls with varying heights along the length, Ex: 2′ tall on one end and 7′ tall on the other, you can use an average height or call us for further assistance. Our Varden retaining wall blocks create a stacking height of 6″ per course, and one pack of 10 blocks covers 10 square feet of plantable retaining wall.
- Determine how much growing soil you need. Use our Materials Calculator for speed and costing. Manually, the easiest way to estimate how much soil you’ll need is to determine the cubic volume of your wall. To find the cubic volume, multiply the length by the average height by the depth of the wall. For example, say your wall will be 6 feet in length, 3 feet in height, and 1.5 feet deep from the face to the rear of the block. 6′ x 3′ x 1.5′ gives us 27 cubic feet.
Get Started
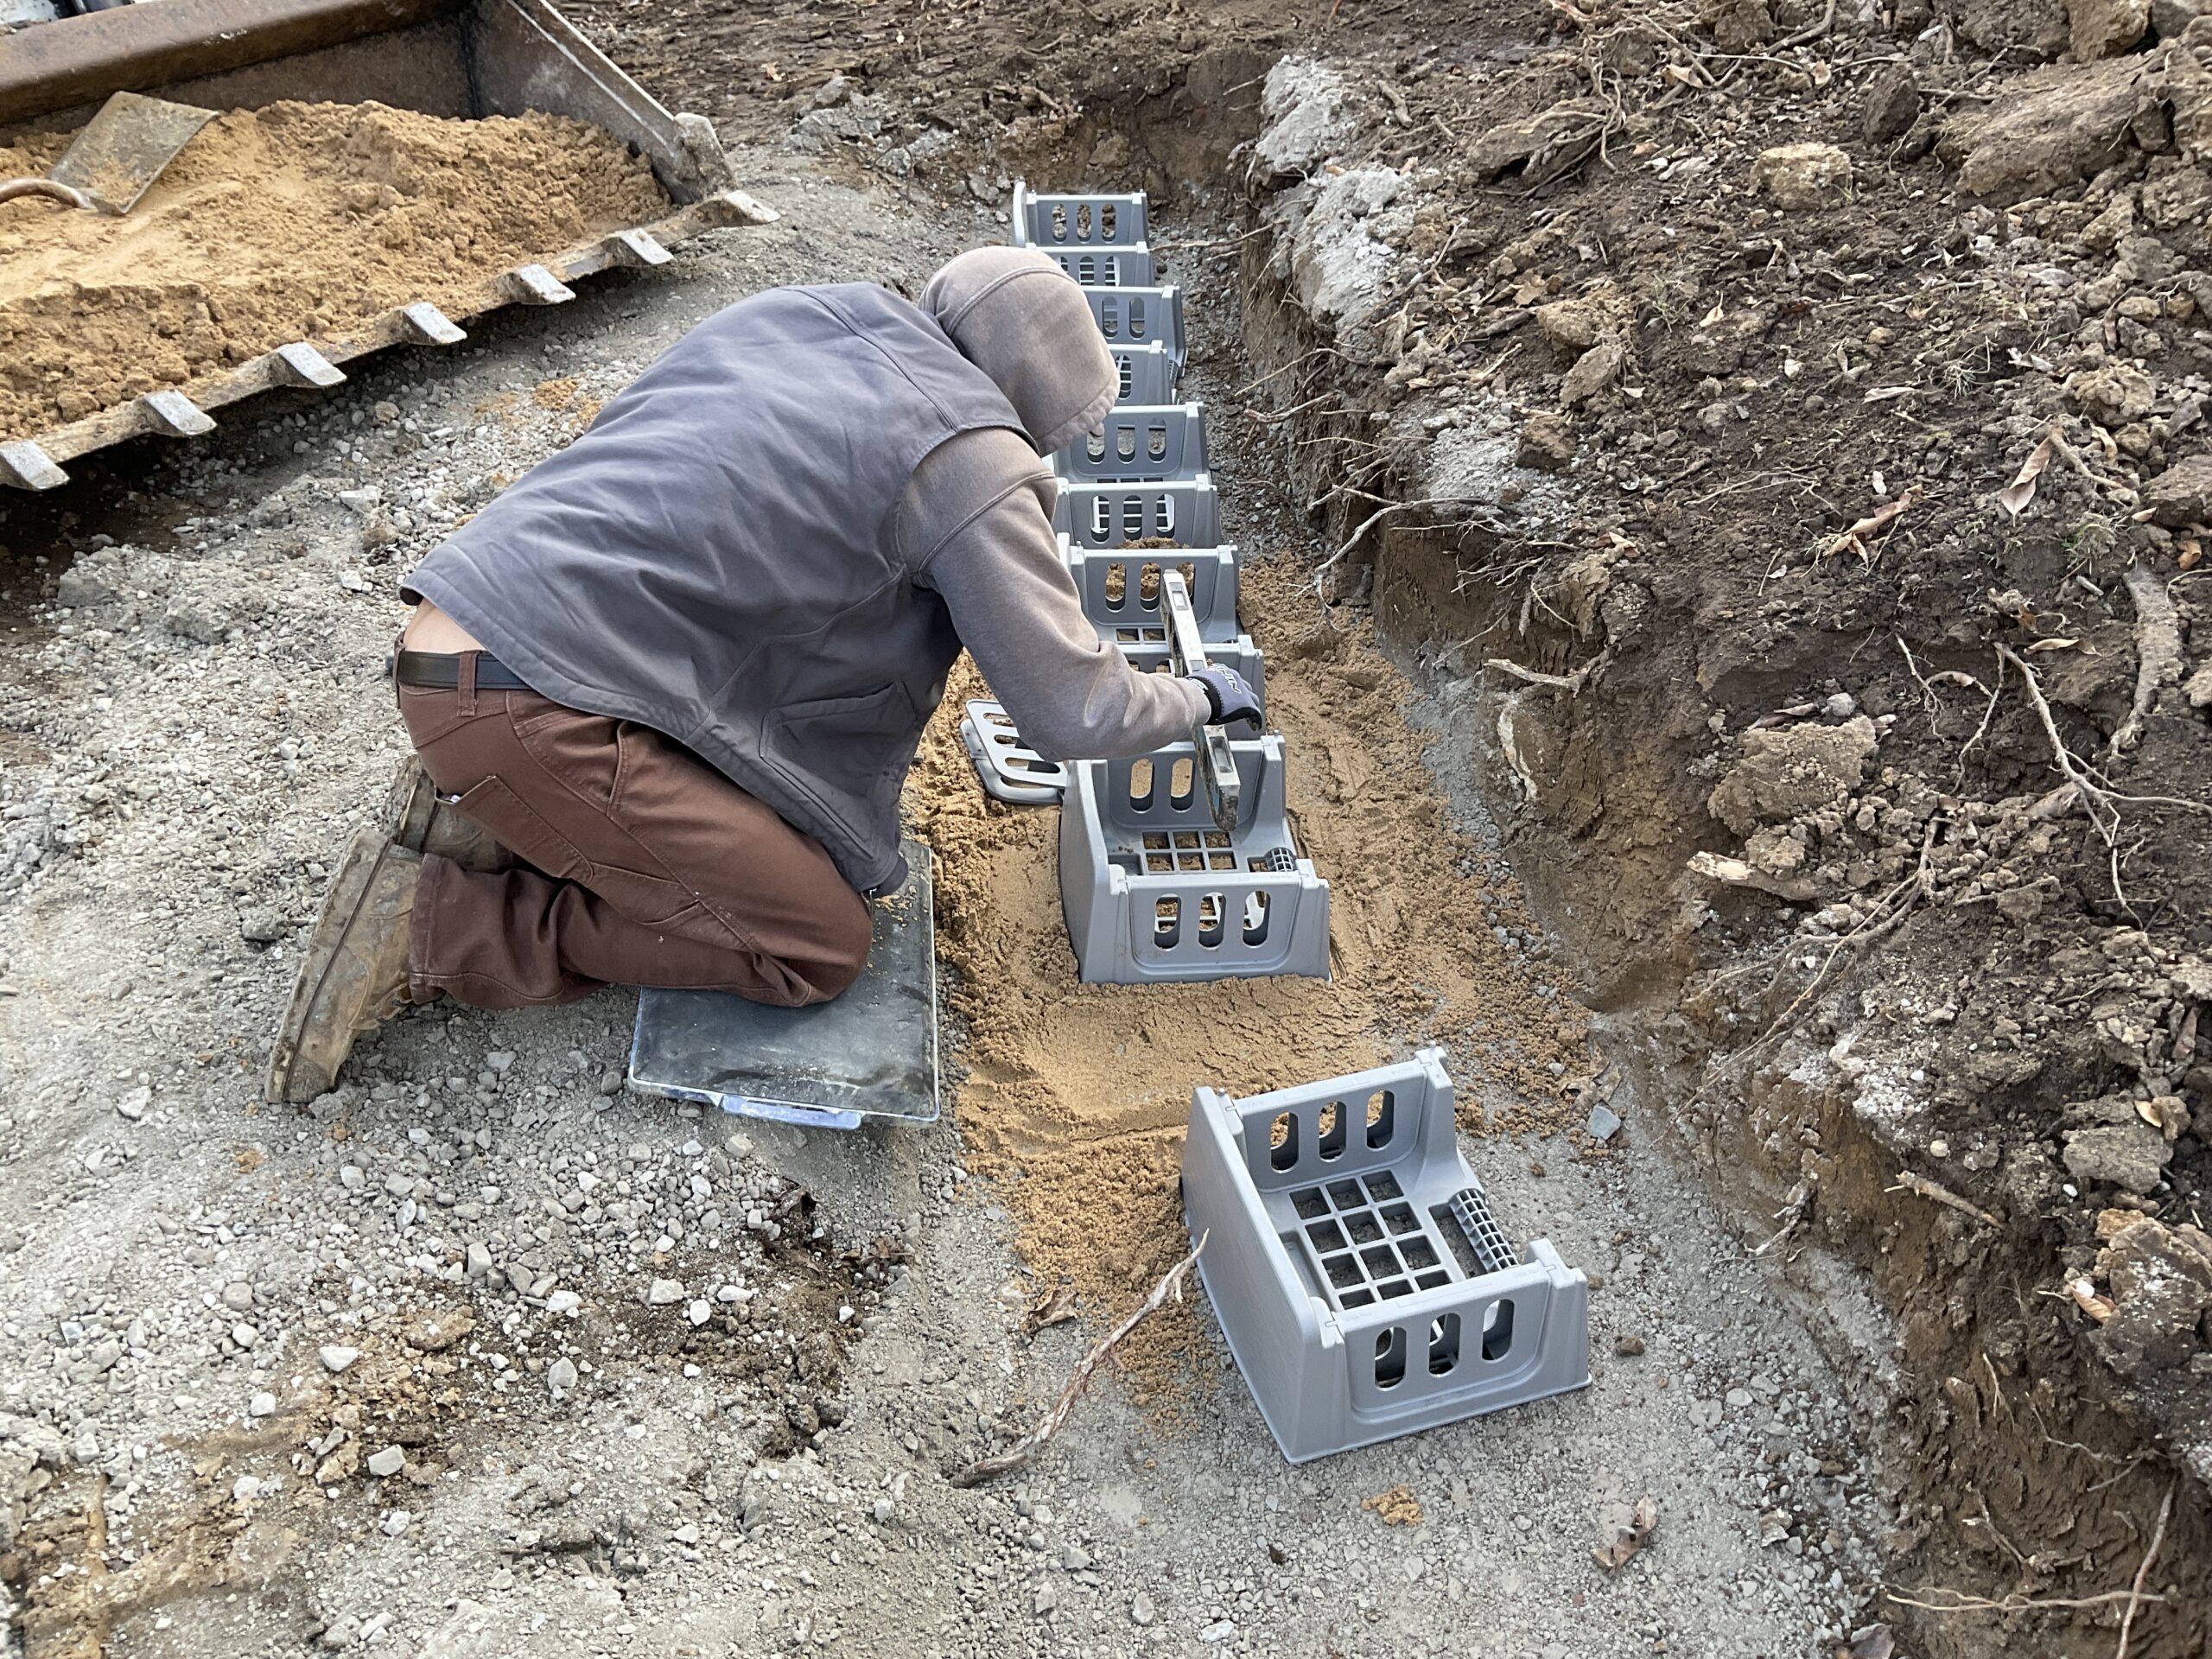
- Dig the outline. Dig a trench along the outline of your wall. It should be roughly twice as wide as the Varden blocks. The depth should be 6″ for the base block to be buried, plus 4″-8″ for base rock and sand beneath the first course of block. Using our Varden Retaining Wall Blocks, the trench should be 10″ to 14″ deep. Make sure the ground is level and firm.
- Flatten the terrain. Use a hand tamper to flatten the terrain and make it compact.
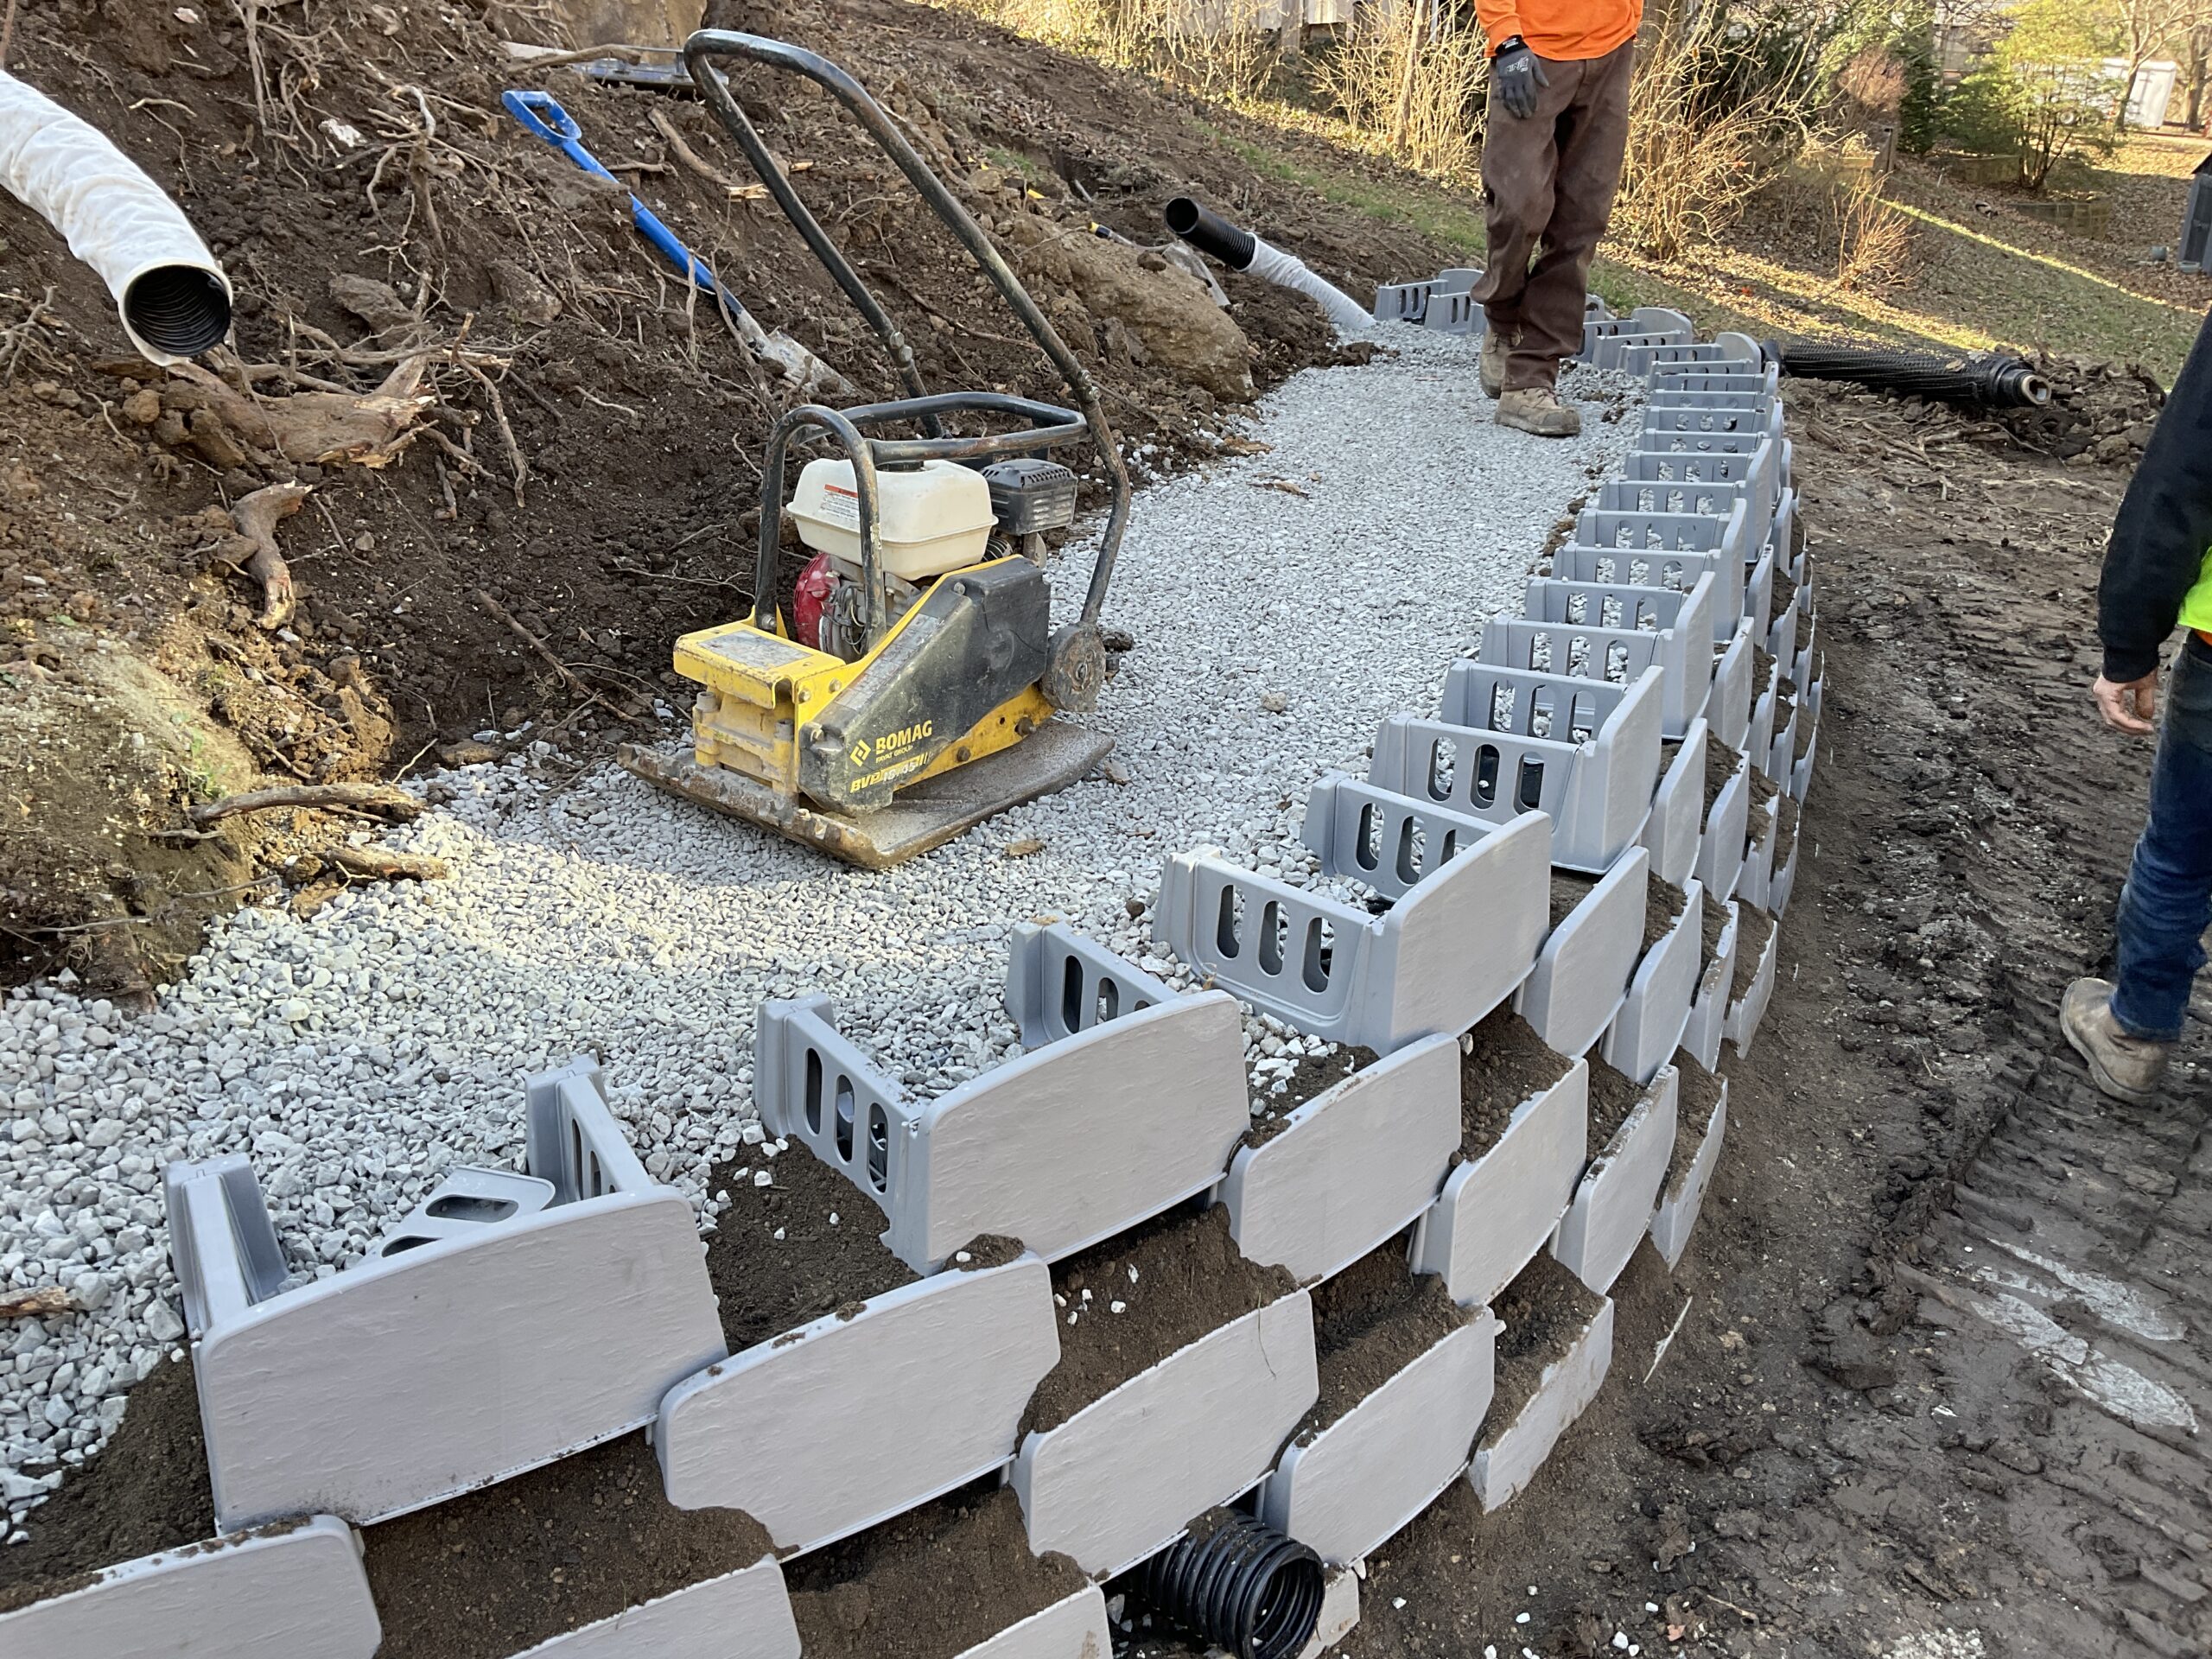
- Lay in your base rock and compact with a hand tamper or vibratory plate, if available. Once the rock is compact, top the rock with 2″ -4″ of sand to make levelling the Varden blocks easy.
Build the First Row
- Snap-in the side rails. Two side rails are included with each block and to use them, snap and secure them into receptors slots.
- Start the first row. Place each block 9 inches apart on the base rock or sand and make sure each is level.
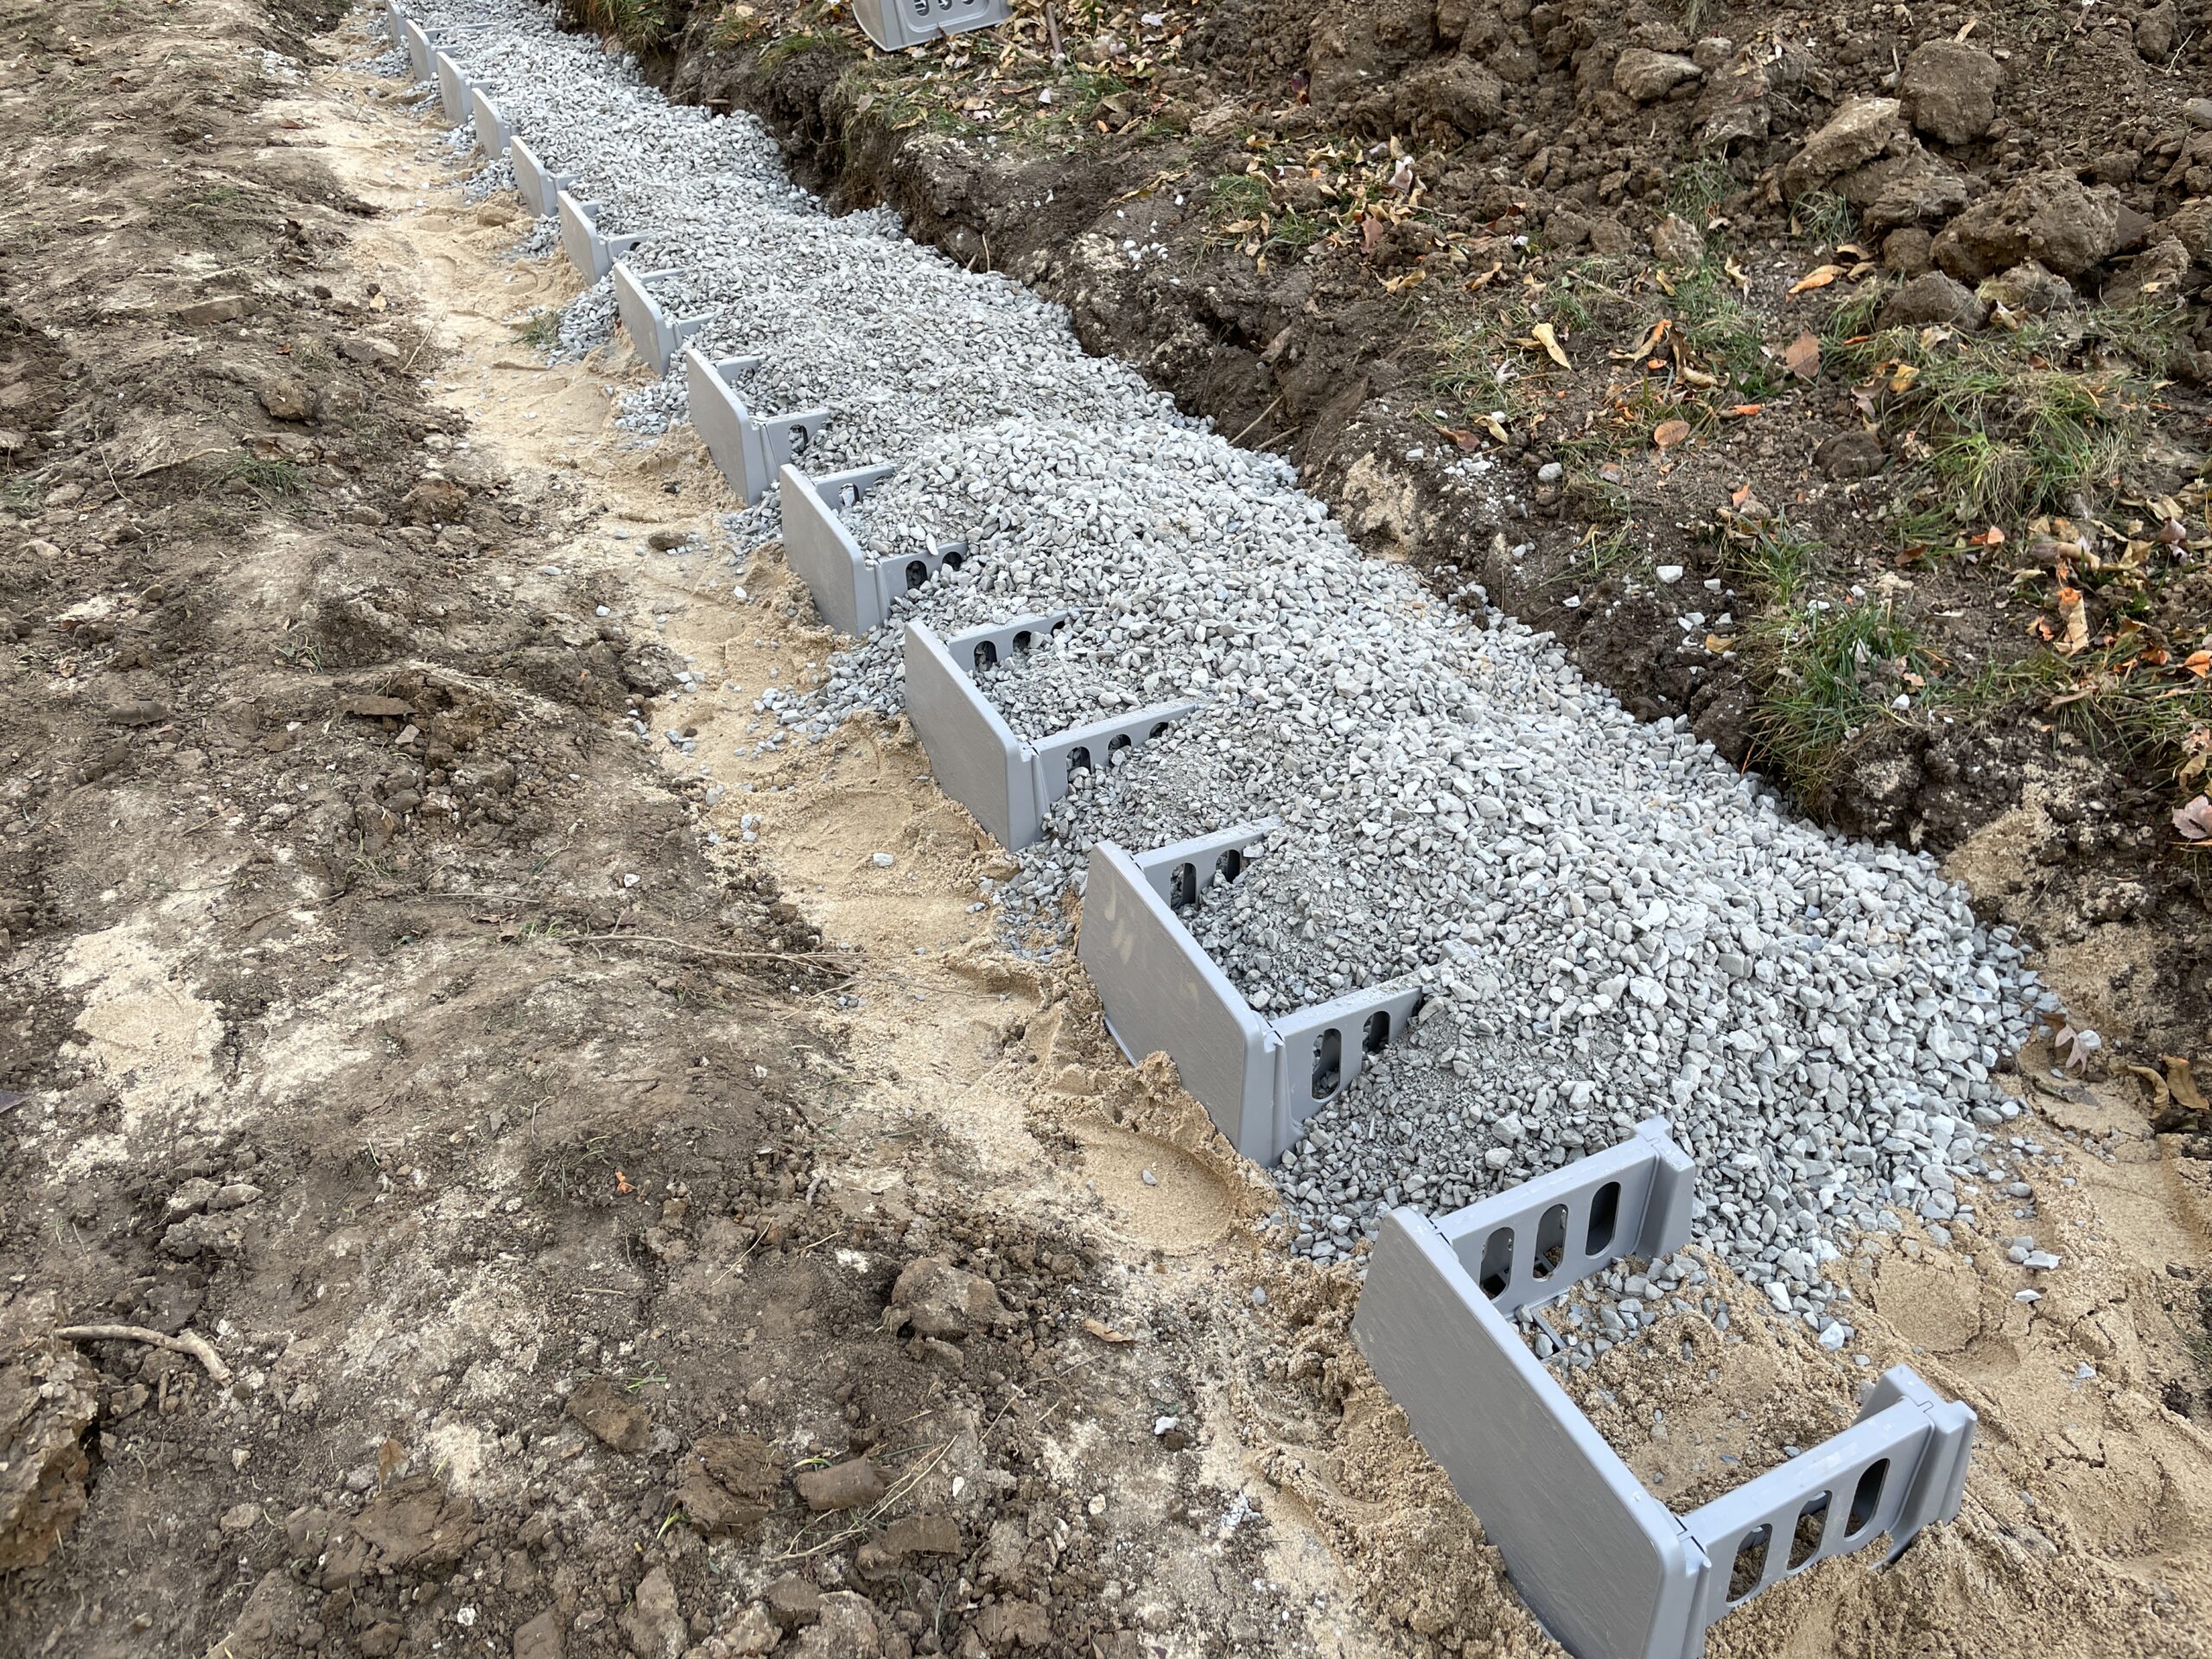
- Fill the first row of blocks with rock since they will be below ground level and not seen.
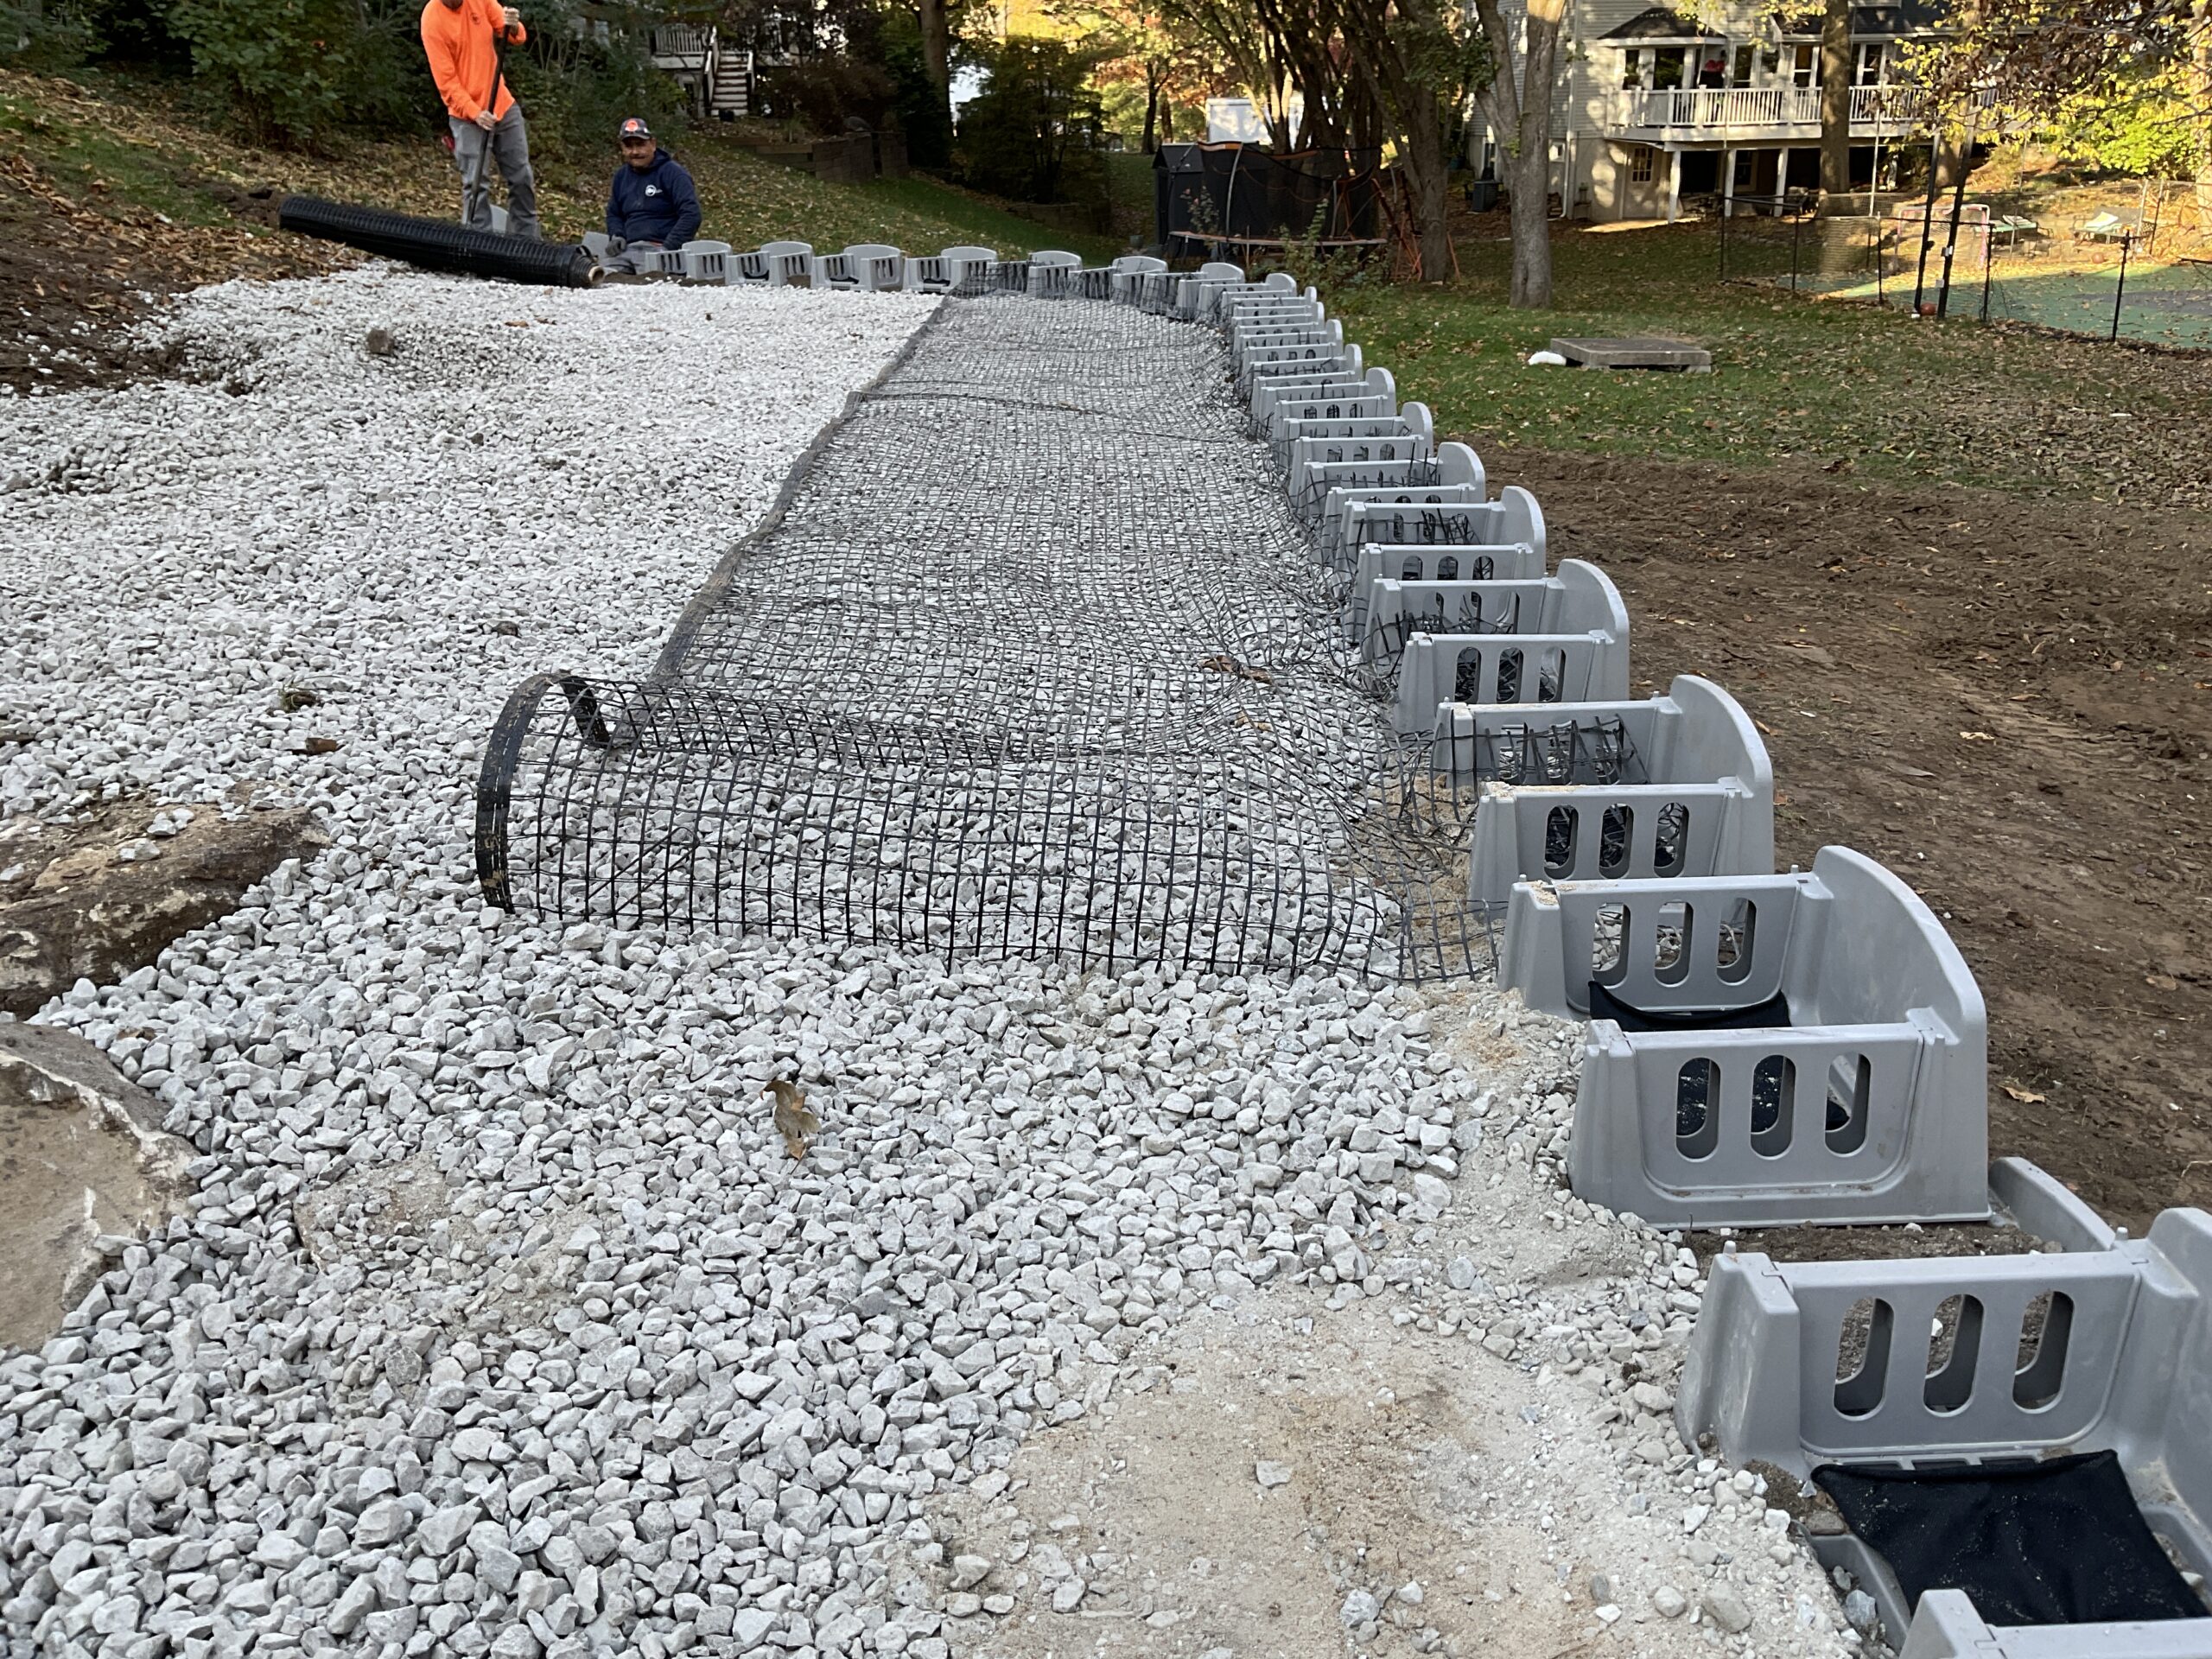
- Add landscape fabric. Add filter cloth over the drain rock and drain pipe if using.
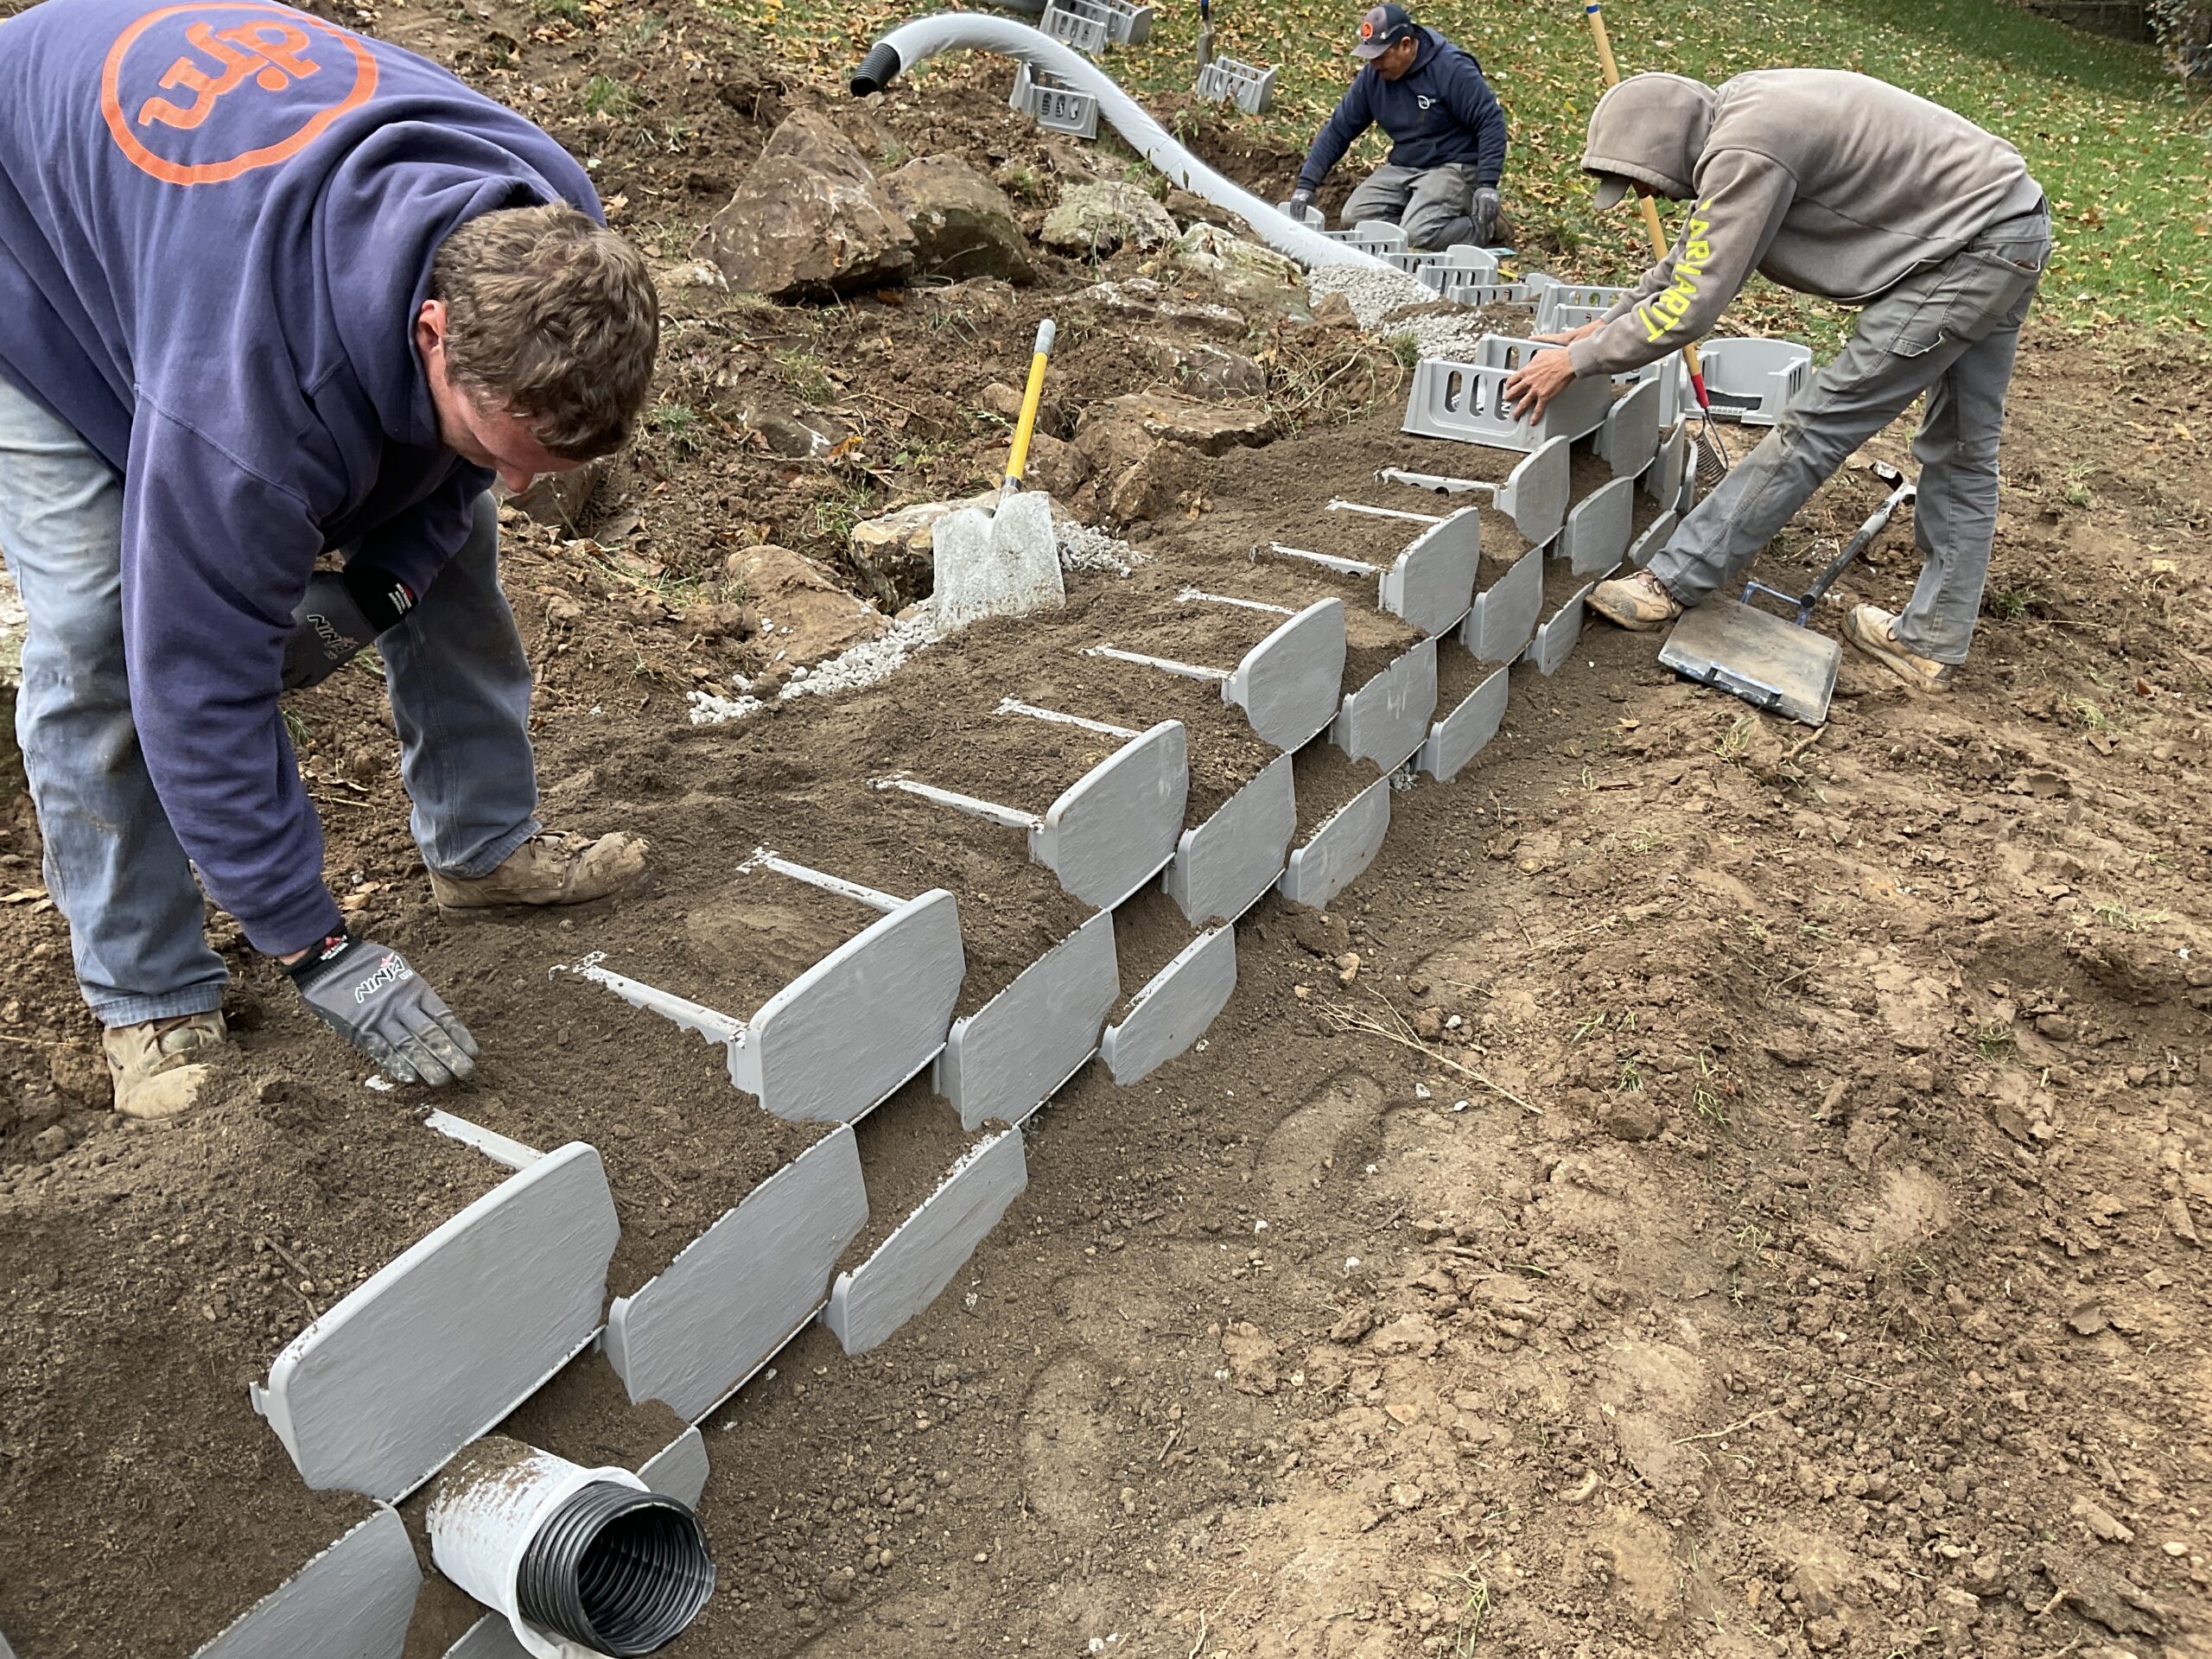
- Add growing media starting on the second row. Add your growing media or compost into the blocks’ troughs and the spaces between the blocks. After stepping to compact, it should go to the top of the side rails.
- Level the row. Ensure each block is completely filled and level.
- Backfill. Backfill and tamp down the area behind the blocks to ensure it does not settle after installation. If using geogrid in the backfill, make sure to compact to the ends of the grids at the rear of the backfill area.
Stack and Backfill for the Rest of the Rows to the top of your wall height
- Clear the previous row. Remove excess dirt and debris from the previous row to get a more level surface.
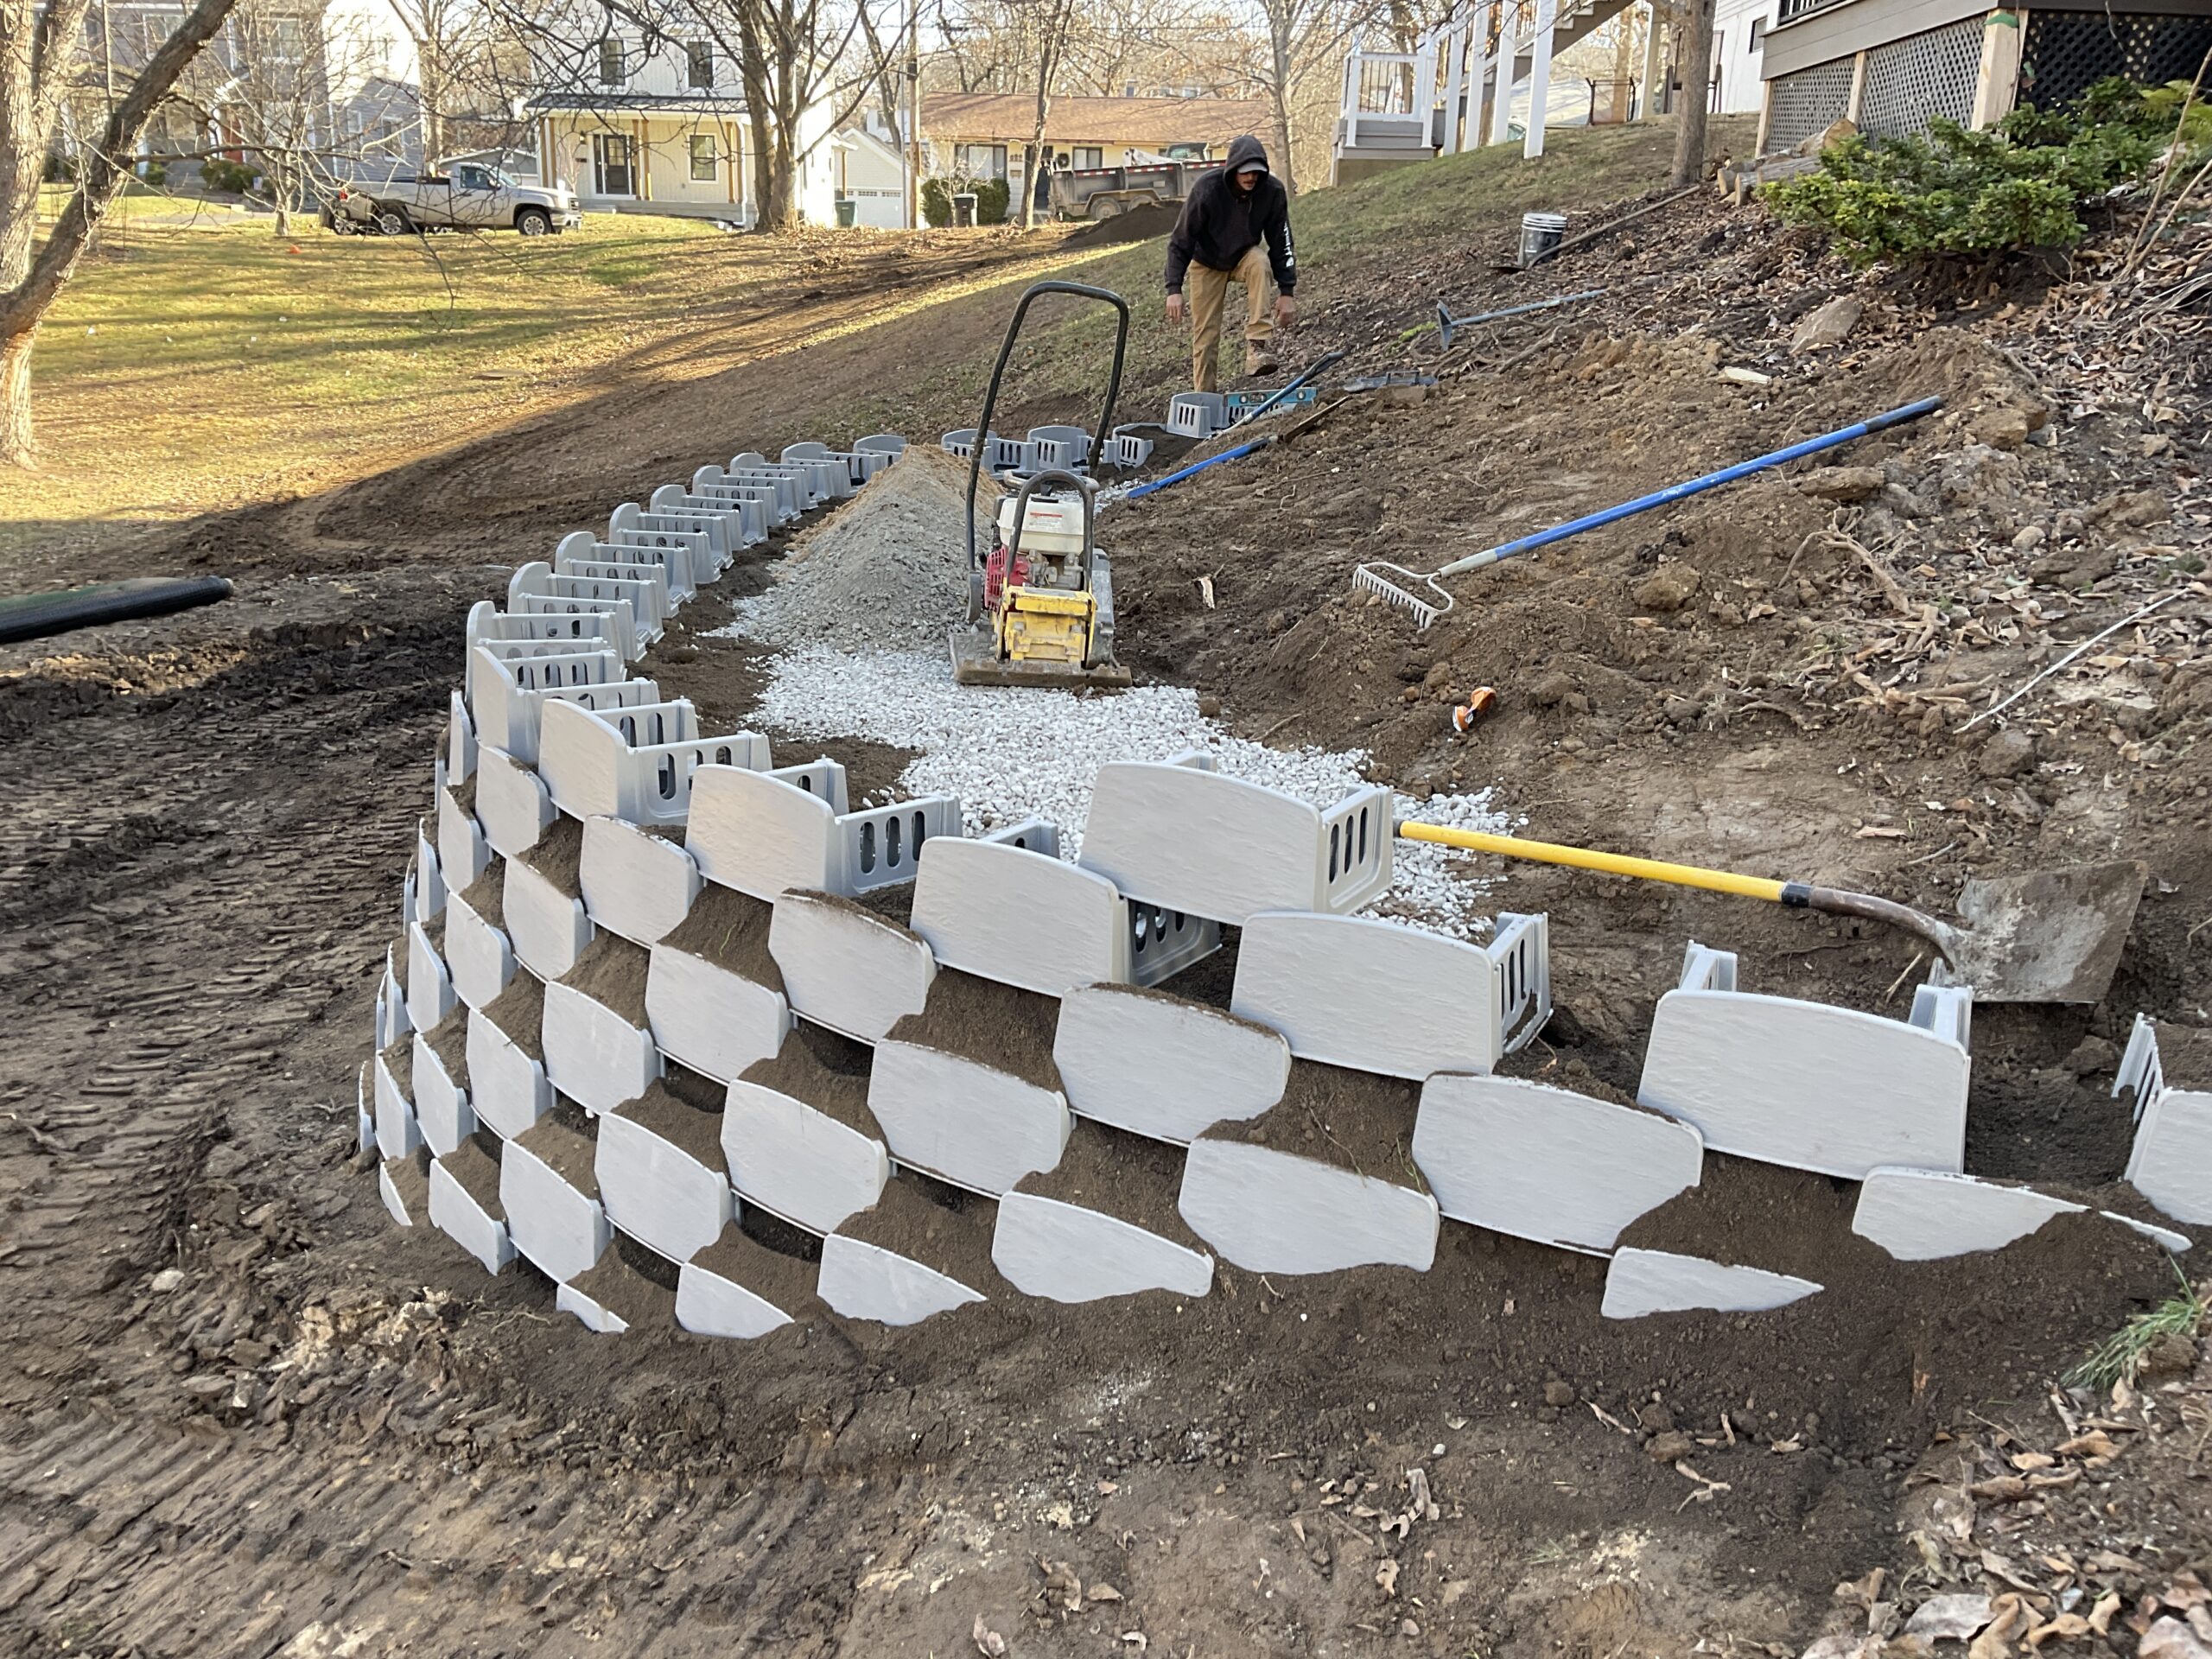
- Stagger. Stagger each new block evenly on top of the previous row. The top block should rest on inside rails on the bottom two blocks.
- Add backfill, compact, and remove debris.
- Repeat. Continue to lay each row, backfill it, compact the backfill, and wipe off excess debris. Continue until you reach the desired wall height. Note that walls over 3′ will require reinforcement straps.
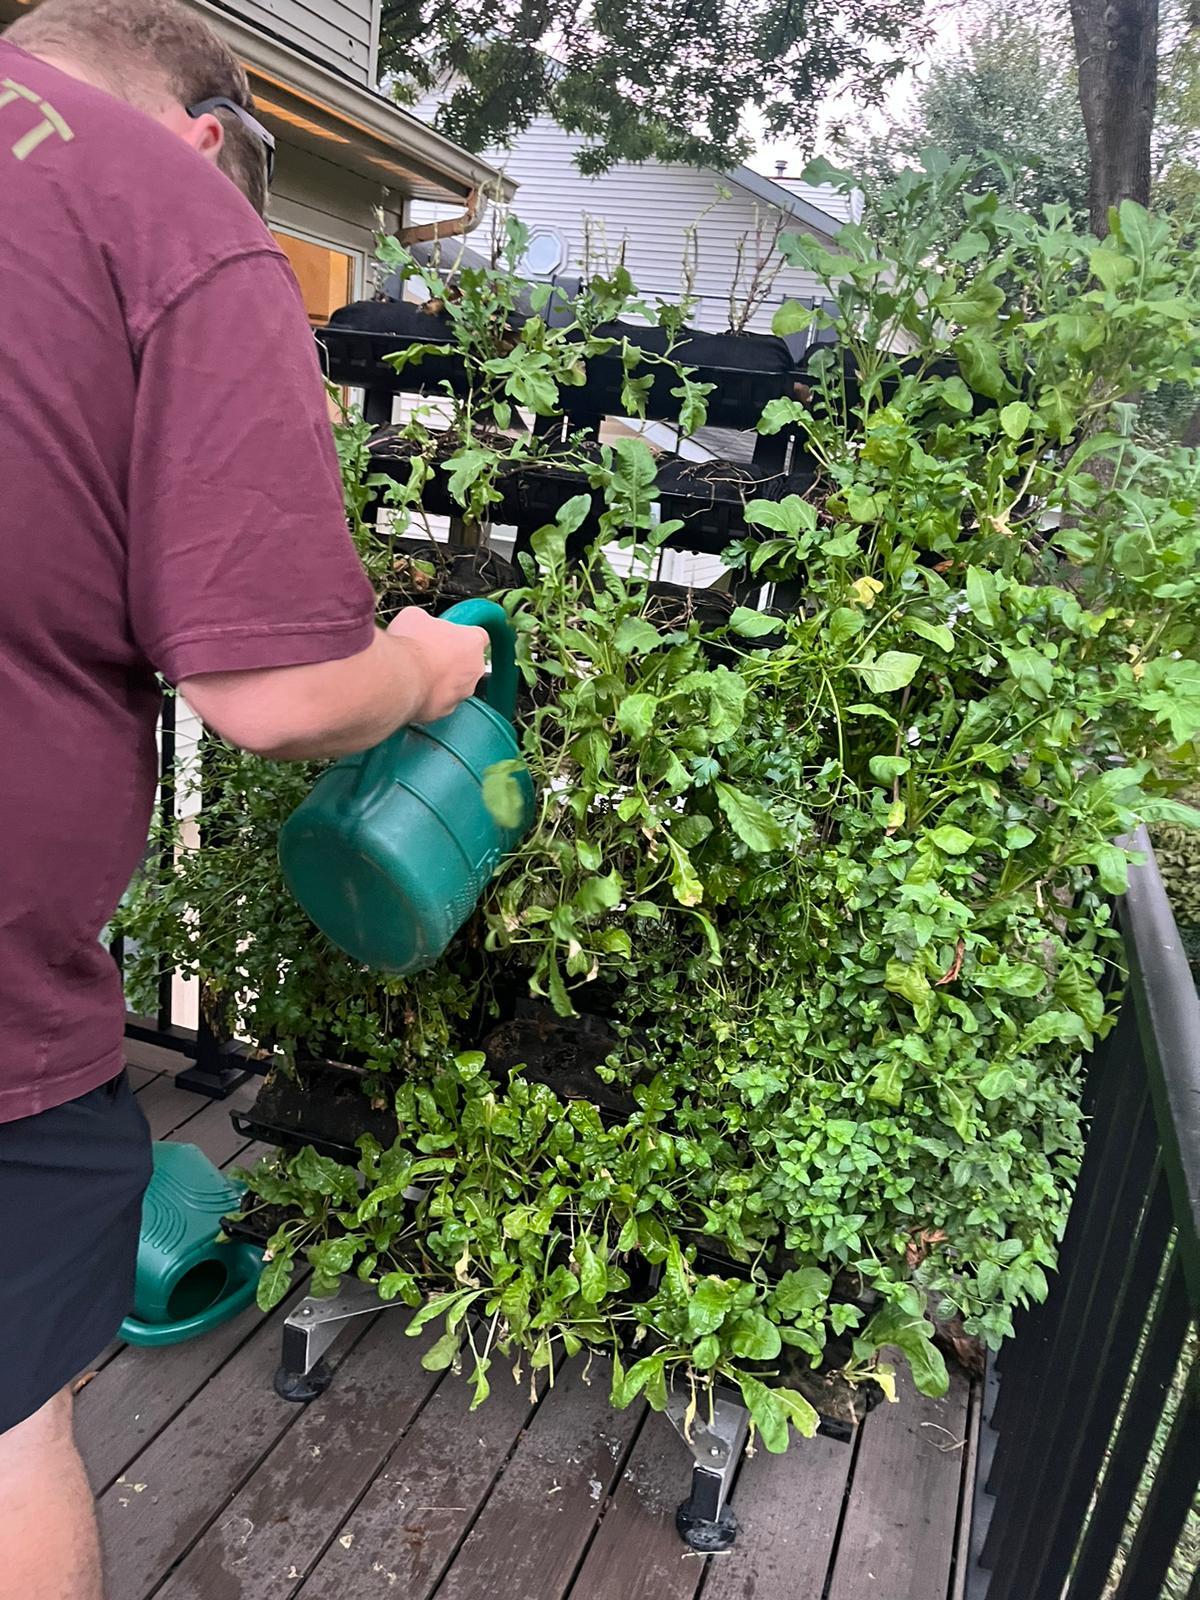
- Begin planting! Start from the top row and work your way down.
Learn More
Learn more about installing our system — including adding reinforcement straps to walls over 3′ and creating curved walls — by referring to our Varden P100 installation guide.

Specifications for Professionals
Want more information to complete a client’s landscape design project? Review and download Varden™ Support Documents.
Connect with an engineer to provide sealed designs ready for installation. Look for the red map pins on our map.